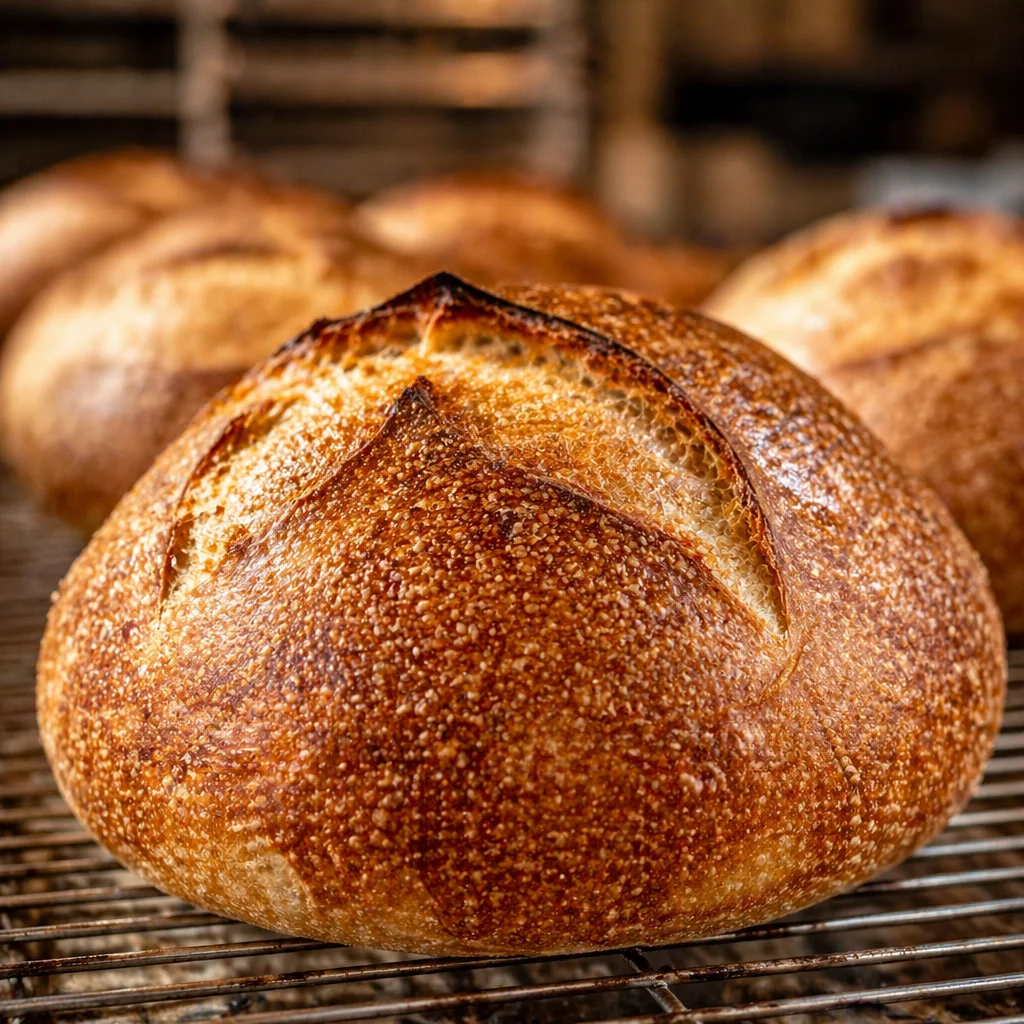
sourdough starter recipe is one of those things that sounds fussy until you actually do it once. If you have ever stared at a bakery loaf and thought, “Okay but how do people make that flavor happen at home?” you are in the right place. I put off making my own starter for way too long because I assumed I would mess it up. Turns out, it is mostly about showing up for a few minutes a day and paying attention. Let me walk you through the simple routine I use, plus the little fixes that helped me when mine acted weird.

What is a sourdough starter?
A sourdough starter is a mix of flour and water that captures wild yeast and friendly bacteria from the environment. That is the magic that makes dough rise without commercial yeast and gives sourdough its gentle tang. Think of it like a tiny pet you feed, except it lives in a jar and rewards you with bread.
When your starter is active, it bubbles, grows, and smells pleasantly yeasty. Sometimes it smells fruity, sometimes a bit like yogurt. Early on it can smell a little funky, which is normal, as long as you do not see fuzzy mold or weird colors.
The best part is that once you have it going, you can keep it alive for years with a simple routine. I know people who have starters older than their kids, which is kind of adorable.
What you’ll need to get started
This sourdough starter recipe is very low gear. You do not need fancy tools, but a couple of basics make it easier and less messy.
- Flour: Unbleached all purpose flour works great. If you can, add a little whole wheat or rye the first couple of days to speed things up, but it is optional.
- Water: Filtered or dechlorinated water is best. If your tap water smells like a pool, let it sit out in a glass overnight.
- A jar: A clean glass jar, about 16 to 32 ounces. Wide mouth is easier to stir.
- A spoon or small spatula: Anything for mixing.
- A loose lid: Set the lid on top without sealing tight, or use a rubber band and a piece of cloth. The starter needs to breathe a bit.
- A kitchen scale (optional but helpful): Measuring by weight is more consistent, but I will give simple cup amounts too.
While you are waiting for your jar to start bubbling, it is the perfect time to plan the fun stuff you will eat later. I like to keep a cozy drink nearby during my quick feedings, and this autumn herbal tea situation is honestly my favorite when the kitchen is cool in the morning.
;
Step-by-step instructions for creating a sourdough starter
Day 1: Mix and wait
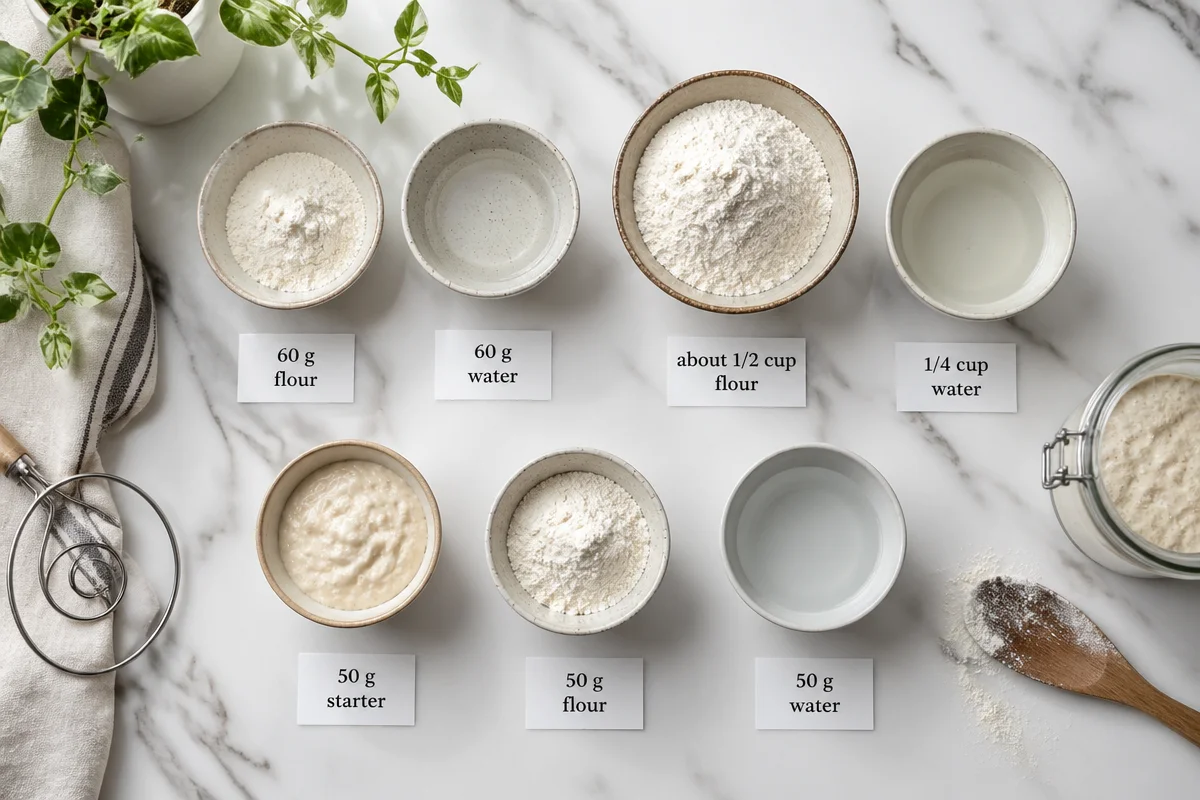
In your jar, mix:
Option A (by weight): 60 g flour + 60 g water
Option B (by volume): about 1/2 cup flour + 1/4 cup water (add a splash more if it is too dry)
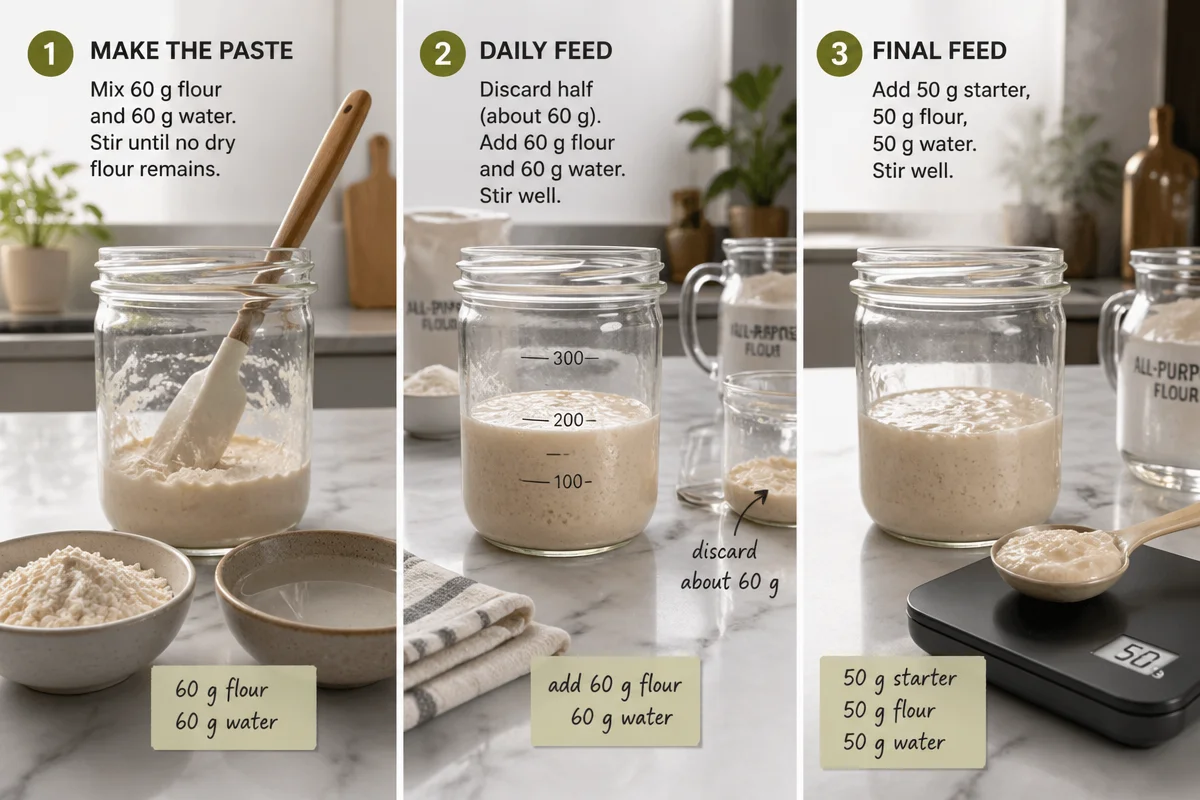
Stir until you have a thick paste, like pancake batter that is not runny. Scrape down the sides, set the lid on top loosely, and leave it at room temperature.
Days 2 to 3: Feed it daily
You will start to see a few bubbles, or maybe nothing at all. Both can be normal. Once a day, do this:
Discard about half of what is in the jar, then add the same amount of flour and water you started with (60 g and 60 g, or similar spooned measures). Stir, cover loosely, and wait.
A quick note about “discard”: it feels wasteful, I know. But it keeps the jar from growing into a science project the size of a balloon. You can compost the discard early on. Once it smells pleasantly tangy and yeasty, you can save discard for pancakes, crackers, and more.
Days 4 to 7: Watch for a real rise
This is usually when the starter begins to act alive. You are looking for it to double in size within about 4 to 8 hours after feeding. It should look airy inside, with bubbles throughout, and it should smell clean and bready.
If your kitchen is cool, it can take longer than a week. Mine took 9 days the first time because my house runs chilly. If it is not rising much, try moving it closer to warmth, like near (not on) the stove, or in the oven with the light on.
Once it is doubling consistently, your sourdough starter recipe is basically complete. At that point you can bake, or you can switch to a maintenance routine so it fits your schedule.
“I followed these steps and thought I ruined it on day three because it smelled weird. I kept going, and by day eight it was doubling like crazy. My first loaf was not perfect, but it tasted amazing.”
If you like having something fun to sip while you wait for that first big rise, I have a soft spot for homemade coffee drinks, especially on feed-the-starter mornings. This list of homemade coffee recipes is a great little rabbit hole.
How to maintain your sourdough starter
Once your starter is active, maintenance is easier than the “make it from scratch” stage. The goal is simple: keep it fed often enough that it stays healthy and predictable.
Keeping it on the counter (bake often)
If you bake a few times a week, keep it at room temp and feed it every day, or even twice a day if your kitchen is warm. A simple routine:
Keep 50 g starter, then feed with 50 g flour + 50 g water. Stir, cover loosely, and let it rise.
Keeping it in the fridge (bake sometimes)
If you bake once a week or less, the fridge is your friend. Feed it, let it sit out for about an hour to kickstart activity, then refrigerate. Once a week, pull it out, discard down, feed again, and let it get bubbly before returning it to the fridge.
My biggest maintenance tips:
1) If you see a grayish liquid on top, that is “hooch.” It just means your starter is hungry. Pour it off or stir it in, then feed.
2) If it smells super sharp like nail polish remover, it is usually underfed. Feed it a couple of times and it often bounces back.
3) Keep the jar reasonably clean. I swap to a clean jar every few days so the crusty sides do not build up.
Also, plan something easy for dinner on the day you do your bigger feeding and kitchen reset. I love a low effort protein in the air fryer, and these air fryer chicken legs are one of my go to meals when I am focused on dough timing.
Sourdough baking resources {video_youtube}
Once your starter is stable, you are going to want a few reliable reference points. Here are the things that helped me most when I was learning:
1) A simple starter schedule
Pick feeding times you can actually stick with. Consistency matters more than being fancy.
2) A basic loaf formula
Start with an easy recipe that explains timing in plain language. The first few loaves are about learning how dough should look and feel in your kitchen.
3) A notebook or notes app
Write down how long it took to double, how warm your kitchen was, and how the dough behaved. It sounds nerdy, but it makes you better fast.
4) Small wins that keep you excited
If you are not ready for a full loaf yet, use discard in quick recipes. And if you are hosting friends, pair your fresh bread with something fun like this authentic Spanish sangria. Bread and sangria feels like a tiny vacation at home.
Common Questions
1) Why is my starter not bubbling?
Most of the time it is temperature or water. Move it somewhere warmer and try filtered water. Also give it time. Some starters take 10 to 14 days to fully wake up.
2) Can I use whole wheat flour only?
Yes. Whole wheat can be very active. You might need a touch more water because whole wheat absorbs more.
3) When can I bake with it?
When it doubles reliably after feeding and looks airy inside. If you want a simple check, it should look puffy and smell pleasantly yeasty, not harsh or rotten.
4) What if I see liquid on top?
That is usually hooch and it means your starter is hungry. Pour it off or stir it in, then feed. It is not a failure moment.
5) Do I have to discard every time?
In the early days, yes, unless you want a massive jar. Once your starter is established, you can save discard for recipes, or keep a smaller starter so you discard less.
A few last words before you start mixing
If you have been putting off a sourdough starter recipe because it feels intimidating, I promise it is more doable than it sounds. Keep it simple, feed it consistently, and give it warmth and time. For extra help and different approaches, I also like reading Beginner Sourdough Starter Recipe – The Clever Carrot and How to Make Sourdough Starter From Stcratch – Little Spoon Farm when I want to compare notes. Now grab your jar, start your sourdough starter recipe today, and in a week or two your kitchen can smell like a real bakery. 
Sourdough Starter
Learn how to create and maintain a bubbly sourdough starter at home with this easy guide.
- Prep Time: 5 minutes
- Cook Time: 0 minutes
- Total Time: 7 days
- Yield: 1 active sourdough starter 1x
- Category: Baking
- Method: Fermenting
- Cuisine: American
- Diet: Vegetarian
Ingredients
- 60 g Unbleached all-purpose flour
- 60 g Filtered water
- Optional: Whole wheat or rye flour
- Optional: A clean glass jar (16 to 32 ounces)
- Optional: A spoon or spatula for mixing
- Optional: A loose lid (cloth or rubber band)
Instructions
- Mix 60 g of flour with 60 g of water in your jar and stir until smooth.
- Cover loosely and leave it at room temperature.
- Feed daily by discarding half and adding equal amounts of flour and water for 2-3 days.
- Observe for a rise over the next few days; it should double in size.
- Switch to a maintenance routine: feed daily at room temperature or weekly in the fridge.
Notes
Consistency is key when feeding the starter. Discarding a portion helps keep it healthy.
Nutrition
- Serving Size: 1 serving
- Calories: 50
- Sugar: 0g
- Sodium: 0mg
- Fat: 0.5g
- Saturated Fat: 0g
- Unsaturated Fat: 0.5g
- Trans Fat: 0g
- Carbohydrates: 10g
- Fiber: 0g
- Protein: 1g
- Cholesterol: 0mg
Keywords: sourdough, starter, baking, homemade bread, fermentation