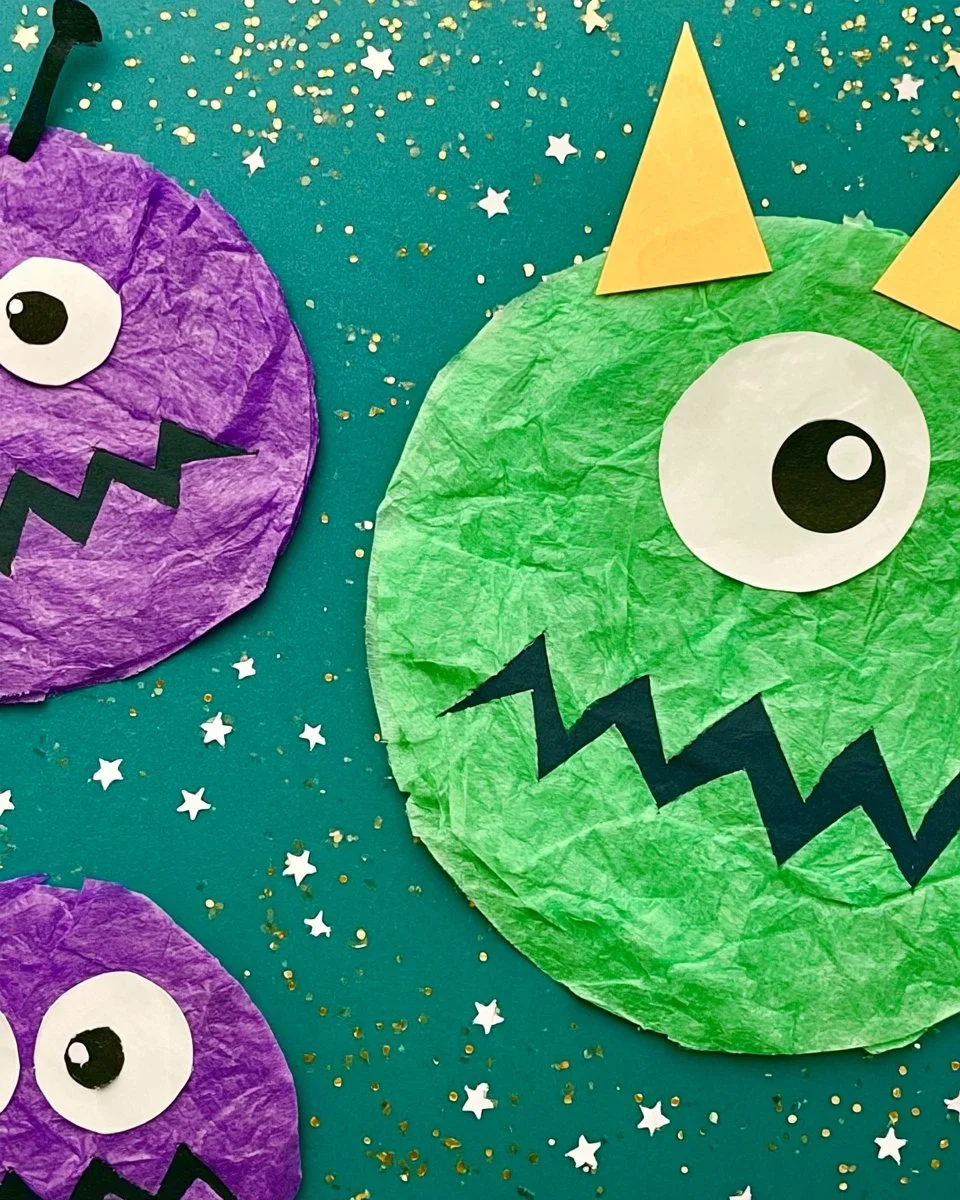
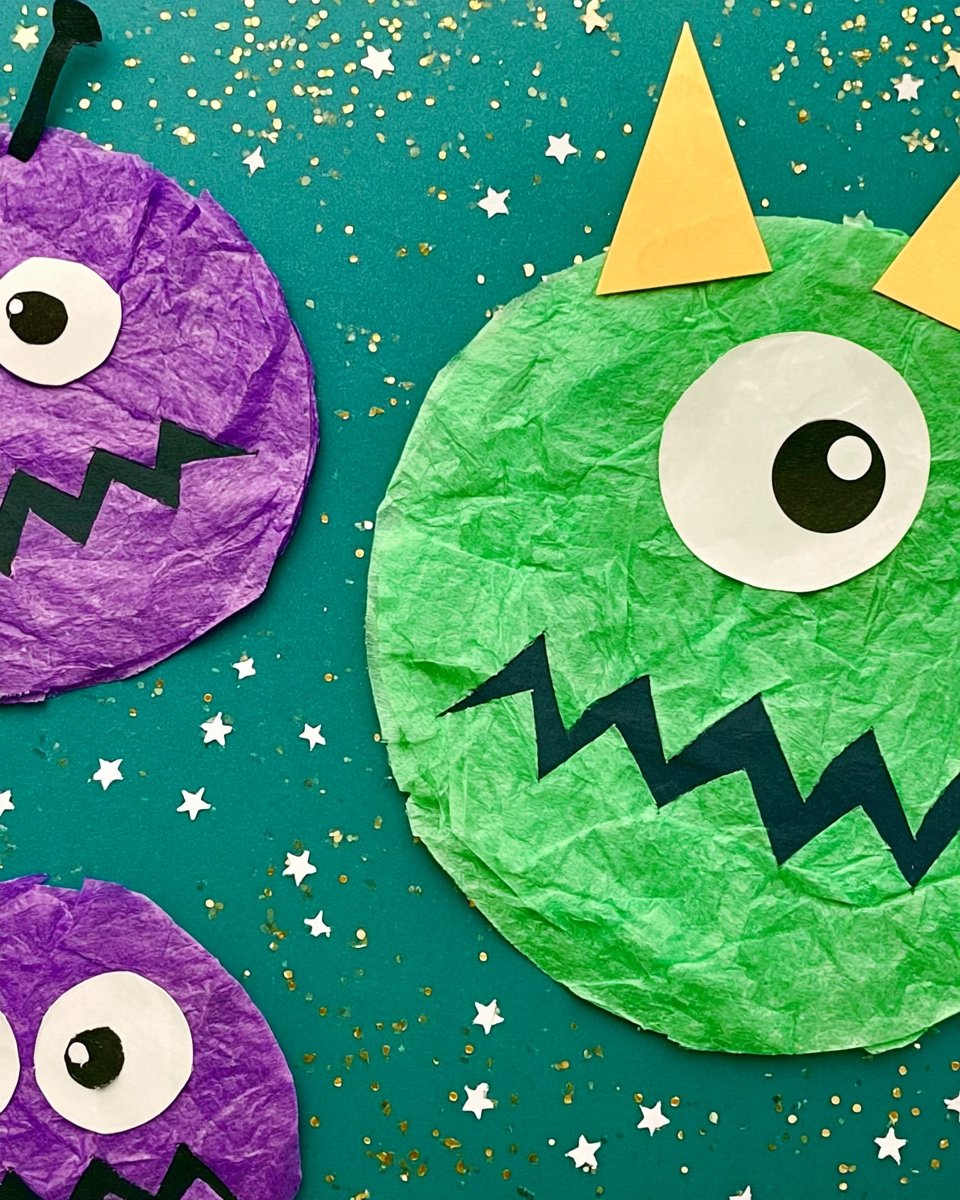
Looking for an engaging and creative DIY project to kick off the Halloween season? The Paper Plate Monster Craft is a fantastic and easy craft idea that is sure to please both kids and adults alike. Not only does this project require simple materials, but it also offers a fun way to decorate your home or use as a playful Halloween gift. With just a few supplies, you can create an array of colorful and whimsical monsters that add a festive touch to your home decor. This craft is perfect for seasonal decorating, making it a great fit for your Halloween festivities.
WHY YOU WILL LOVE THIS Paper Plate Monster Craft
Crafting your own Paper Plate Monster is enjoyable for numerous reasons. First and foremost, it is an easy DIY project that anyone can tackle, even complete beginners. The materials involved are simple and budget-friendly, making this craft a great choice for families or individuals who want to create festive decorations without spending a lot of money.
Moreover, this craft is quick to make, requiring only a short time commitment, allowing you to create multiple monsters without feeling overwhelmed. It’s also a wonderful way to express creativity as you can customize your monsters with various colors, shapes, and sizes. This project serves as a delightful piece of DIY home decor that can liven up your Halloween celebrations and brings smiles to both children and adults.
PROJECT DETAILS
Here’s a quick overview of the details regarding this fun craft project:
Skill Level
Beginner
This project is perfect for beginners. No complex skills are required; just some basic cutting and gluing.
Estimated Time
30-45 minutes
Depending on how detailed you want to get with your designs, this project can take anywhere from 30 to 45 minutes.
Approximate Cost
$5-$10
This is a budget-friendly DIY craft, with the total cost of materials typically ranging between $5 and $10.
Best For
Kids and Adults
This project is suitable for both children and adults, making it a wonderful group activity or family bonding time.
Project Type
Seasonal Craft
This craft is particularly great for Halloween decorating, but you can adapt the colors and styles for any seasonal event.
TOOLS AND EQUIPMENT NEEDED
Here are the few simple tools you’ll need to bring your Paper Plate Monster to life:
Scissors
Scissors are essential for cutting the paper plates and any additional materials you choose to add to your monsters. Ensure you have a good pair, especially if working with children.
Glue
You’ll need glue to adhere different parts together. You can use white school glue, glue sticks, or even craft glue for more durability.
Markers or Paint
Coloring tools like markers or paints will be used to give your monsters personality. You can choose from a variety of colors to customize each monster.
MATERIALS
You’ll need the following materials to create your Paper Plate Monster:
Paper Plates
The base of your monsters will be the paper plates. Any standard disposable paper plate will work, and the shape allows for a variety of monster designs.
Construction Paper
Construction paper is great for adding extra features like eyes, teeth, and other monster parts. Choose a variety of colors to make your monsters stand out.
Googly Eyes
These funny little eyes add an element of playfulness to your crafts. They’re perfect for making each monster unique and whimsical.
Pipe Cleaners
Pipe cleaners can create fun monster accents such as horns or arms. They are easy to bend and shape, making them a versatile addition.
Optional Accessories
You may consider extras like glitter, feathers, or stickers to brighten up your monsters even more.

HOW TO MAKE Paper Plate Monster Craft
Let’s dive into the easy crafting process! Follow these step-by-step instructions to create your own Paper Plate Monster.
Step 1: Gather Your Materials
Collect all the materials required for your project. Make sure you have everything within reach so that you can work efficiently.
Step 2: Prepare Your Paper Plates
Start by choosing the color of your paper plates. You might want to use one or multiple plates for each monster. If desired, color or paint the plates to create a fun backdrop for your designs.
Step 3: Cut Out Monster Features
Using scissors, cut out various shapes from construction paper for eyes, teeth, and other monster features. Feel free to mix colors and shapes to customize your monster’s look.
Step 4: Attach the Features
With glue, attach the features you cut from construction paper to your paper plate. Make sure you secure the googly eyes on top to give them a lively personality.
Step 5: Add Pipe Cleaners
Use pipe cleaners to create fun monster appendages. You can form them into arms, legs, or even horns. Attach them by either gluing them to the back of the paper plate or poking them through the plate.
Step 6: Final Touches
Now it’s time for the final touches! If you want to add glitter, stickers, or any additional decorations, do so at this stage. This is where you can truly personalize your monster.
Step 7: Display Your Monster
Once everything is dry, find a fun place in your home to display your new monster creation. They can be hung up, placed on tables, or even used as party decor.
TIPS AND TRICKS
To ensure you enjoy the crafting process, consider these helpful tips:
-
Choosing Materials: Use bright colors to make your monsters eye-catching. Don’t be afraid to mix and match different types of materials to achieve a 3D effect.
-
Cutting Safely: If you’re crafting with kids, supervise them while they use scissors to ensure their safety.
-
Glussing Generously: Make sure to apply enough glue so that your glued parts stick securely. Don’t worry about mess; it can be cleaned up once everything has dried.
-
Avoiding Common Mistakes: If the features are too small, they may be hard to handle or apply. Choose larger shapes for easier assembly.
-
Personalize Creatively: Use unconventional materials like fabric scraps or ribbons to give a unique texture to your monsters.
-
Storing Safely: Once completed, store your goofy monsters in a safe place where they won’t get squished or damaged.
VARIATIONS AND CUSTOMIZATION IDEAS
There are countless ways you can customize your Paper Plate Monsters. Here are some fun variations:
-
Different Color Schemes: Use Halloween colors like orange, black, and purple or go completely wild with bright pinks and blues for a more traditional monster look.
-
Monster Sizes: Create mini-monsters using small paper plates or even experiment with larger plates for extra-large, funky designs.
-
Theme Monsters: You can design monsters based on specific themes, such as classic movie monsters (like vampires or mummies) or adorable characters (like friendly aliens).
-
Seasonal Versions: Change the decorations with seasonal themes. For example, create spooky witches or cute ghosts for Halloween.
-
Personalized Versions: Let each family member create a monster that represents them with unique features, hair styles, and accessories.
Paper Plate Monster Craft FAQ
How difficult is this craft for beginners?
This project is classified as beginner-friendly, making it perfect for anyone with little to no crafting experience.
What materials do I need for this project?
You’ll need paper plates, construction paper, googly eyes, pipe cleaners, glue, and coloring tools such as markers or paint.
How long does it take to complete this craft?
On average, you can expect to spend around 30 to 45 minutes making your Paper Plate Monsters, depending on how detailed you want to get.
Can I store my finished monsters?
Yes! You can store the completed monsters in a box or container where they won’t get squished or damaged. Keeping them safe will ensure that they last for future use.
What is a good place to display my Paper Plate Monsters?
These quirky crafts make excellent seasonal home decor! You can hang them on walls, place them in windows, or use them as centerpieces for festive parties.
CONCLUSION
The Paper Plate Monster Craft is an easy, creative DIY project that wonderfully suits Halloween festivities or seasonal decorating. This budget-friendly craft allows for endless personalization while using simple materials easily found at home.
Encourage your family or friends to join in, making it a collaborative bonding experience. With these easy steps and tips, you can create a memorable monster to bring joy to your Halloween decor. So gather your supplies, unleash your creativity, and have fun with this delightful Halloween craft! Don’t forget to share your completed projects or any customization ideas you have!
PrintPaper Plate Monster Craft
A fun and easy DIY project to create whimsical monsters for Halloween using simple materials.
- Prep Time: 10 minutes
- Cook Time: 0 minutes
- Total Time: 30-45 minutes
- Yield: Varies based on time and materials
- Category: Craft
- Method: Crafting
- Cuisine: N/A
- Diet: N/A
Ingredients
- Paper Plates
- Construction Paper
- Googly Eyes
- Pipe Cleaners
- Glue
- Markers or Paint
- Optional Accessories (glitter, feathers, stickers)
Instructions
- Gather Your Materials
- Prepare Your Paper Plates
- Cut Out Monster Features
- Attach the Features
- Add Pipe Cleaners
- Final Touches
- Display Your Monster
Notes
Customize your monsters with various colors and features for a unique touch.
Nutrition
- Serving Size: 1 monster
- Calories: N/A
- Sugar: N/A
- Sodium: N/A
- Fat: N/A
- Saturated Fat: N/A
- Unsaturated Fat: N/A
- Trans Fat: N/A
- Carbohydrates: N/A
- Fiber: N/A
- Protein: N/A
- Cholesterol: N/A
Keywords: Halloween, craft, DIY, kids, family activity, seasonal decor