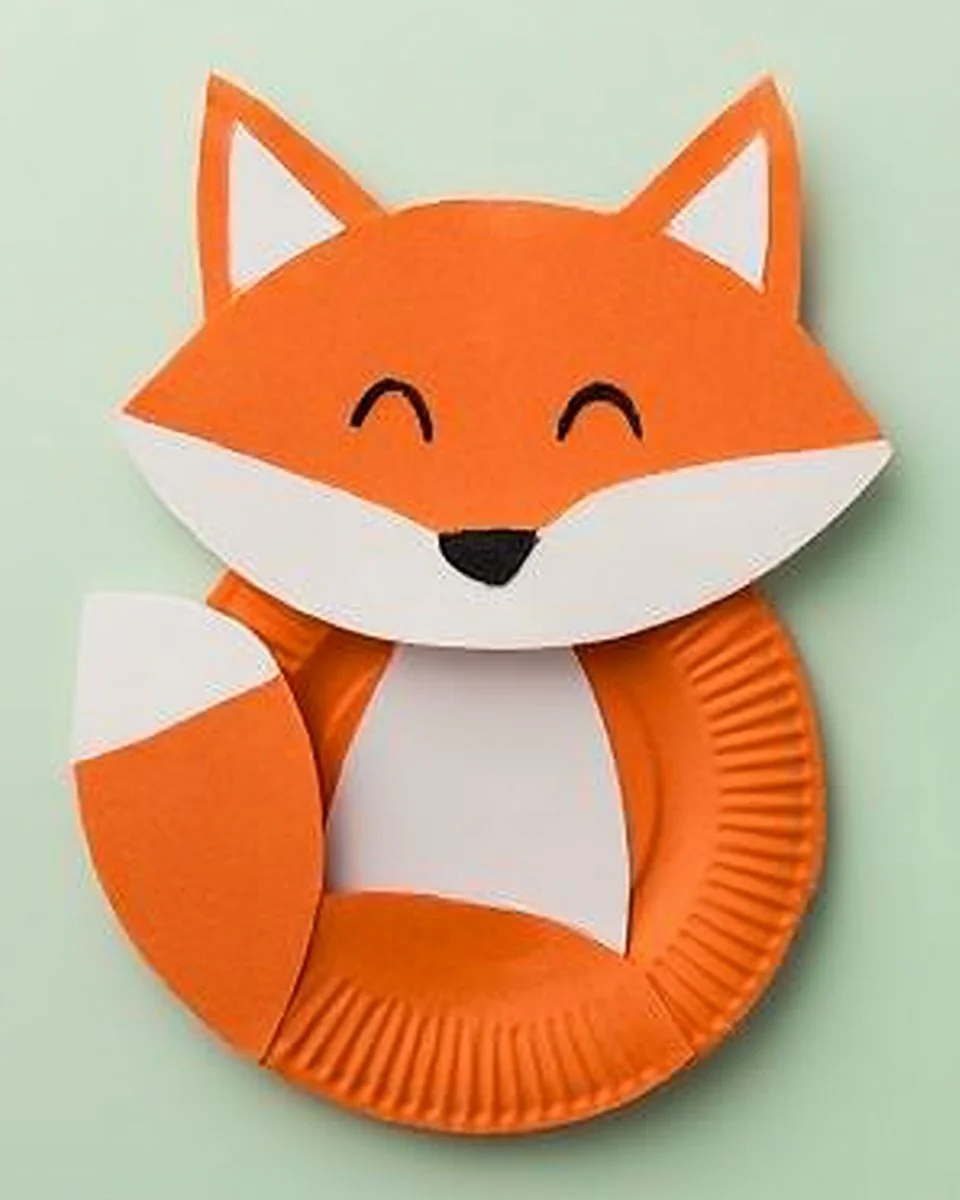
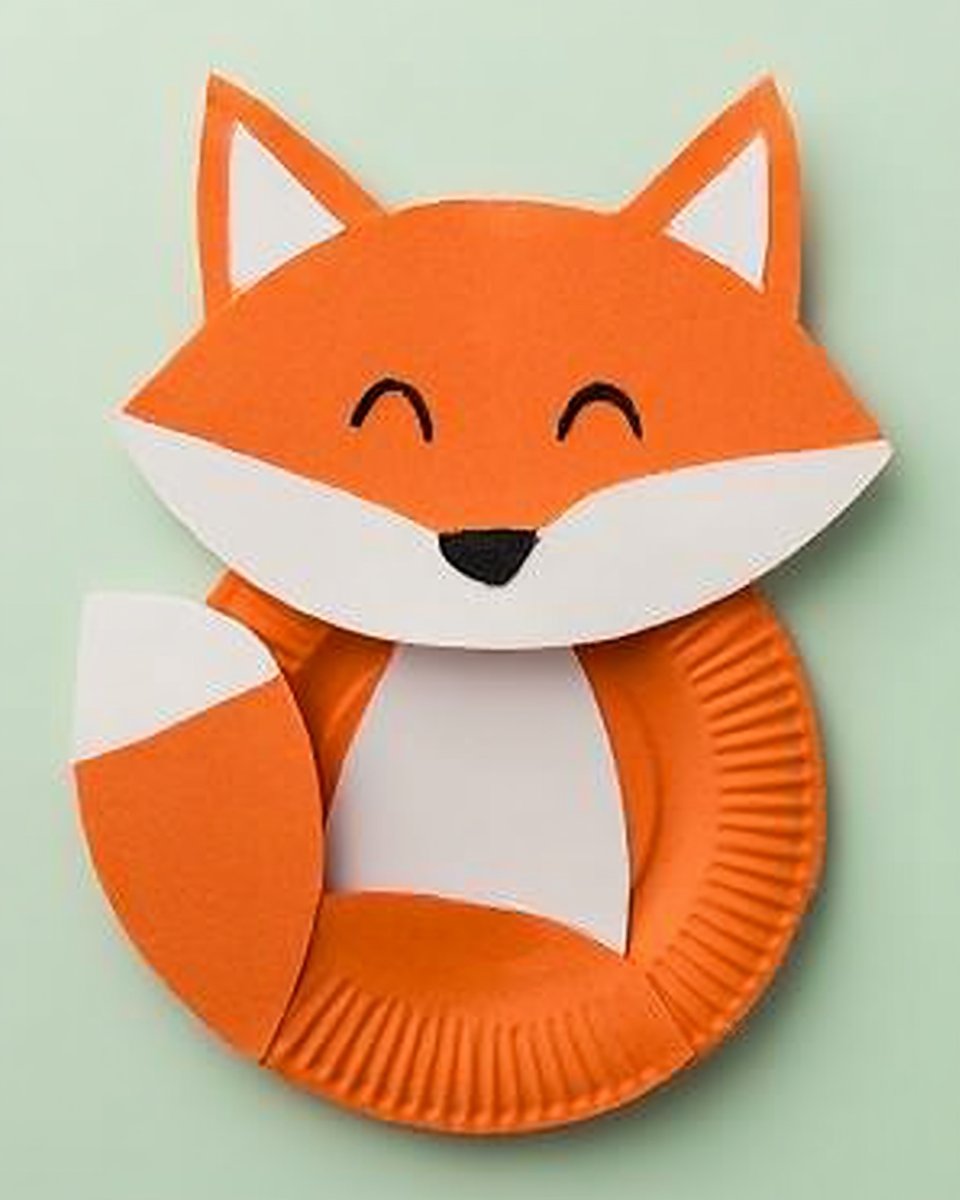
Creating a Red Fox Paper Plate Craft is the perfect easy DIY project for anyone looking to brighten up their home with seasonal crafts. This simple craft combines creative fun with easy-to-find materials, making it a great activity for adults and children alike. Whether you’re crafting for fall decor, a school project, or just some quality time with family, this paper plate craft is sure to bring joy and creativity to your space.
WHY YOU WILL LOVE THIS Red Fox Paper Plate Craft
There are many reasons why this Red Fox Paper Plate Craft is enjoyable and worthwhile to create:
- Easy for Beginners: This project doesn’t require any advanced crafting skills, making it perfect for those new to DIY crafts.
- Uses Simple Materials: The materials needed are easy to find and inexpensive, making this a budget-friendly craft.
- Quick to Make: You can complete this project in a short amount of time, making it a great option for a quick creative session.
- Great for Home Decor: Finished crafts add a touch of creativity to home decor, especially during the fall season.
- Great for Gifts: The handmade nature of this craft makes it ideal for thoughtful, personalized gifts.
- Easy to Customize: You can modify this craft to fit your style or seasonal needs.
PROJECT DETAILS
Skill Level
This craft is suitable for all skill levels, especially beginners. It’s a perfect way to jump into the world of easy crafts.
Estimated Time
You can complete this Red Fox Paper Plate Craft in approximately 30-45 minutes, depending on your involvement and distraction levels!
Approximate Cost
This is a budget-friendly DIY project, with total costs around $10 or less, depending on what materials you already have at home.
Best For
This craft is ideal for seasonal decorating or as a fun school project. It is also a wonderful way to bond with children and friends during fall.
Project Type
This is a fun, decorative craft that falls into the seasonal crafts category. It’s also an excellent choice for those seeking easy DIY projects.
TOOLS AND EQUIPMENT NEEDED
Scissors
Scissors are necessary to cut your paper plates into shapes. Choose a pair with kid-friendly safety features if children are involved.
Glue Stick or Craft Glue
You will use glue to attach various components together. A glue stick is easier to manage and less messy for kids.
Paintbrush (Optional)
If you decide to paint your plates, a paintbrush will help you apply color smoothly.
MATERIALS
Paper Plates
Paper plates are the base of your craft. Choose the classic white plates or those with fun designs—just ensure they are the right size for your project.
Orange and White Construction Paper
These colors will be perfect for creating your fox’s features. You will need orange for the body and white for the belly and other accents.
Black Marker or Marker Pen
Use a black marker to add details like facial features and outlines to your fox.
Googly Eyes (Optional)
Googly eyes can add a fun, animated look to your fox. They are easy to attach with glue.
Brown or Black Felt (Optional)
Felt can be used for ears or to add more texture to your fox’s features.
Optional Decorations
Consider using sequins, glitter, or fall-themed stickers for extra flair.

HOW TO MAKE Red Fox Paper Plate Craft
Step 1: Prepare Your Plates
Start by laying out your paper plates. If you want your fox to be more dynamic, consider cutting one plate in half to create ears.
Step 2: Create Fox Features
Using the orange construction paper, cut out a body shape and ears. For the belly, cut out a smaller oval shape from the white paper and a triangle for the tip of the tail.
Step 3: Glue Body Parts
Using your glue stick, attach the orange body to the paper plate. Then, glue on the white belly shape. If you’re using felt, you can glue it on as well to add different textures.
Step 4: Add Facial Features
Now it’s time to give your fox some personality! Use the black marker to draw eyes, a nose, and a goofy smile on the fox’s face. If you’re using googly eyes, simply adhere them with glue.
Step 5: Assemble Your Ears
Glue the ears you cut out earlier onto the top of the paper plate. Make sure they are secure so your fox can stand tall and proud!
Step 6: Finishing Touches
Add any additional decorations such as glitter or stickers to your craft. Allow enough time for any glue to dry properly.
Step 7: Display Your Craft
Once everything has dried thoroughly, find a perfect spot for your newly created Red Fox Paper Plate Craft. It can sit on a shelf, be hung on a wall, or even decorate your dining table.
TIPS AND TRICKS
- Choosing Materials: If you can’t find orange paper, you can use paint or markers to color white plates instead.
- Cutting and Gluing: Use safety scissors for children, and remind them to take it slow when cutting to prevent accidents.
- Avoiding Common Mistakes: Apply glue to the entire surface of your components rather than just edges for better stickiness.
- Get Creative with Color: You’re not just limited to an orange fox. Try creating a blue or purple variant for fun!
- Making the Craft Last Longer: If you prefer a more durable decoration, consider using cardstock paper instead of construction paper.
- Eco-Friendly Options: You can use recycled paper or old cardboard if you’re looking for upcycled crafts as well.
VARIATIONS AND CUSTOMIZATION IDEAS
- Different Colors: Consider other animal variations, like a rabbit or a bear, by changing the colors and adding different features.
- Use Different Sizes: You can create larger or smaller versions based on your preferences.
- Add Scarves or Hats: Use leftover fabric or paper to add hats or scarves to your fox for seasonal festive looks.
- Personalized Versions: Add names or messages to your fox to make it a unique gift for friends or family.
- Holiday Versions: For Halloween, you can turn the fox into a spooky version by adding spooky decorations.
- Change Patterns: Consider using patterned paper for the body instead of solid colors for a more creative vibe.
Red Fox Paper Plate Craft FAQ
1. Is this craft difficult to make?
No! The Red Fox Paper Plate Craft is very beginner-friendly and simple to create. It’s an easy DIY that anyone can follow.
2. What materials do I need for this craft?
You’ll need paper plates, orange and white construction paper, a black marker, glue, and optional decorations like googly eyes and felt.
3. How should I store my completed craft?
Once your project is dry, keep it in a cool, dry place to prevent damage. Avoid direct sunlight to keep the colors vibrant.
4. Can children help with this craft?
Yes, children can easily take part in this simple craft! Just ensure they have appropriate scissors and monitor their use of glue.
5. How long does this craft take to make?
You can finish this craft in about 30 to 45 minutes, making it a quick but fun project to engage in.
CONCLUSION
The Red Fox Paper Plate Craft is an easy, budget-friendly, and creative DIY project that brings the beauty of fall into your home. It’s perfect for beginners, takes little time, and provides a great opportunity for customization. By using simple materials, anyone can easily create their unique fox decoration. So gather your supplies, dive into this fun project, and don’t forget to share your experience or finished craft with others!
PrintRed Fox Paper Plate Craft
A fun and easy DIY project to create a decorative red fox using paper plates, perfect for seasonal decor or school projects.
- Prep Time: 15 minutes
- Cook Time: 0 minutes
- Total Time: 30 minutes
- Yield: 1 craft
- Category: Crafts
- Method: DIY
- Cuisine: N/A
- Diet: N/A
Ingredients
- Paper Plates
- Orange Construction Paper
- White Construction Paper
- Black Marker
- Glue Stick or Craft Glue
- Googly Eyes (Optional)
- Brown or Black Felt (Optional)
- Optional Decorations (e.g., sequins, glitter)
Instructions
- Prepare Your Plates
- Create Fox Features
- Glue Body Parts
- Add Facial Features
- Assemble Your Ears
- Add Finishing Touches
- Display Your Craft
Notes
Use recycled materials for an eco-friendly option. Consider customizing with different colors or patterns.
Nutrition
- Serving Size: 1 craft
- Calories: 0
- Sugar: 0g
- Sodium: 0mg
- Fat: 0g
- Saturated Fat: 0g
- Unsaturated Fat: 0g
- Trans Fat: 0g
- Carbohydrates: 0g
- Fiber: 0g
- Protein: 0g
- Cholesterol: 0mg
Keywords: DIY crafts, paper plate craft, fall decor, children's activities, easy crafts