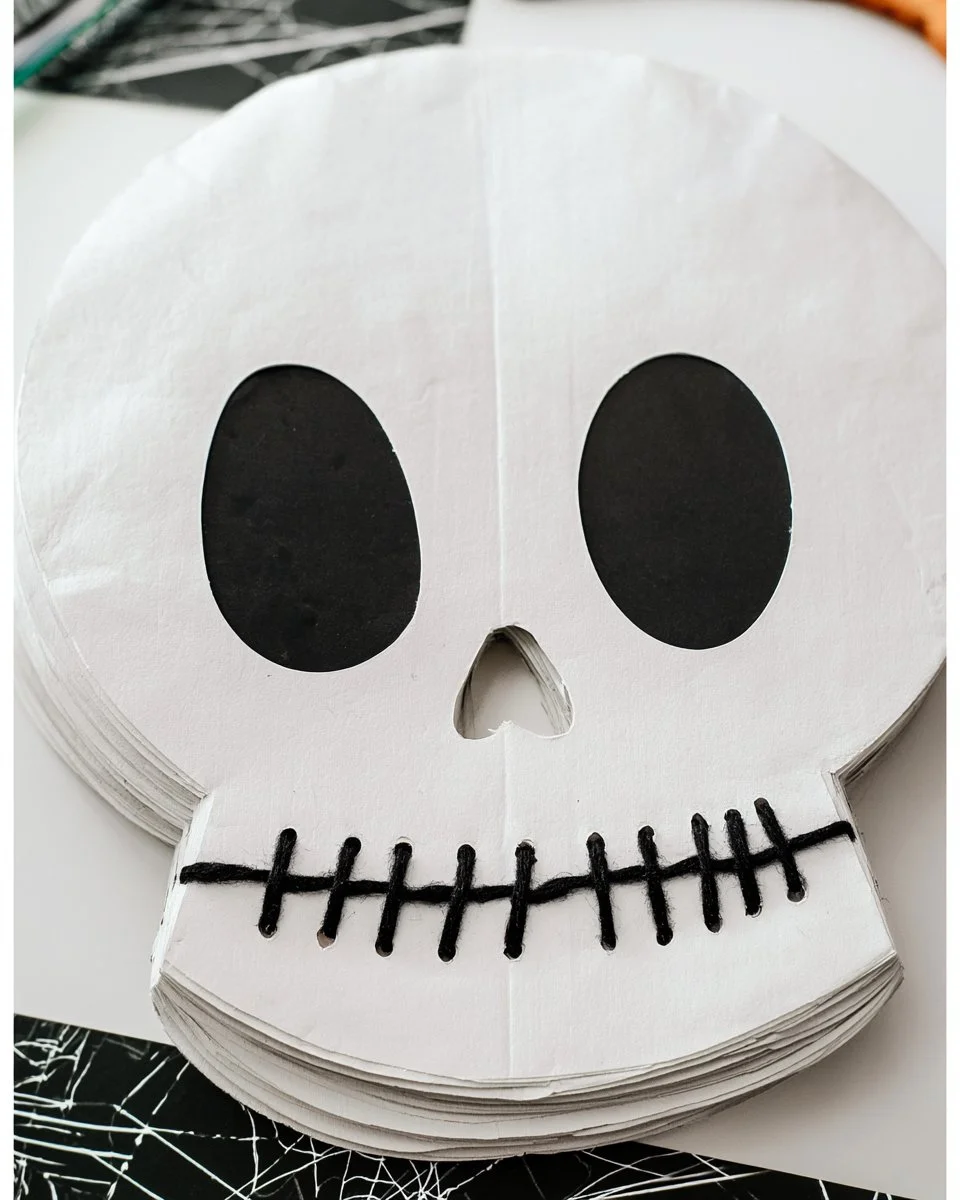
Skeleton Paper Plate Lacing Craft is a fun and engaging DIY project that combines creativity with skill-building. This easy craft allows participants to make colorful skeleton decorations using simple materials like paper plates, yarn, and glue. Perfect for beginners, it is an ideal way to celebrate Halloween, or just to add a unique handmade touch to home decor. Whether you want a quick project with your kids, need budget-friendly decorations, or are looking for seasonal crafts, this skeleton lacing craft is a great choice!
WHY YOU WILL LOVE THIS Skeleton Paper Plate Lacing Craft
The Skeleton Paper Plate Lacing Craft is a wonderful project that anyone can enjoy. Here are just a few reasons why you’ll love making this easy DIY project:
- Easy for Beginners: This project does not require any special skills or tools, making it accessible for crafters of all ages and abilities.
- Uses Simple Materials: You won’t need to buy anything fancy. Most of the materials are common household items, keeping costs low.
- Budget-Friendly: It’s an affordable crafting option that uses inexpensive materials like paper plates and yarn.
- Quick to Make: This craft doesn’t take long to complete, making it perfect for a quick and easy DIY session.
- Great for Home Decor: You can use these skeletons to decorate your home for Halloween or any fun gathering.
- Easy to Customize: The project allows for plenty of personal touches, encouraging creativity in the final look.
This skeleton craft is not only a great way to fill time, but it’s also a fantastic opportunity to create unique decorations or gifts!
PROJECT DETAILS
Skill Level
Beginner: This craft is perfect for those new to DIY crafts.
Estimated Time
30-45 minutes: The project can be completed in about half an hour, making it a great option for short crafting sessions.
Approximate Cost
Under $10: The materials needed are budget-friendly, making this project economical.
Best For
Kids and adults: Ideal for family crafting sessions, classes, or holiday activities.
Project Type
Seasonal craft: Perfect for Halloween or general festive decorative themes.
TOOLS AND EQUIPMENT NEEDED
Scissors
Used for cutting the paper plate into the shape of a skeleton.
Hole Punch
This tool creates holes for lacing the yarn, helping to secure the various parts of the skeleton together.
MATERIALS
Paper Plates
The base of the craft, these plates will be cut to create the skeleton’s shape. Use white plates for a classic look!
Black Marker
Used to draw features like the eyes and mouth to give personality to your skeleton.
Googly Eyes
These fun add-ons add a touch of whimsy to your skeleton, making it more lifelike and entertaining.
Black Yarn
This serves as the lacing material to bring decorative features to life by weaving it through the holes you will punch.
Glue
Used to secure parts of the craft, such as attaching the nose piece to the skeleton and ensuring everything stays in place.

HOW TO MAKE Skeleton Paper Plate Lacing Craft
Step 1: Shape the Skeleton
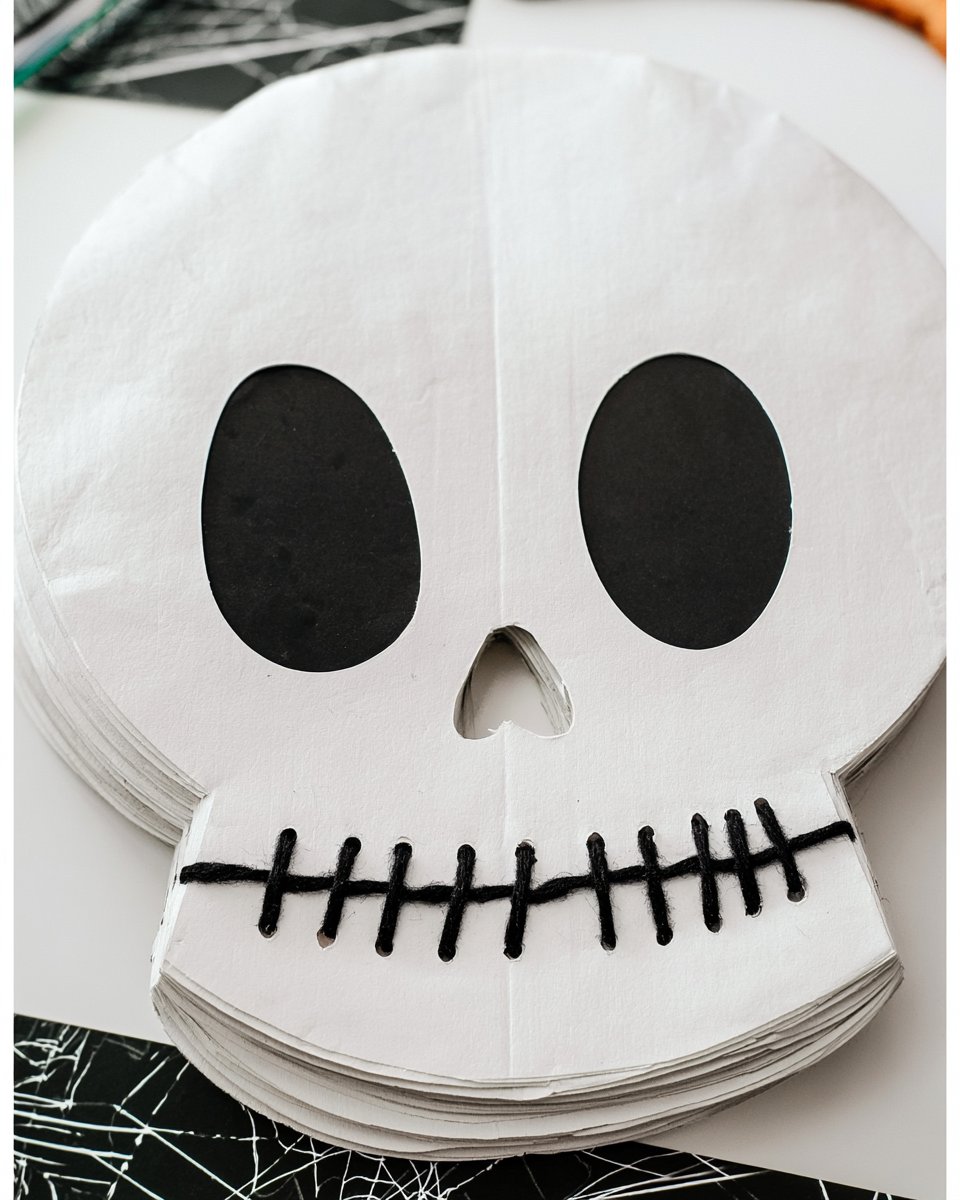
Start by cutting the paper plate to resemble a skeleton shape. Cut out notches on the sides for the head and create a lower jaw shape.
Step 2: Draw the Face
Use the black marker to color two big oval eyes. Additionally, cut a small piece of the paper plate and color it with the black marker to serve as the skeleton’s nose.
Step 3: Punch Holes
Using the hole punch, carefully punch holes along the bottom of the skeleton’s head and on the top of the jaw piece. You should also punch holes for the nose piece.
Step 4: Weave the Yarn
Take the black yarn and weave it through the holes in the nose piece to form nostrils. Tie the yarn at the back to secure it and use glue to attach the nose piece to the skeleton.
Step 5: Create a Smile
Weave more yarn through the jaw holes to create a smile. Once you’ve finished weaving, secure the ends with knots to ensure everything stays in place.
TIPS AND TRICKS
- Choosing Materials: Opt for sturdy paper plates so they hold up well when cut and decorated. Look for thicker plates at the store.
- Cutting Safely: Always cut away from your body, and if you’re assisting children, supervise them closely. Consider using safety scissors for younger crafters.
- Avoiding Common Mistakes: Be sure to plan your design before cutting or punching holes to know where everything fits.
- Getting a Better Finish: After creating your skeleton, display it in a well-lit area to highlight its features.
- Saving Money: Use leftover materials from previous crafts or recycle items from around your home.
- Making the Craft Last Longer: To provide durability, consider using clear contact paper over the decorated skeleton for protection.
- Working Safely: Ensure that children are careful with scissors and the hole punch, and keep all sharp tools out of reach when not in use.
VARIATIONS AND CUSTOMIZATION IDEAS
There are many ways to customize your skeleton lacing craft:
- Different Colors: Instead of a black-and-white skeleton, try using colored markers or yarn to create a more vibrant design.
- Size Variations: Use larger or smaller paper plates to create skeletons of varying sizes, perfect for different display needs.
- Seasonal Versions: Add festive elements for different holidays by using themed decorations, like a Santa hat for Christmas or a bunny nose for Easter.
- Different Patterns: Instead of a classic skeleton, create themed characters like monsters, ghosts, or ghouls with your paper plates.
- Personalized Versions: Let your kids personalize their skeletons by adding their names or any fun details they like.
Skeleton Paper Plate Lacing Craft FAQ
Is this craft suitable for all ages?
Yes, it is a beginner-friendly craft, making it suitable for both children and adults. Supervision is recommended for younger kids when using scissors.
How much time does it take to complete the Skeleton Paper Plate Lacing Craft?
The craft can be completed in about 30-45 minutes, making it a great short DIY project.
What materials are required for this craft?
You will need paper plates, a black marker, googly eyes, black yarn, and glue.
How do I store the finished skeletons?
Store them in a dry place, ideally in a box. Avoid direct sunlight to keep the colors vibrant.
Can I clean the skeleton once it’s made?
If needed, gently dust it with a soft cloth. Avoid getting it wet, as it may damage the paper.
CONCLUSION
The Skeleton Paper Plate Lacing Craft is an easy and fun DIY project that’s perfect for beginners of all ages. It uses simple, budget-friendly materials and can be completed quickly, making it an ideal choice for seasonal or holiday decorating. Plus, the customization options allow for creativity and personal touches. Whether you’re crafting for Halloween or simply looking for an enjoyable activity, this skeleton craft is a delightful way to explore your artistic side. Try your hand at this easy craft idea, and don’t forget to share your completed projects and any unique variations you come up with!
PrintSkeleton Paper Plate Lacing Craft
A fun and engaging DIY project to create colorful skeleton decorations using simple materials. Perfect for Halloween or as unique home decor!
- Prep Time: 15 minutes
- Cook Time: 0 minutes
- Total Time: 30 minutes
- Yield: 1 skeleton decoration
- Category: Craft
- Method: Lacing
- Diet: Vegetarian
Ingredients
- Paper Plates
- Black Marker
- Googly Eyes
- Black Yarn
- Glue
Instructions
- Shape the skeleton by cutting the paper plate to resemble a skeleton shape.
- Draw the face using the black marker to color two big oval eyes.
- Punch holes carefully along the bottom of the skeleton’s head and on the top of the jaw piece.
- Weave the black yarn through the holes in the nose piece to form nostrils.
- Create a smile by weaving more yarn through the jaw holes and secure the ends with knots.
Notes
Choose sturdy paper plates for better durability. Always supervise children when using scissors.
Nutrition
- Serving Size: 1 skeleton
- Calories: 50
- Sugar: 0g
- Sodium: 5mg
- Fat: 1g
- Saturated Fat: 0g
- Unsaturated Fat: 1g
- Trans Fat: 0g
- Carbohydrates: 10g
- Fiber: 0g
- Protein: 1g
- Cholesterol: 0mg
Keywords: Halloween, DIY craft, kids craft, paper plate craft, seasonal decoration