A crochet wind spinner starts as a long, simple strip. A few rows of increases turn it into a lovely spiral, and a decorative edge gives it even more movement. Add a tassel for a playful finish, or make a sunflower version for a garden or porch.
This is a quick project that took me about an hour to make. Once you see the spiral forming, it is very tempting to make another one in a different color combination!
What You’ll Learn
- Two rows of increases turn a straight crochet strip into a spiral.
- A picot border adds small decorative points along the outer edge.
- Finish the spinner with either a multicolored tassel or a crochet sunflower.
Materials and color choices
- Worsted weight yarn in three colors for the spinner
- A 5 mm crochet hook
- A tapestry needle and scissors
- An optional piece of cardboard or another small object to wrap yarn around for the tassel
I used 100% cotton yarn because I like it for home decorations, but you can use yarn you already have. For the tassel version, I chose beige, yellow, and orange, then brought the beige back for the final border. The sunflower version uses colors inspired by the flower, including green along the spiral.

Crochet the spiral
The spinner has four rows. The first establishes its length, the next two add enough stitches to make it curl, and the last creates a little picot border. Use the stitch instructions below with whichever colors you prefer.
Row 1: Make the foundation
- Make a slip knot and chain until the foundation measures at least 50 cm. I made 71 chains.
- Chain one more, then work one single crochet into the second chain from the hook.
- Continue with one single crochet in every chain to the end of the row.
- Begin the final single crochet, but do not complete it with the first color. Pull the second color through to finish the stitch, then cut the first color.
Measure your chain rather than relying only on my stitch count. A different yarn or tension can change how many chains you need for a long spinner.
Row 2: Double the stitches
With the second color, chain one and turn. Work two half double crochets into every stitch across the row. Both stitches go into the same stitch from Row 1, creating an increase each time.
At the end, leave the final half double crochet unfinished and complete it with your third color. Cut the second color, leaving a tail long enough to weave in later.
Row 3: Build the curl
With the third color, chain two and turn. Work two double crochets into every stitch across the row. The strip will begin to curl as all those extra stitches spread along its outer edge.
On the last double crochet, change back to your border color by using it to complete the stitch. Cut the third color.
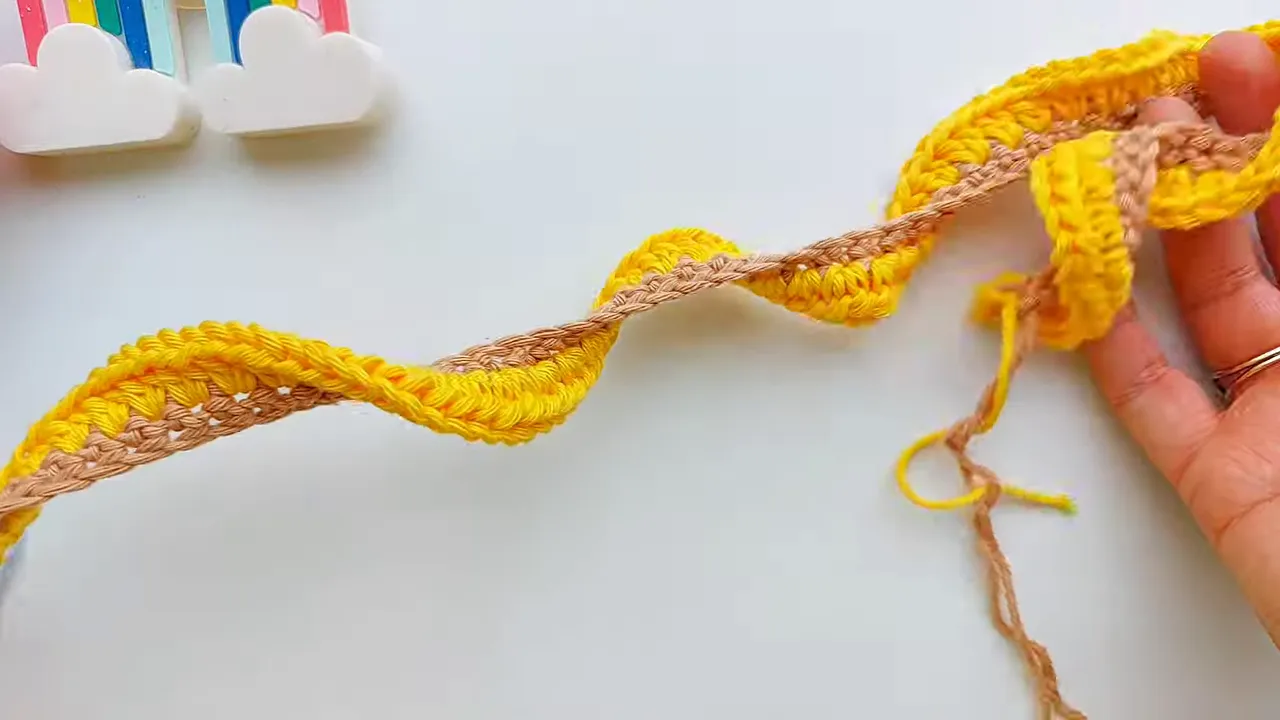
Row 4: Add the picot border
Chain one and turn. Work one single crochet into each of the next three stitches. Then chain three and slip stitch into the first of those three chains to make a small picot.
Repeat that sequence across the border: single crochet in the next three stitches, chain three, then slip stitch into the first chain. You can crochet over nearby yarn tails as you work to help hide them. If only a few stitches remain at the end, work a single crochet in each one without forcing another picot. Chain one, cut the yarn, and fasten off.
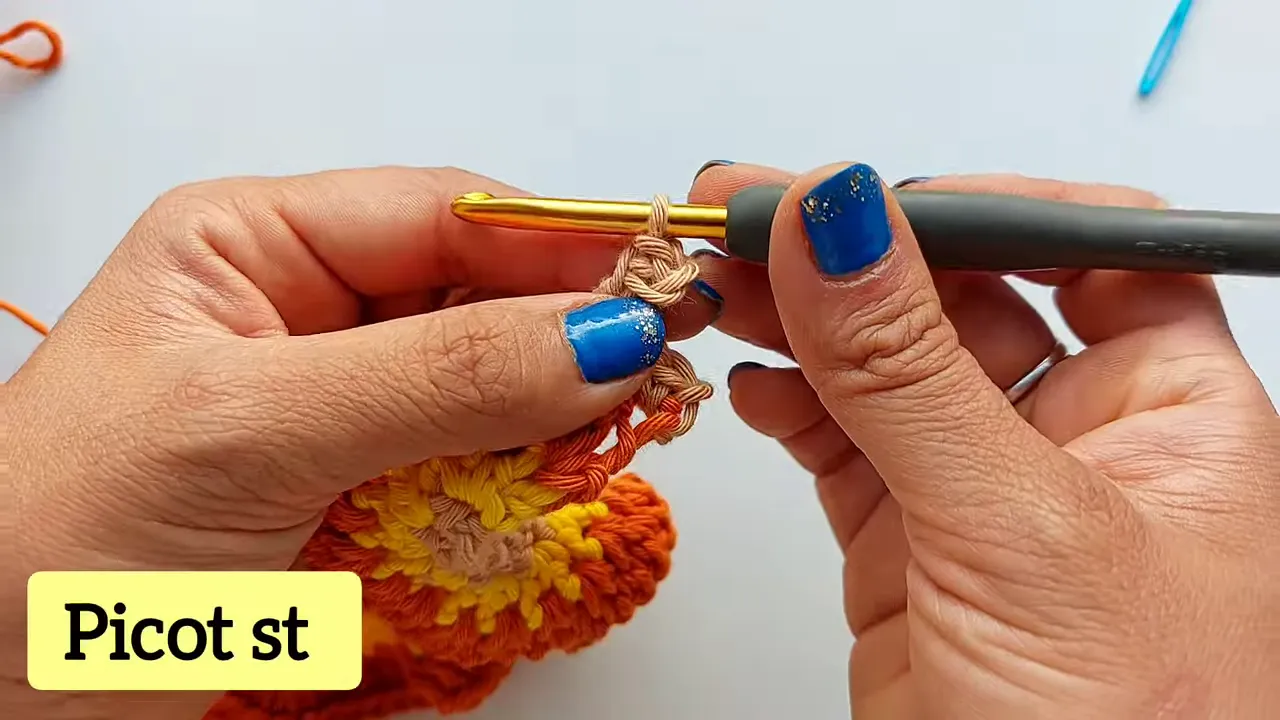
Make a hanging loop and tidy the ends
Use the yarn tail from the beginning of the foundation chain to form a small loop at the top, then tie it securely. This gives you a way to hang the spinner while leaving it free to turn.
Thread each remaining tail onto a tapestry needle and weave it through nearby stitches two or three times before trimming. I went through twice for this decoration. Take a moment to check both sides, especially where you changed colors.
Add a colorful tassel
A tassel adds weight and a fun finish to the bottom of the spiral. I used strands in the same three colors as my spinner and wrapped them around a small toy phone. Anything you can comfortably slide the yarn off will work.
- Hold a strand of each color together and wrap them around your chosen object at least 10 times, or until the bundle looks as full as you want.
- Cut the wrapping yarn. Cut a separate piece of yarn at least 30 cm long to secure the bundle.
- Carefully slide the loops off the object. Pass the long securing strand through the top of the bundle and tie two or three firm knots.
- Cut through the loops at the opposite end to create the fringe. Remove any loose bits and straighten the strands.
- Wrap another piece of yarn around the bundle just below its top to shape the tassel head. Knot it securely two or three times, then hide those ends inside the tassel with a tapestry needle.
- Trim the fringe until the ends look even.
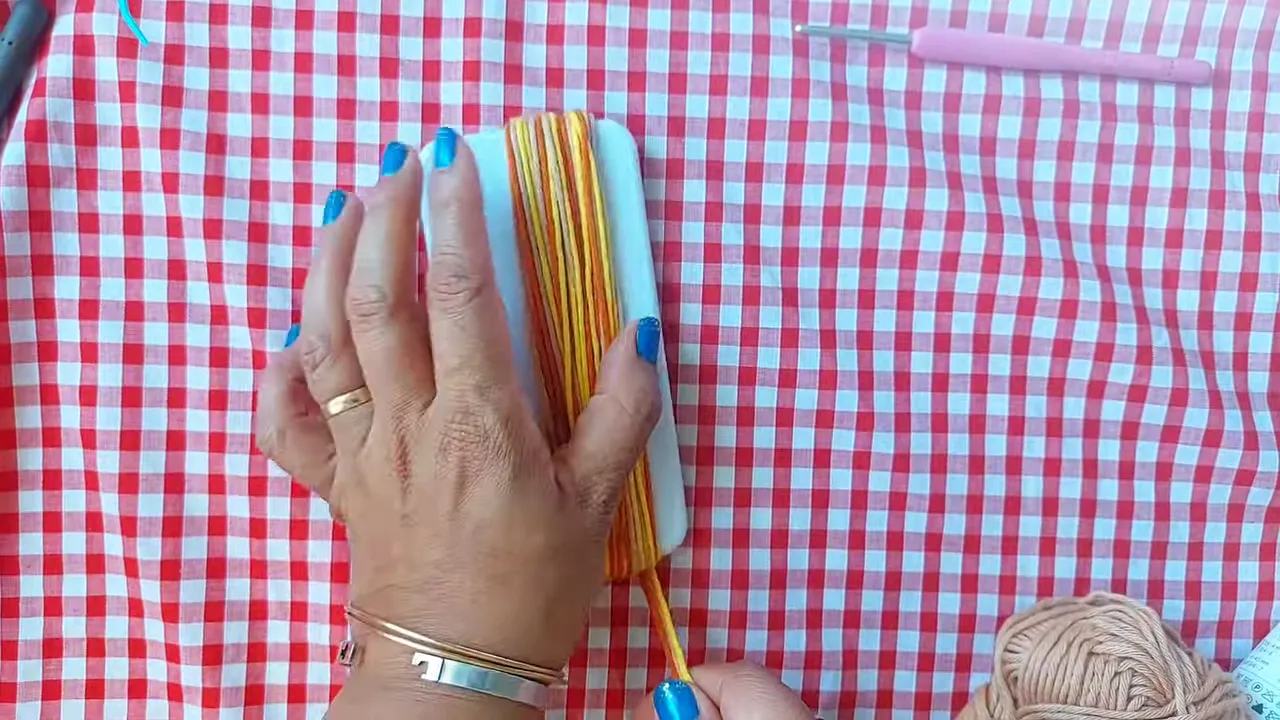
To attach the tassel, thread its two long top strands onto a tapestry needle. Pass them through the stitches at the bottom of the spinner, then go through again a couple of times so the tassel is secure. Weave in the ends and trim them.
Make the sunflower version
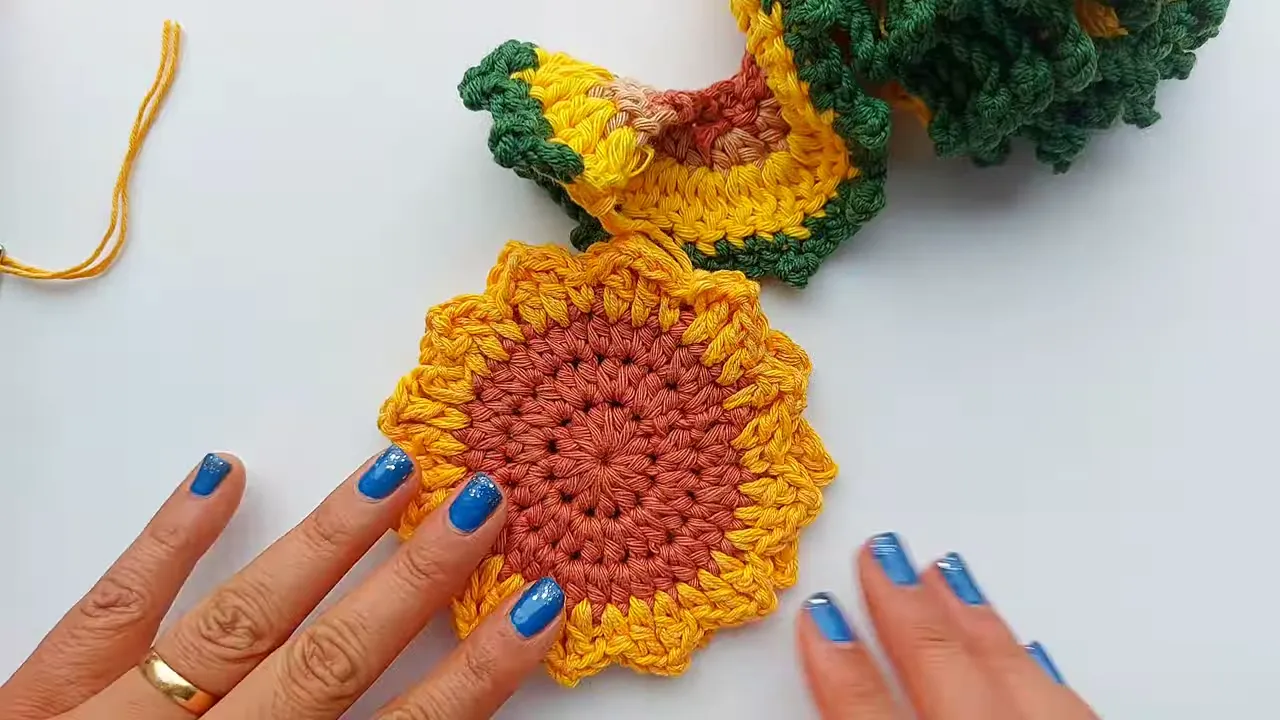
For a second design, replace the tassel with a crochet sunflower. I made two sunflower pieces for a fuller finish, although one is fine if you prefer it. Each flower has three rounds in brown and one round in yellow. You can make the flowers using my sunflower coaster tutorial.
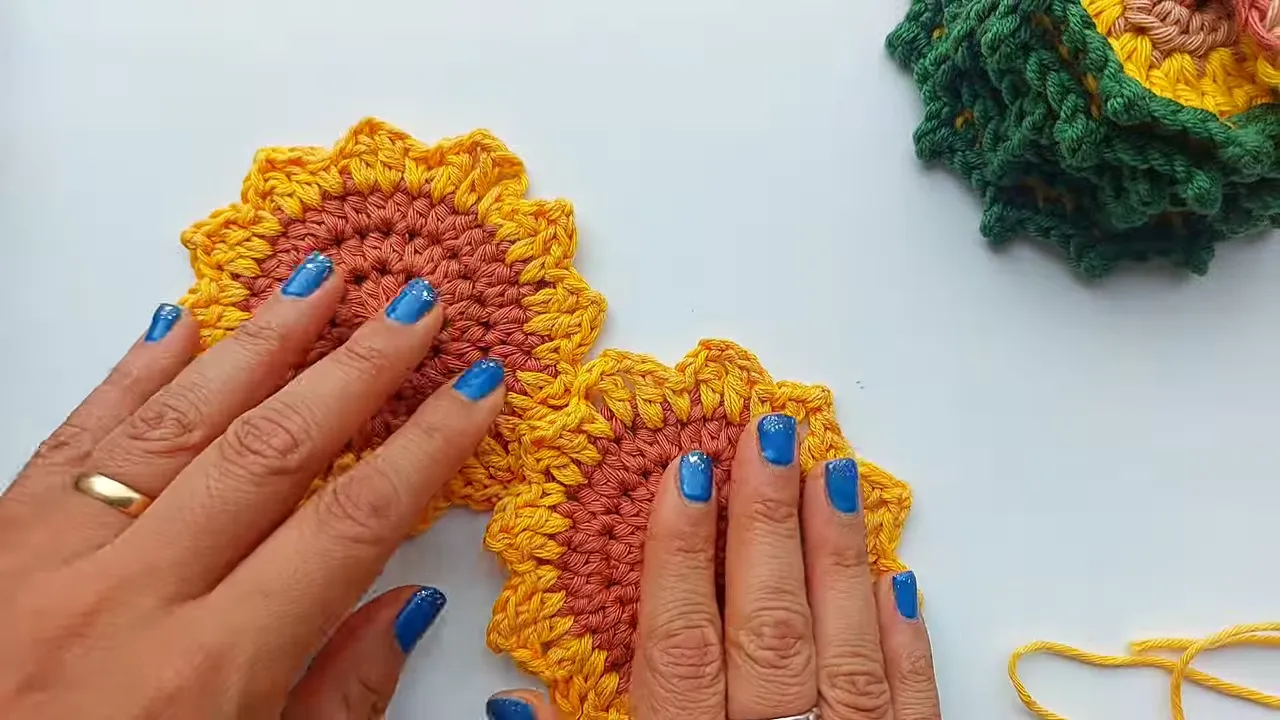
To attach them, cut a strand of yarn approximately 27 cm long. Use your crochet hook to secure it to the bottom of the spinner, passing through the yellow section near its end. Place the two sunflowers together, then pass the yarn through the petals on both pieces and tie it securely. Hide the ends with a tapestry needle.
Next, cut another strand at least 30 cm long. Sew the petals together along the bottom edge. This brings the two flowers into a fuller shape with more texture. Weave in the remaining ends, and the sunflower spinner is ready to hang.
The same spiral can look completely different with a new set of colors or a different finish. Keep it simple with the tassel, or add the sunflower when you want something extra cheerful.
Tuturial guide Made with using Easy Crochet Wind Spinner Tutorial! Make them in under ONE HOUR!