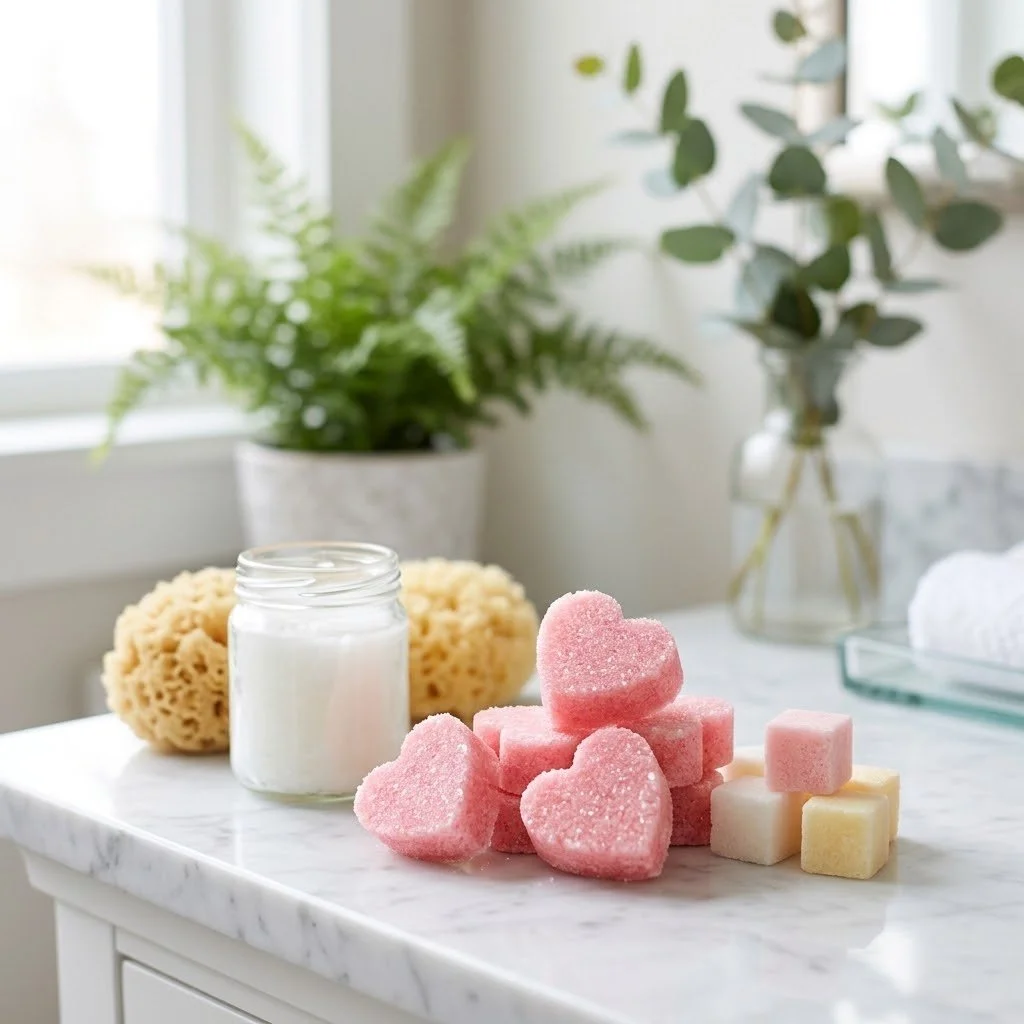
Sugar scrubs are a delightful way to pamper yourself at home while also offering numerous skin benefits. These scrubs help exfoliate, moisturize, and soften your skin, making them an excellent addition to your self-care routine. If you’re looking for a healthy version of your regular scrub, this sugar scrub recipe is simple, effective, and completely customizable. With a base of sugar and coconut oil, this scrub is not only great for soothing your skin but can also be tailored to your scent preferences by adding essential oils. Let’s dive into the steps to create this refreshing sugar scrub that is perfect for gifting or keeping all for yourself!
WHY YOU WILL LOVE THIS Sugar Scrub
Making your own sugar scrub is an easy way to create a pampering experience at home. This recipe is not only easy but also customizable to fit any skin type or preference. Sugar scrubs provide gentle exfoliation, which helps to remove dead skin cells, leaving your skin smooth and rejuvenated. By using coconut oil, this scrub offers hydration while maintaining a healthy glow. Additionally, this homemade scrub is often a lighter option than store-bought products, which can be filled with preservatives and artificial fragrances. Use this sugar scrub for a great at-home spa day that is delightful and good for your skin!
EQUIPMENT NEEDED
Equipment 1: Medium Saucepan
A medium saucepan is essential for melting the coconut oil and mixing in the soap. It allows for even heat distribution, ensuring that the oil melts properly without burning.
Equipment 2: Spoon
A sturdy spoon is necessary for stirring the mixture together. Ensure it can handle thick mixtures like sugar and oil.
Equipment 3: Silicone Molds or Lined Tray
Silicone molds or a lined baking tray is needed to set your scrub. Silicone molds allow for easy removal of the scrub shapes, while a tray can be cut into squares once set.
Equipment 4: Grater
A grater is required for shaving the soap into fine pieces. This allows for easier melting and blending with the coconut oil.
INGREDIENTS
Ingredient 1: 2 Cups White, Brown, or Raw Sugar
Sugar serves as an excellent exfoliant, helping to remove dead skin cells and revealing fresh, healthy skin underneath. Depending on your preference, each type of sugar has different textures, which adds variety to your scrub.
Ingredient 2: 1/2 Cup Coconut Oil
Coconut oil is known for its moisturizing properties. It hydrates the skin and helps retain moisture after exfoliation. This oil is a great choice for a sugar scrub, creating a smooth texture that binds the ingredients together.
Ingredient 3: 1 Bar of Soap (approximately 95 grams)
A bar soap, ideally a gentle, natural one, adds a cleansing element to the scrub. Choosing a soap without harsh chemicals is important to ensure a healthy skin experience.
Ingredient 4: 1-4 Drops of Essential Oil (optional)
Essential oils like lavender, rose, orange, or grapefruit can be added for fragrance and potential skin benefits. For instance, lavender can be soothing, while citrus oils can invigorate your senses.
Ingredient 5: 1 Drop of Food Coloring (optional)
If you wish to add a pop of color to your scrub, a small drop of food coloring creates a visually appealing product. Just make sure to choose colors that are skin-safe and suitable for body use.
HOW TO MAKE Sugar Scrub
Step 1: Grate the Soap
Start by grating the bar of soap into small pieces using a grater. This will help it to melt quickly and blend well with the other ingredients.

Step 2: Melt the Coconut Oil
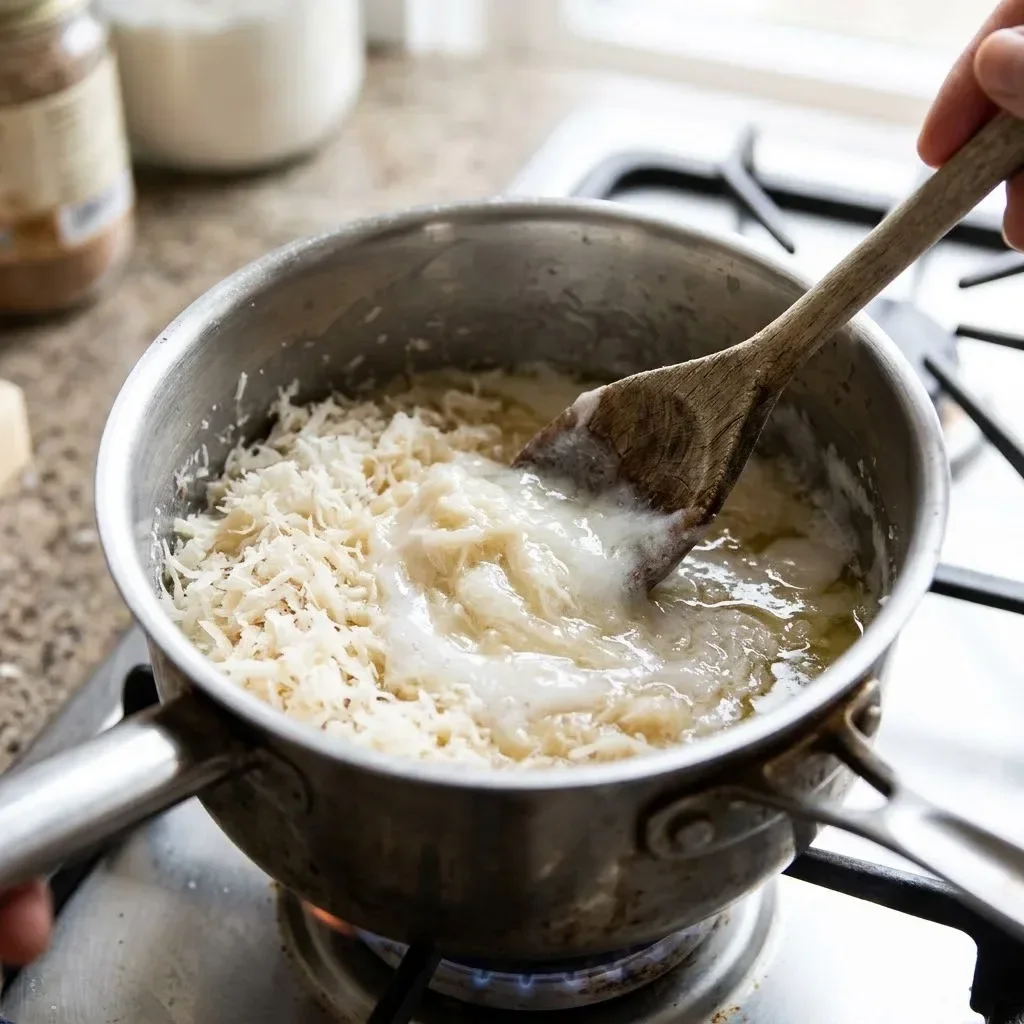
In a medium saucepan, add the grated soap and the 1/2 cup of coconut oil. Heat over low heat, stirring continuously until the oil is fully melted and the soap is combined with it. Be careful not to let it burn; keep the heat low and stir consistently.
Step 3: Mix in the Sugar
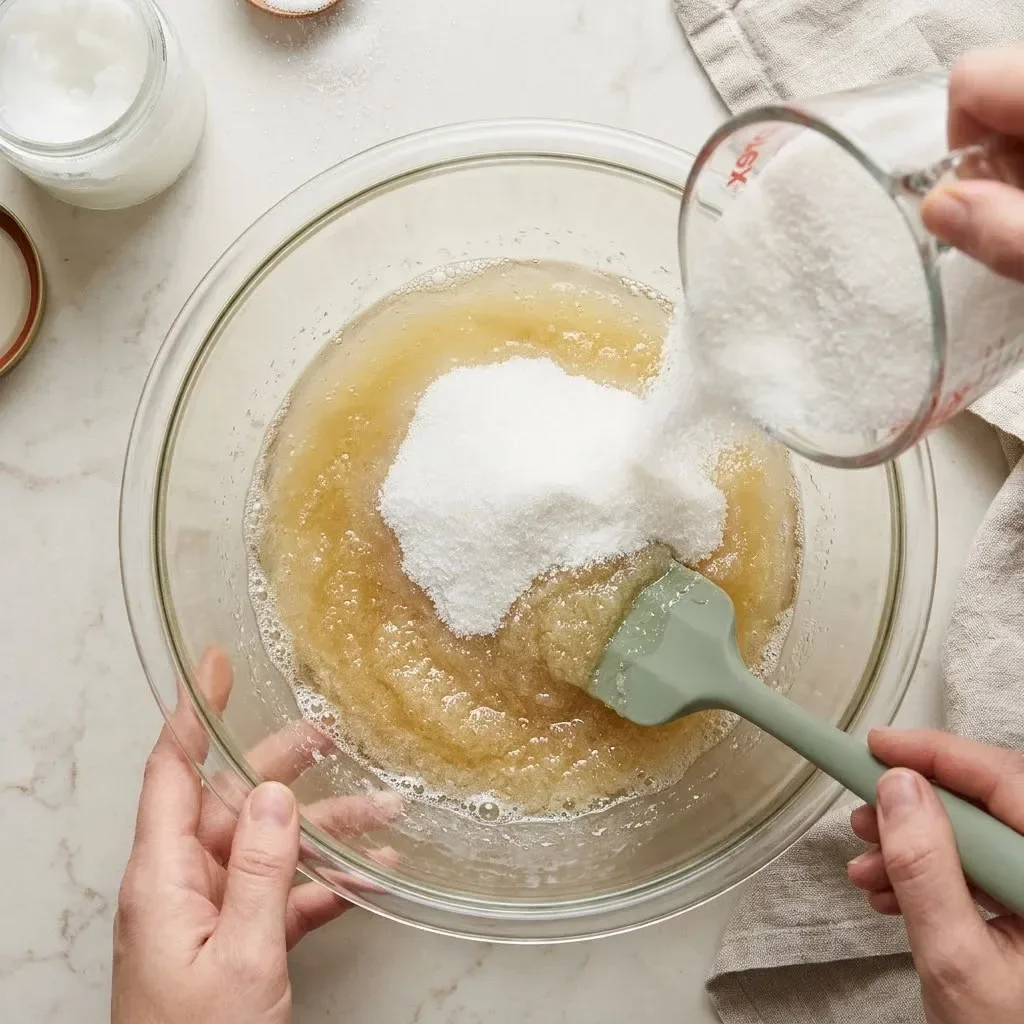
Once the coconut oil and soap are melted and mixed, remove the saucepan from heat. Add the 2 cups of sugar into the mixture. Stir well until all the sugar is fully coated in the oil and soap mix.
Step 4: Check Consistency
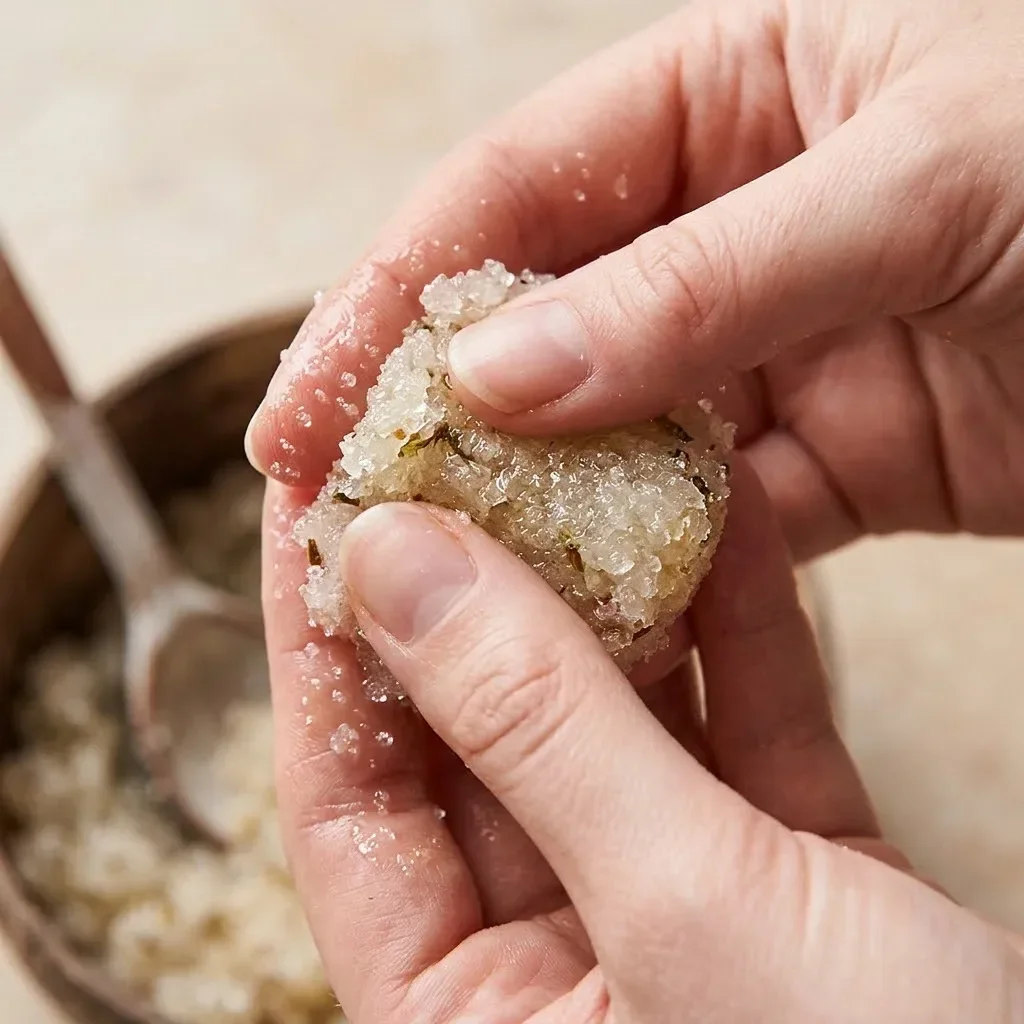
To ensure the scrub has the right consistency, take a spoonful of the mixture and compress it into a ball with your fingers. It should hold its shape and not crumble apart. If it does crumble, add a bit more melted coconut oil until the mixture binds together well.
Step 5: Mold the Scrub
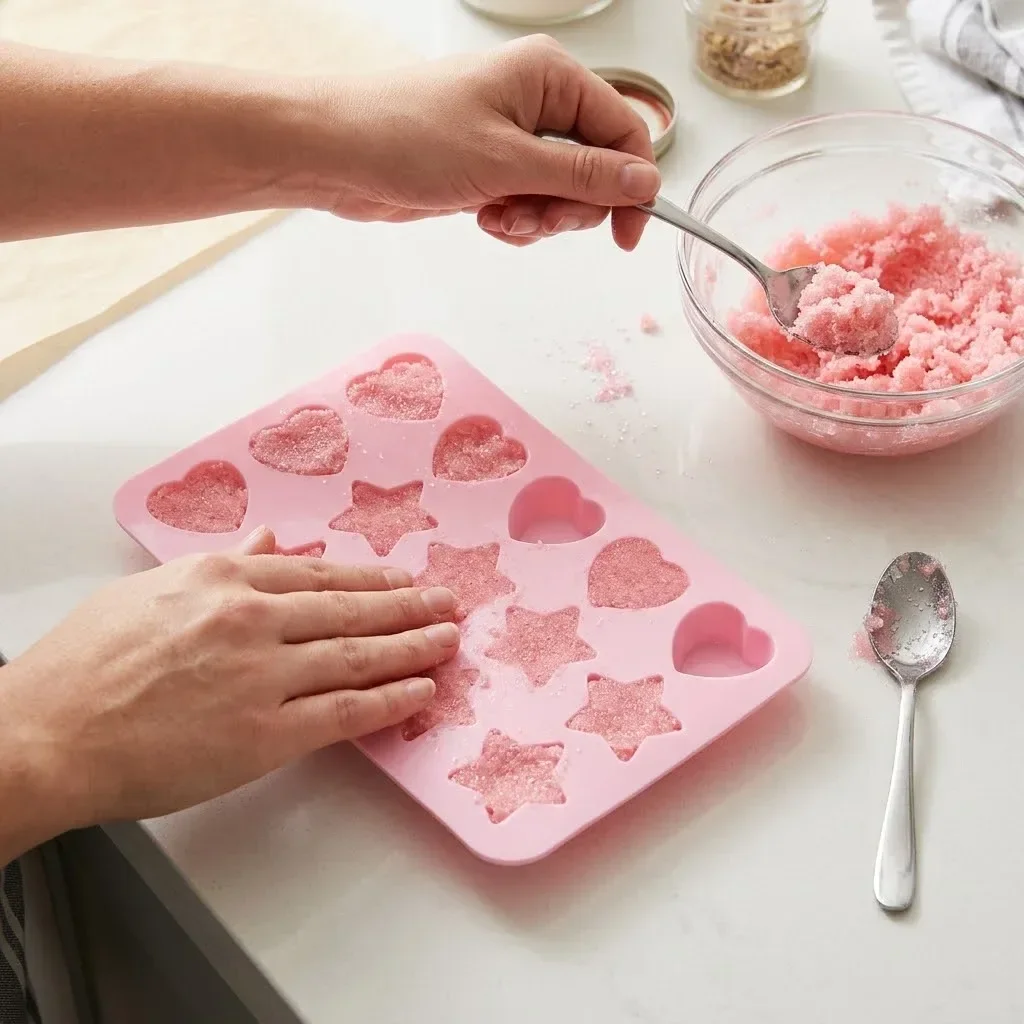
Now, it’s time to spoon the mixture into silicone molds. If you prefer a different shape, roll the scrub into balls or flatten it in a lined tray. Allow it to set completely before removing from the molds or cutting into squares.
Step 6: Using Your Sugar Scrub
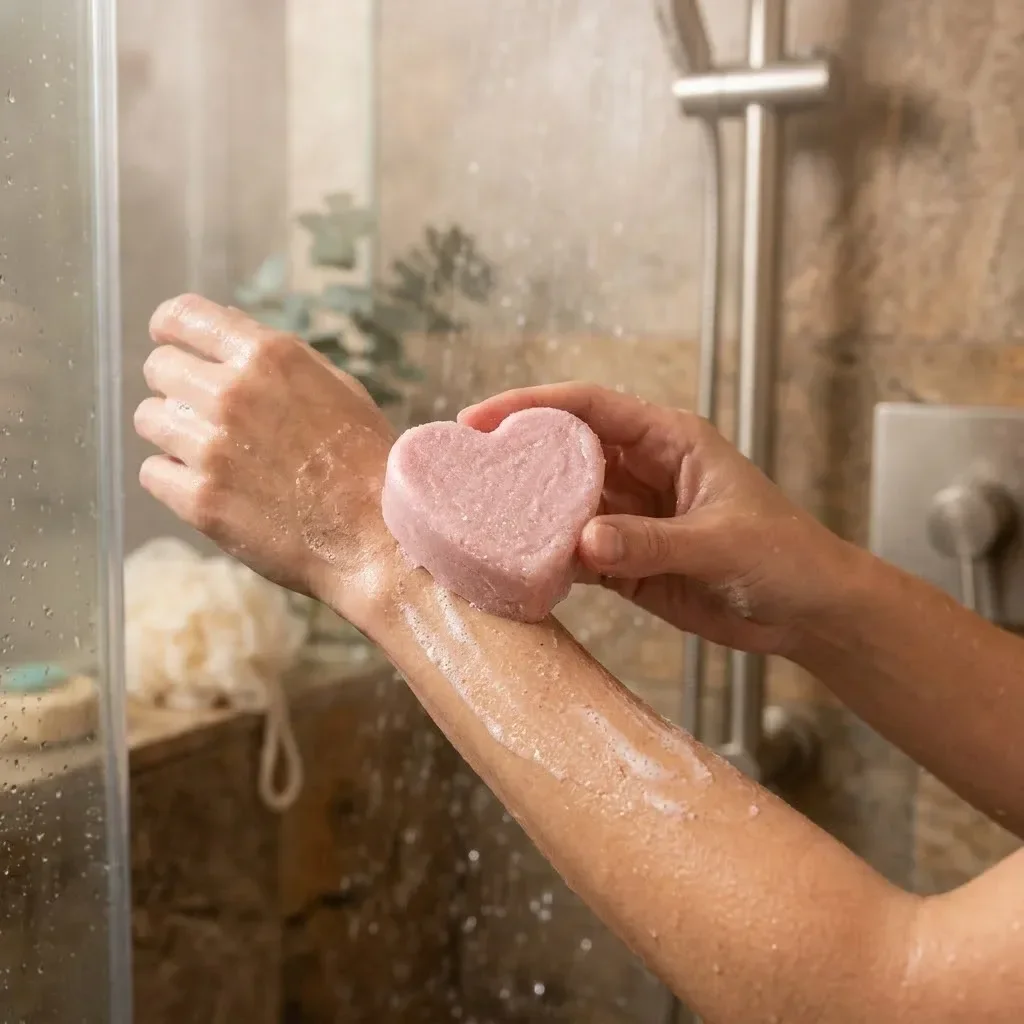
When you want to enjoy your scrub, simply take a piece into the bath or shower with you. Soften it slightly in warm water, then massage it into your body in circular motions, working towards your heart for extra benefits. Remember, this scrub is NOT for use on your face.
TIPS AND TRICKS
- Storage: Store the sugar scrubs in an airtight container to keep them fresh longer. A glass jar can be an attractive option for storage.
- Customization: Feel free to experiment with different essential oils or sugar types to match your preferences. You may also consider adding a few tablespoons of natural extracts like vanilla or almond for scent.
- Healthy Option: This scrub is free from preservatives, making it a healthier choice than commercial scrubs packed with artificial ingredients.
- Gift Idea: These sugar scrubs make delightful homemade gifts. Consider packaging them in attractive jars with ribbons.
Sugar Scrub FAQ
What is the shelf life of homemade sugar scrubs?
Homemade sugar scrubs generally last about 2-3 months when stored in a cool, dry place in an airtight container. Always check for signs of spoilage.
Can this scrub be made gluten-free?
Yes! This sugar scrub recipe is naturally gluten-free as it contains no wheat ingredients. Always check your soap and any added flavors to ensure they are also gluten-free if this is a concern.
How often should I use a sugar scrub?
You can use sugar scrubs 1-2 times a week for optimal exfoliation without irritating your skin.
Is this sugar scrub diabetic-friendly?
Yes, the ingredients in this scrub are suitable for a diabetic-friendly lifestyle since they are all natural. However, just ensure no allergens or irritants are included.
CONCLUSION
Making your own sugar scrub is a rewarding and beneficial activity. This sugar scrub is easy to prepare, customizable, and filled with skin-loving ingredients. The blend of sugar and coconut oil not only exfoliates but also hydrates your skin, leaving it feeling fresh and rejuvenated. Whether you’re using it for yourself or gifting it to someone special, this scrub is an excellent choice for a nourishing and indulgent experience. Try it out and share your experiences or any variations you might have made. Happy scrubbing!
PrintHomemade Sugar Scrub
A simple and customizable sugar scrub recipe using sugar and coconut oil, perfect for pampering your skin.
- Prep Time: 10 minutes
- Cook Time: 10 minutes
- Total Time: 20 minutes
- Yield: 12 servings 1x
- Category: DIY & Beauty
- Method: Mixing
- Cuisine: N/A
- Diet: Gluten-Free
Ingredients
- 2 Cups White, Brown, or Raw Sugar
- 1/2 Cup Coconut Oil
- 1 Bar of Soap (approximately 95 grams)
- 1–4 Drops of Essential Oil (optional)
- 1 Drop of Food Coloring (optional)
Instructions
- Grate the Soap
- Melt the Coconut Oil
- Mix in the Sugar
- Check Consistency
- Mold the Scrub
- Using Your Sugar Scrub
Notes
Store the scrub in an airtight container for freshness. You can customize scents with various essential oils and extracts.
Nutrition
- Serving Size: 1 scrub piece
- Calories: 150
- Sugar: 25g
- Sodium: 5mg
- Fat: 7g
- Saturated Fat: 6g
- Unsaturated Fat: 1g
- Trans Fat: 0g
- Carbohydrates: 28g
- Fiber: 0g
- Protein: 0g
- Cholesterol: 0mg
Keywords: sugar scrub, DIY beauty, skincare, homemade gift, exfoliation