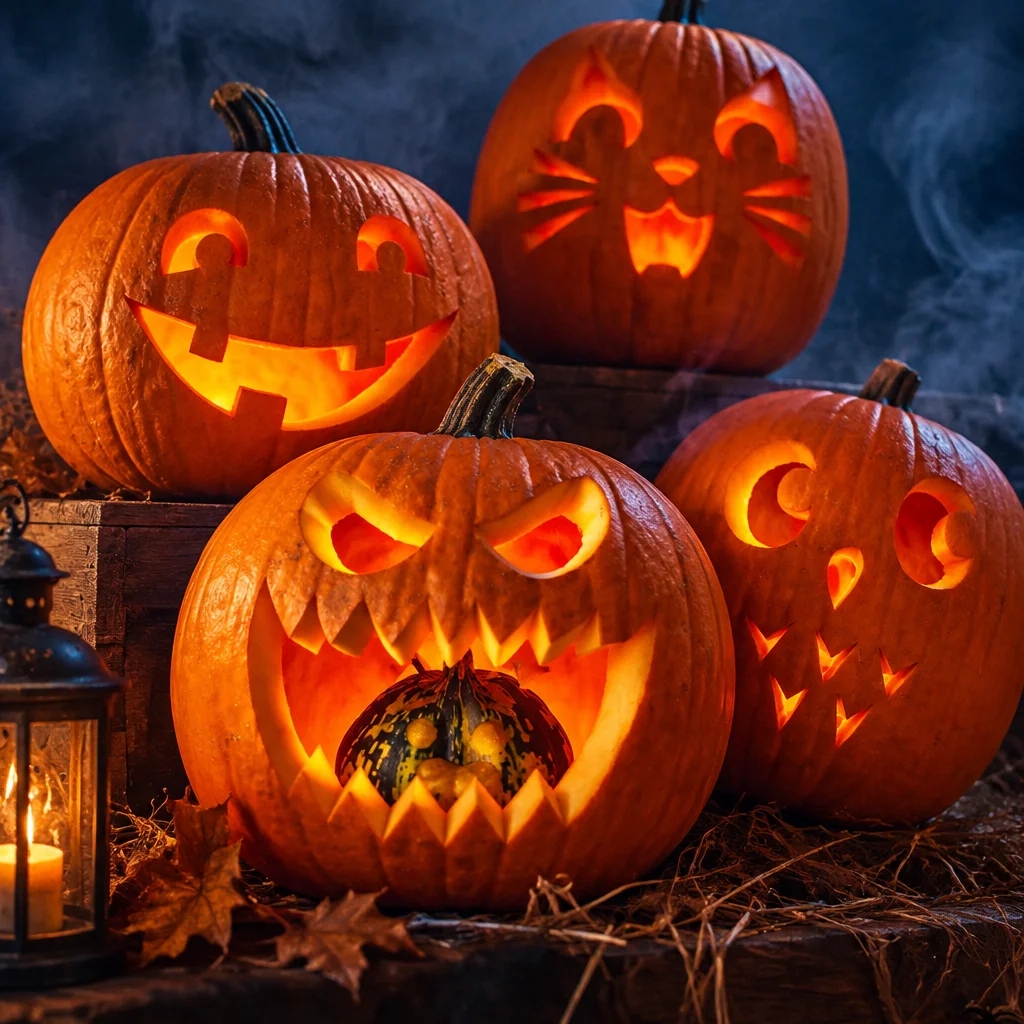
pumkin carvings ideas always sound fun until it is 8 pm, your porch is dark, and you realize you have one sad pumpkin and zero plan. I have totally been there, holding a floppy stencil printout and wondering why I did not just buy candy and call it a night. The good news is you do not need fancy tools or art school skills to make something that looks awesome. You just need a few solid design directions and a couple of little tricks that save time and mess. Let me walk you through the styles I come back to every year, plus a few fresh ones I cannot stop thinking about.

Creative Pumpkin Designs
If you want that wow moment when people walk up to your steps, go for creative designs that use more than the classic triangle eyes. My favorite approach is to think like a food blogger planning a platter: pick a theme, keep it readable from the sidewalk, and add one extra detail that makes it feel special. Also, remember you are working with a round, slightly slippery vegetable, so bold shapes usually win over tiny fussy cuts.
Tools and setup that make everything easier
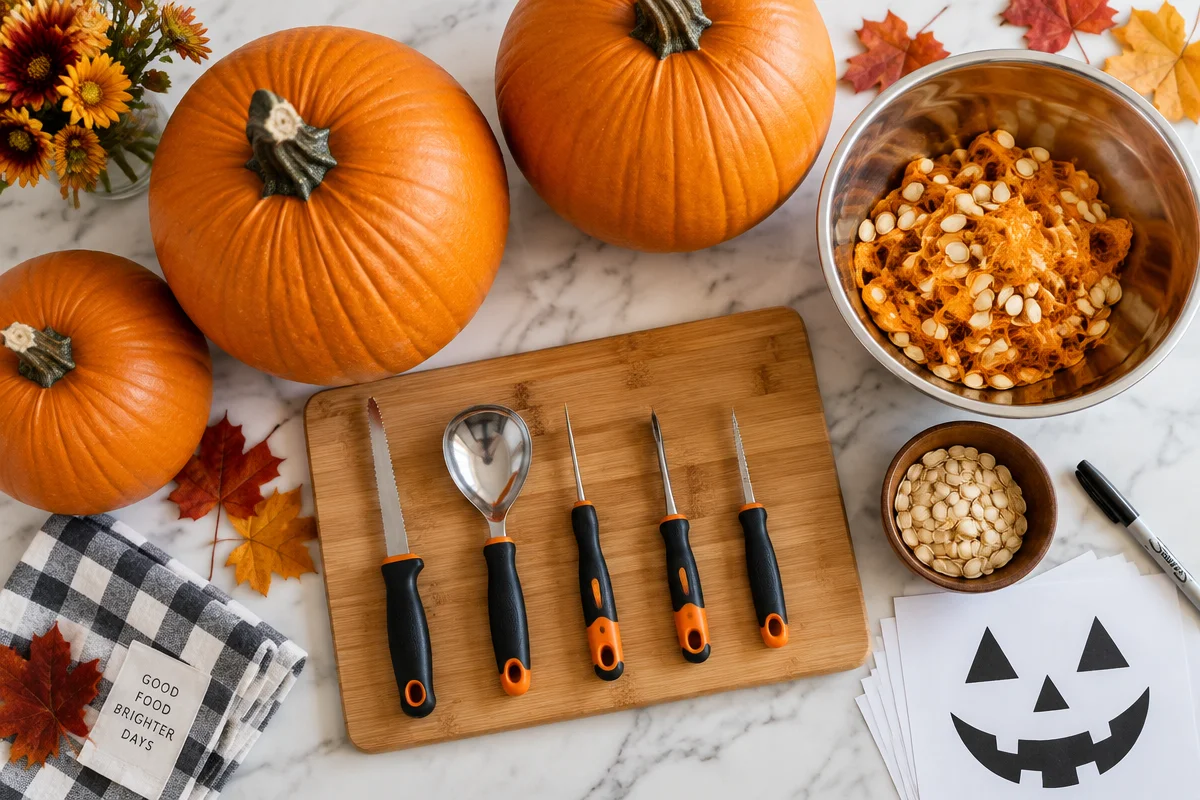
Before you start, set yourself up so you are not frustrated five minutes in. Here is what I keep on the counter every single time:
- A sturdy spoon for scooping and scraping the inside clean
- A small serrated carving knife or a pumpkin carving saw
- Paper towels for wiping away slippery strings
- A bowl for seeds and guts, because you will want roasted seeds later
- A marker for sketching your design right on the pumpkin
Once you have that ready, the creative stuff gets way more fun. If you want extra inspiration that covers a big range of skill levels, I keep this page bookmarked because it is packed with options: easy creative unique pumpkin carving ideas.
Now for designs I love: try a starry night cutout where you punch big stars and moons (simple shapes, high impact). Or do a layered look by carving shallow areas instead of cutting all the way through, like a big smiling face with shaded cheeks. Another fun one is a lace pattern where you repeat one shape around the pumpkin so it looks intentional even if each cut is not perfect. ;
Fun and Unique Themes
The quickest way to make your pumpkin feel fresh is to give it a theme. Not just scary or cute, but something specific enough that people instantly get it. I love themes because they make the carving choices easier. You are not staring at the pumpkin thinking what now, you are just building the vibe.
Some fun themes that always get compliments:
Movie night pumpkins: Think a popcorn bucket face, a film reel, or a simple ghost with 3D glasses. If you have two pumpkins, carve one as the main character and one as the sidekick.
Pet tribute pumpkins: A paw print, a simple cat silhouette, or a dog bone shape. I did a paw print one year and it looked so cute glowing on the porch that I kind of wished I had made a matching one for the back patio too.
Spooky snack pumpkins: Carve a big open mouth and let the pumpkin look like it is eating something. I once stuck pretzel sticks through the mouth like vampire fangs and it made the whole thing feel like a Halloween appetizer.
If you want a big roundup of themes that are both funny and doable, this internal list is great for scrolling when you are stuck: creative pumpkin themes and designs.
“I used your tip about bold shapes and picked a simple spooky cat theme. It was the first time my pumpkin did not collapse into a weird face halfway through carving. The glow looked amazing on our steps.”
And yes, I still call these pumkin carvings ideas in my head even though I know I am missing a letter. It is basically part of my Halloween personality at this point. 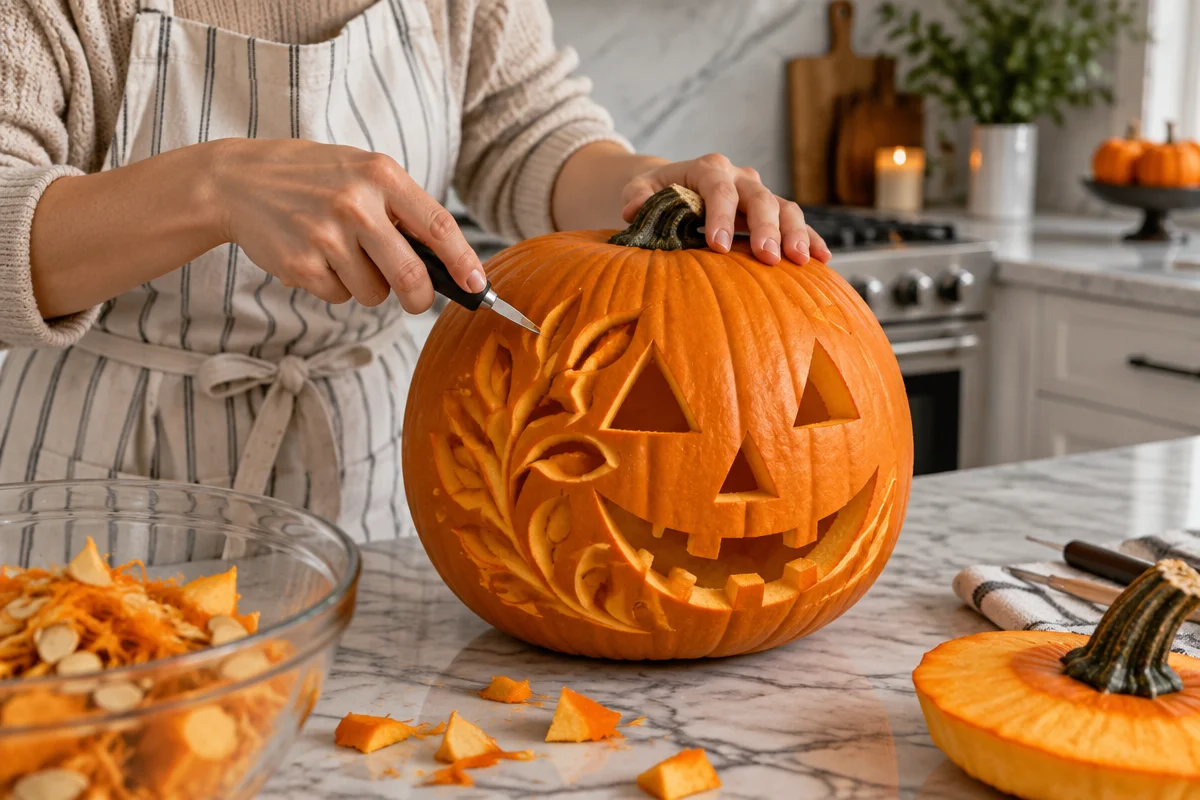
Easy and Beginner-Friendly Ideas
If you are carving with kids, or you just want a low stress win, beginner friendly is the way to go. The biggest secret is choosing designs that look intentional even if your lines are a little wobbly. That is why I love silhouettes, bold eyes, and big cutouts.
Here are a few easy ones that feel adorable, not boring:
Classic jack o lantern, but cleaner: Make the eyes big and rounded instead of tiny triangles. Add simple eyebrows for personality.
Ghost cutout: One big ghost shape with oval eyes. It reads instantly from a distance.
Big monogram letter: Pick one letter, cut it out large, and you are done. It looks fancy with almost no effort.
Polka dot glow: Instead of carving a face, carve circles all over. It ends up looking like a glowing lantern.
Also, do not be shy about using tape and paper to trace. Print a simple outline, tape it on the pumpkin, poke holes along the lines with a toothpick, then connect the dots with your carving tool. If you want more options that stay simple but still feel creative, I like this list a lot: beginner pumpkin carving ideas.
For these easier designs, I usually cut the lid at an angle so it does not fall inside. And I always scoop the inside really clean where I am carving, because thick pumpkin walls make your hand work twice as hard. That one small step makes your pumkin carvings ideas come out way sharper.
Seasonal and Nature-Inspired Carvings
This is my cozy category. If you love fall walks, crunchy leaves, and all the warm spices, you are going to like these. Nature inspired carvings also look really pretty in daylight, not just at night, which is perfect if you are hosting people before it gets dark.
Here are a few designs that fit the season and still feel spooky enough:
Leaf silhouettes: Maple leaves are my favorite because the shape is recognizable and forgiving. Make one big leaf, or scatter smaller ones like confetti.
Bat swarm: Bats are technically nature, right? Cut a few big bat shapes and a bunch of tiny ones flying upward. It looks dramatic when lit.
Harvest moon: Carve a big circle moon and add a simple tree line across the bottom. It is basically instant Halloween mood.
Spider web: Keep the web lines thick and the spaces wide so it does not break. Add one chunky spider and it is done.
I did a leaf and vine pumpkin last year and it made my porch look like a fall candle display. If you want a bunch of nature leaning patterns to browse, this page has a solid mix: unique pumpkin carving ideas.
One more tip for this category: shallow carving is your best friend. If you carve the top skin layer away in sections, the design glows softly and you are less likely to accidentally cut a piece completely out.
Tips for Perfect Pumpkin Carving
Okay, let us talk about the stuff that actually makes or breaks your carving night. These tips are simple, but they save you from the usual mess ups.
Keep your pumpkin fresh longer
Pumpkins start to sag when they dry out or get moldy. After you scoop and carve, rub the cut edges with a little petroleum jelly or cooking oil to slow drying. If your pumpkin is outside, bring it in during the day if it is super warm, then set it back out in the evening.
Make it glow the way you want
If you want a strong, bright glow, cut clean openings and keep the walls thinner behind your design. If you want a softer glow, do more shallow carving and fewer full cutouts. I almost always use LED candles now because they are safer and they do not scorch the lid.
Safety and sanity tips
Carve on a stable cutting board, not your lap. If kids are helping, let them draw the design and scoop the guts, and you handle the cutting. And please take breaks if your hand gets tired. That is when slips happen.
When I am planning pumkin carvings ideas for a party, I also do a quick test: I turn off the lights and shine my phone flashlight inside the pumpkin to see if the face reads from across the room. If it looks confusing, I widen a few openings and it usually fixes everything.
Need even more inspiration to match your skill level, whether you are going detailed or super simple? Here is another internal resource I genuinely use when I want to switch it up: pumpkin carving ideas for every skill level.
Common Questions
What is the best type of pumpkin for carving?
Go for carving pumpkins, not the super cute tiny pie pumpkins. You want one that feels firm, has a flatter bottom, and no soft spots.
Should I cut the lid on top or the bottom?
Top lid is classic and easiest. Bottom cut is nice if you want the candle to sit on the ground and you do not want to lift the lid, but it can be messier.
How do I keep the pumpkin from collapsing?
Scoop it clean, keep the walls even, and avoid skinny fragile details. Also do not leave it in direct sun all day.
Can I carve a pumpkin a day or two early?
Yes. Keep it in a cool place and use the oil or petroleum jelly trick on the cut edges. If it starts to look dry, a quick rinse and pat dry can help.
What can I do with the seeds and pulp?
Save the seeds for roasting with salt and spices. The pulp can be composted, or you can simmer it for stock if you are the cozy kitchen type, but I usually just compost it.
A cozy little send off before you start carving
If you take anything from this post, let it be this: pick a bold design, keep your shapes simple, and do not overthink it. The best pumkin carvings ideas are the ones you actually finish and light up proudly. If you want even more inspiration to keep the creativity flowing, check out 55 Creative Pumpkin Carving Ideas You Need To Try This Halloween, browse the seriously huge list in These 106 Pumpkin Carving Ideas Will Make Your Jack-o, or grab some quick wins from 15 easy pumpkin carving ideas – BBC Good Food. Now light a candle, put on a Halloween movie, and go make a pumpkin that makes you smile when you open the door.