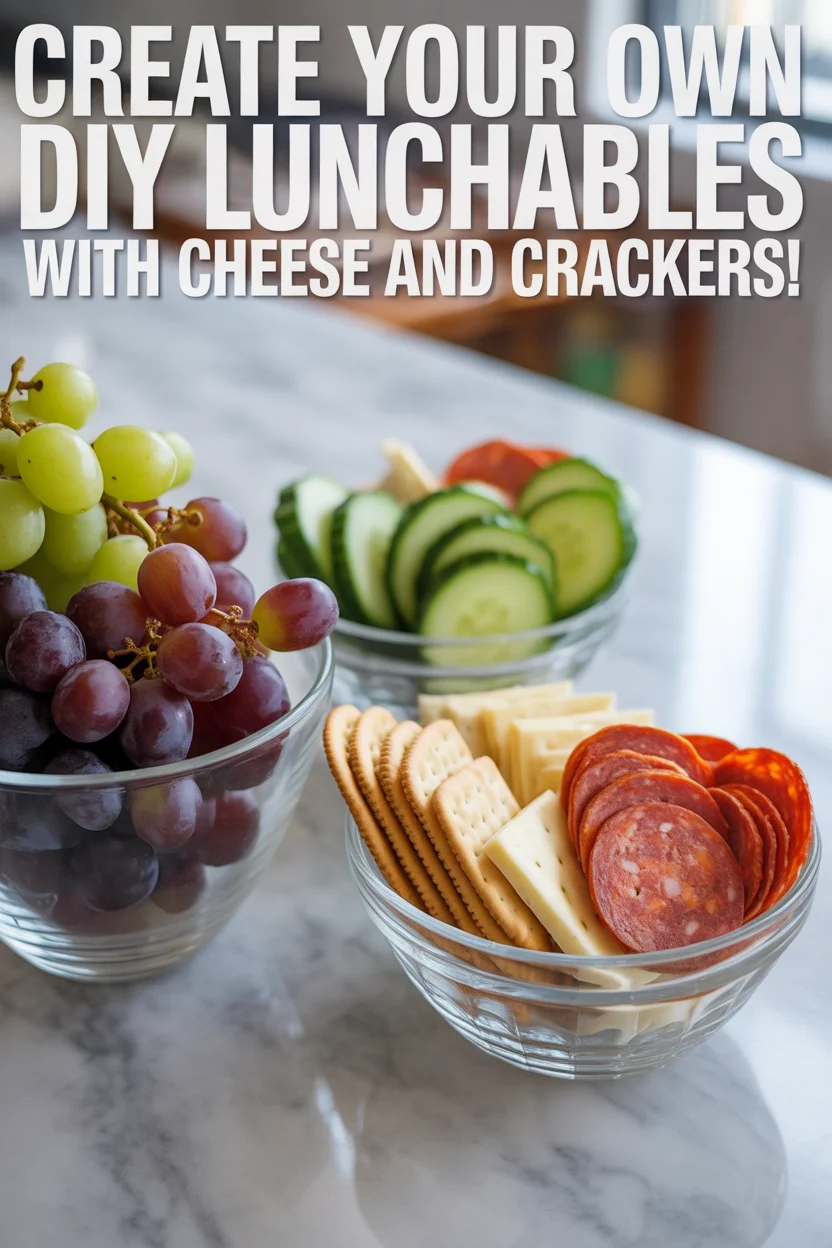
Ever get that weird letdown feeling mid-morning when your energy drops and your stomach starts whispering? DIY Lunchables with Cheese and Crackers are basically my solution to avoid sad, boring snacks or those weirdly expensive lunchbox packs at the store. You seriously can whip up something tastier and way more fun at home, even if your fridge looks like it’s seen better days. Not to mention, it’s a breeze to personalize for picky kids or if you’re like me and need a grown-up version sometimes (less neon cheese, more peppery salami, please). Also, if you want a killer lunch wrap for extra variety, check out these hummus and veggie wraps, or maybe treat yourself later with a berry trifle for dessert. Snacking crisis solved and no weird mystery ingredients.

Why You’ll Love This Snack
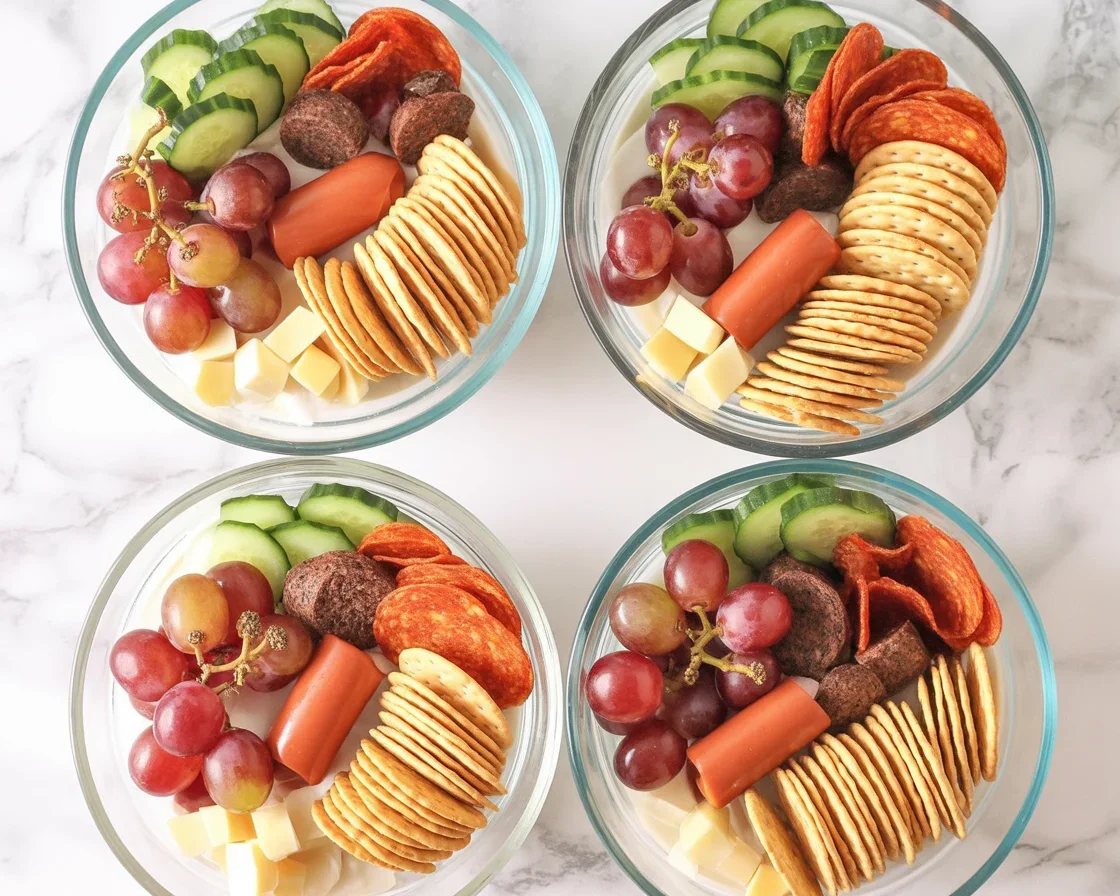
Seriously, I’ll be honest. I was a Lunchables kid and now I’m an adult who works from wherever, so these bite-sized, build-your-own lunches are a total win in my book. With DIY Lunchables with Cheese and Crackers, you get the charm of a five-star restaurant charcuterie board right at your kitchen table—okay, maybe that’s a stretch, but you get what I mean.
Fresh ingredients? You pick ’em. No more picking past limp bologna (ugh, anyone else?). These are perfect for lunches, road trips, or very lazy dinners. Plus, you can make them in bulk. (I usually prep a couple for the week because Tuesdays and Thursdays hit hard.) If you want to break away from boring deli meat, this snack format can fit literally any vibe you’re feeling. Oh, and the portion control helps if you have eyes bigger than your stomach—happens to the best of us.
Equipment Needed
Nothing fancy here, promise. I never even bother hunting for weird gadgets—no need. You’ll want a decent knife for slicing cheese. Maybe a little cutting board. Grab a handful of small containers (the kind that usually lose their lids in your drawer) or just use a lunchbox with dividers. I swear, that’s it. Sometimes I go wild and use parchment paper if I’m packing for a road trip, but mostly it’s just whatever is clean that morning. Seriously, low effort wins.
Oh, and a fridge, obviously. Unless you’re prepping at a campground or something.
Variations
Alright, here’s where it gets dangerously fun. Yes, you could just do crackers and cheddar and call it a day. But why?! I like pepper jack slices if I’m feeling spicy, or maybe a smoked gouda for a rich, grown-up taste. Kids go wild for mini turkey rounds—turkey pepperoni is a fave over here.
Veggies work, too—snap peas, cucumbers, or roasted red peppers. Keeps things fresh. Not into meat at all? Hummus is perfect, especially with a crisp, salty cracker (yes, that’s my secret move). Gluten-free crackers? Yup, totally works. Got a sweet tooth? Add a couple of those tiny cookies, or dried fruit.
This is also the reason I like to toss in a surprise treat sometimes—a couple squares of dark chocolate sneak in for my own “yay, you survived Monday” moment.
How to Serve
Serving up DIY Lunchables with Cheese and Crackers can be as straightforward or extra as you want. Sometimes you just want fast, right? Other times you’re feeling a bit Pinteresty. Looking for inspiration? Here are my favorite ways to serve:
- Quick lunchbox: Just toss everything in a divided container or bento-style box—done in five minutes, honestly.
- Snack platter: Lay it all out on a big board for movie nights (kids and adults fight over the last cheese cube, fair warning).
- Party tray: Use fancy toothpicks and add olives or pickles. Not joking—people eat them up faster than hot pizza.
- DIY wrap-up: Throw some extras in, like these hummus and veggie wraps, for a surprisingly filling twist.
Let your crew assemble their own combos. The whole “build your own” bit is always a hit (and people feel weirdly proud of their cracker stacks, who knew?).
What I Like to Put Into My Adult Lunchables
Confession time—I get absolutely too excited about building adult versions of DIY Lunchables with Cheese and Crackers. Sometimes I pile on smoked turkey, spicy salami, and a sharp cheese that reminds me of actual European street food. Always a fancy mustard. Grapes or apple slices make me feel like I’m being healthy even if I sneak a couple truffle chips.
If I’m feeling extra, a couple roasted almonds or even pickled veggies go in. (Pickled onions, seriously, don’t knock it.) Once, I threw in a mini container of this refreshing watermelon and mint salad and it was a home run. Oh, and always a little square of dark chocolate. Gotta have something sweet as a finish, right?
Common Questions
How far ahead can I prep these?
I find you can make them up to three days ahead. Just keep everything in airtight containers so the crackers stay snappy and cheese stays fresh.
Do I have to use store-bought crackers?
Not a rule. Use whatever you like. Some days I use rice crackers, some days it’s Ritz or wheat ones. Got a favorite? Go for it.
Any way to make it healthier?
Heck yeah! Use whole grain crackers, low-fat cheese, and add more veggies. Sometimes a dip like hummus or guac helps boost nutrition, too.
What’s a must-follow tip for packing to-go?
Keep crackers separated from wet stuff—no one likes soggy snacks. I usually stash crackers in a little zip-top bag. Extra, but totally worth it.
Can I freeze these for quick lunches later?
Wouldn’t really recommend it for crackers or cheese. They get weird. But you can slice cheese and freeze it separately, then build your snack when you’re ready.
Build Your Snack, Your Way
Honestly, making DIY Lunchables with Cheese and Crackers is one of those simple joys—like catching all green lights or finding forgotten fries in your car’s cup holder (no shame). You control every ingredient so snack time never gets boring. Ready to kick up your weekday meal routine? Maybe get a little creative for your next party spread? Check out other folks sharing their DIY Lunchables tricks, or even dive into new healthy sides like aloe vera digestive juice if your gut needs some pep. If you need a sweet note for the end of your snack, try a delicious berry trifle with whipped cream. Let your DIY flag fly and snack happy—you deserve it.
PrintDIY Lunchables with Cheese and Crackers

A fun, customizable snack that brings the charm of a charcuterie board to your lunchbox, perfect for kids and adults alike.
- Prep Time: 10 minutes
- Cook Time: 0 minutes
- Total Time: 10 minutes
- Yield: 2 servings
- Category: Snack
- Method: Assembling
- Cuisine: American
- Diet: Vegetarian
Ingredients
- Crackers of choice
- Cheese (e.g., cheddar, pepper jack, gouda)
- Meats (e.g., turkey, pepperoni, salami)
- Veggies (e.g., snap peas, cucumbers, roasted red peppers)
- Fruits (e.g., grapes, apple slices)
- Hummus
- Dark chocolate or cookies (optional)
Instructions
- Choose your crackers and arrange them in a container.
- Slice the cheese into manageable pieces and add to the container.
- Include your choice of meats, cutting them into bite-sized rounds if necessary.
- Add a selection of veggies for freshness.
- Include fruits for a sweet touch.
- Add hummus or dips if desired.
- Top with a treat like dark chocolate or cookies if you like.
Notes
Perfect for meal prep, can be made up to three days in advance. Keep crackers separate from wet ingredients to maintain crunch.
Nutrition
- Serving Size: 1 serving
- Calories: 250
- Sugar: 6g
- Sodium: 500mg
- Fat: 14g
- Saturated Fat: 6g
- Unsaturated Fat: 8g
- Trans Fat: 0g
- Carbohydrates: 24g
- Fiber: 2g
- Protein: 10g
- Cholesterol: 30mg
Keywords: DIY Lunchables, Snack, Cheese and Crackers, Meal Prep, Kid-Friendly