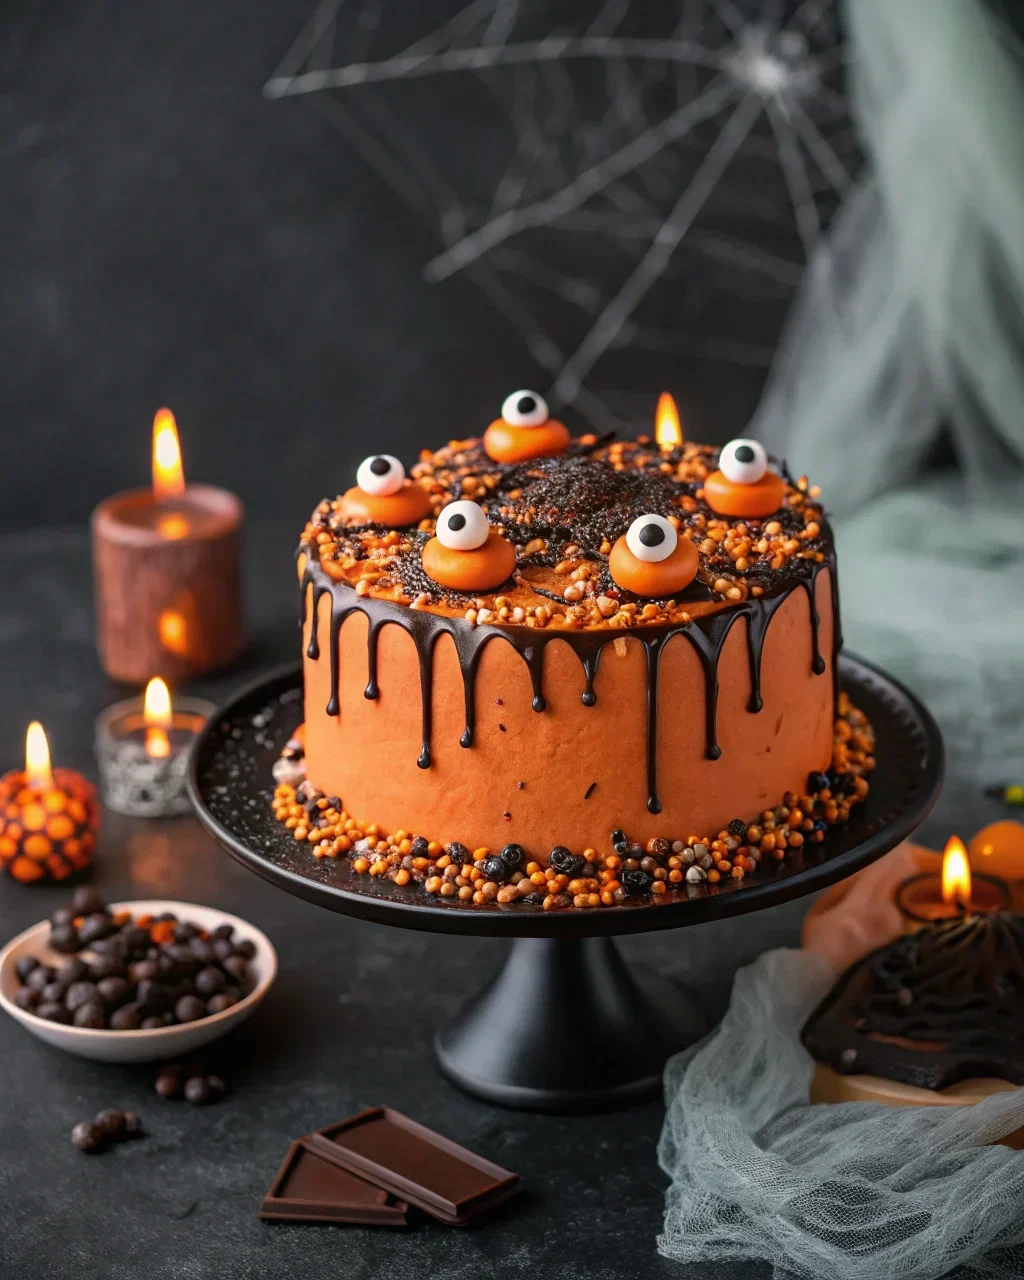
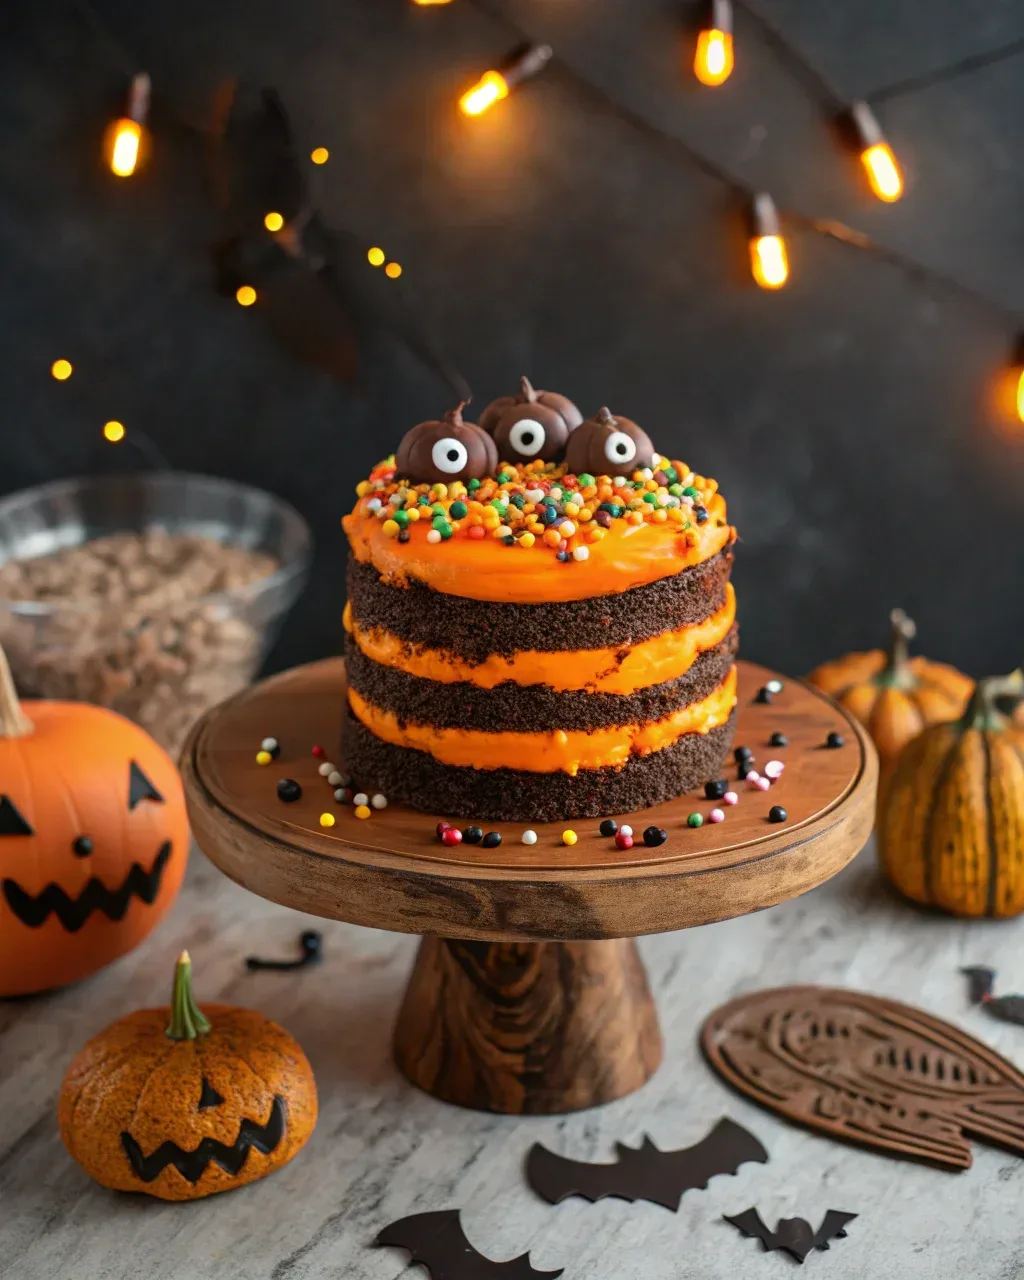
Do you want to make a dessert that will wow everyone this Halloween? This Easy Halloween Chocolate Cake Recipe from Scratch is just what you need! It’s super chocolaty, moist, and topped with creamy white chocolate ganache. Plus, it’s easy to decorate with fun, spooky toppings like sprinkles, candy eyes, or even little plastic spiders for extra creepiness. Whether you’re throwing a Halloween party or just want a fun treat, this cake is perfect for all occasions. Even better, it’s simple to make and tastes amazing—like a rich, chocolaty dream come to life.
This recipe isn’t just for seasoned bakers—it’s simple enough for beginners too. If you’ve never baked a cake from scratch, don’t worry—this guide breaks it down into easy steps. Additionally, you can adapt the recipe with your favorite flavors or decorations to make it truly unique. For example, you might add a layer of raspberry jam or some crushed cookies for texture. You can also experiment with different Halloween-themed colors, like green or purple ganache.
Let’s get started and create a Halloween cake that everyone will remember! This cake will not only impress your guests but will also give you a chance to have fun in the kitchen. Whether it’s for kids or adults, this recipe is guaranteed to make your Halloween celebration extra sweet and memorable.
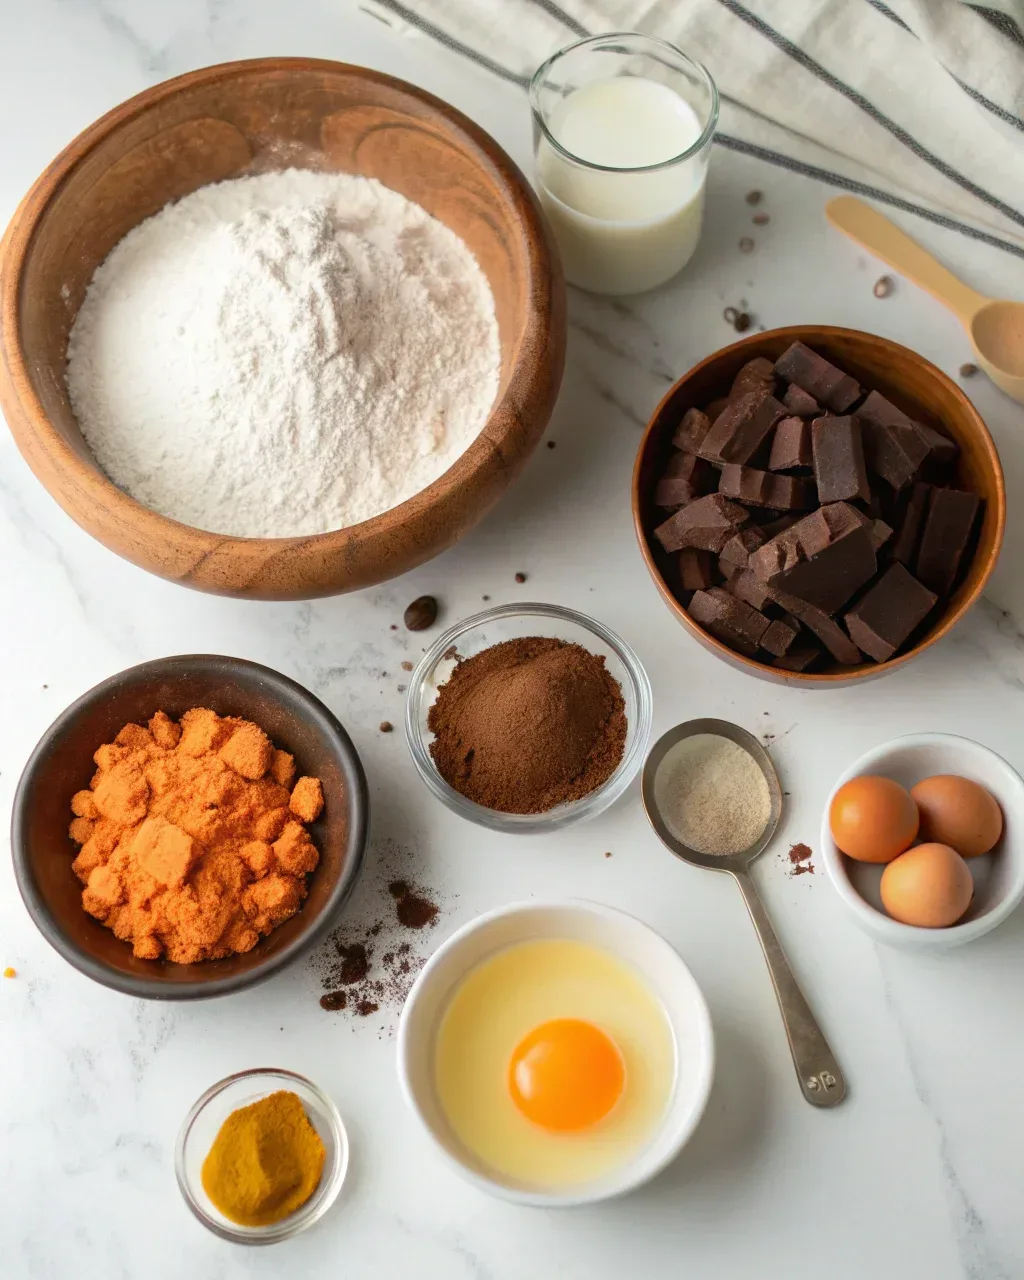
Ingredients
For the Cake:
- 1 3/4 cups (220g) all-purpose flour – Makes the cake strong and fluffy.
- 3/4 cup (75g) unsweetened cocoa powder – Use a good brand for the best chocolate taste.
- 1 1/2 teaspoons baking powder
- 1 1/2 teaspoons baking soda
- 1 teaspoon salt
- 2 cups (400g) granulated sugar
- 2 large eggs – Room temperature eggs work better.
- 1 cup (240ml) whole milk – You can use almond or oat milk instead.
- 1/2 cup (120ml) vegetable oil – Keeps the cake nice and moist.
- 2 teaspoons vanilla extract
- 1 cup (240ml) boiling water – Makes the cocoa flavor pop.
For the White Chocolate Ganache:
- 8 ounces (225g) white chocolate – Chop it into small pieces.
- 1/2 cup (120ml) heavy cream
- Orange food coloring – Optional, but it makes the cake look more festive.
Decorations:
- Halloween sprinkles, candy eyes, or chocolate pieces for a spooky vibe.
You can easily double these ingredients if you’re serving a large crowd. This cake works well as a single-layer sheet cake, cupcakes, or even mini cakes.
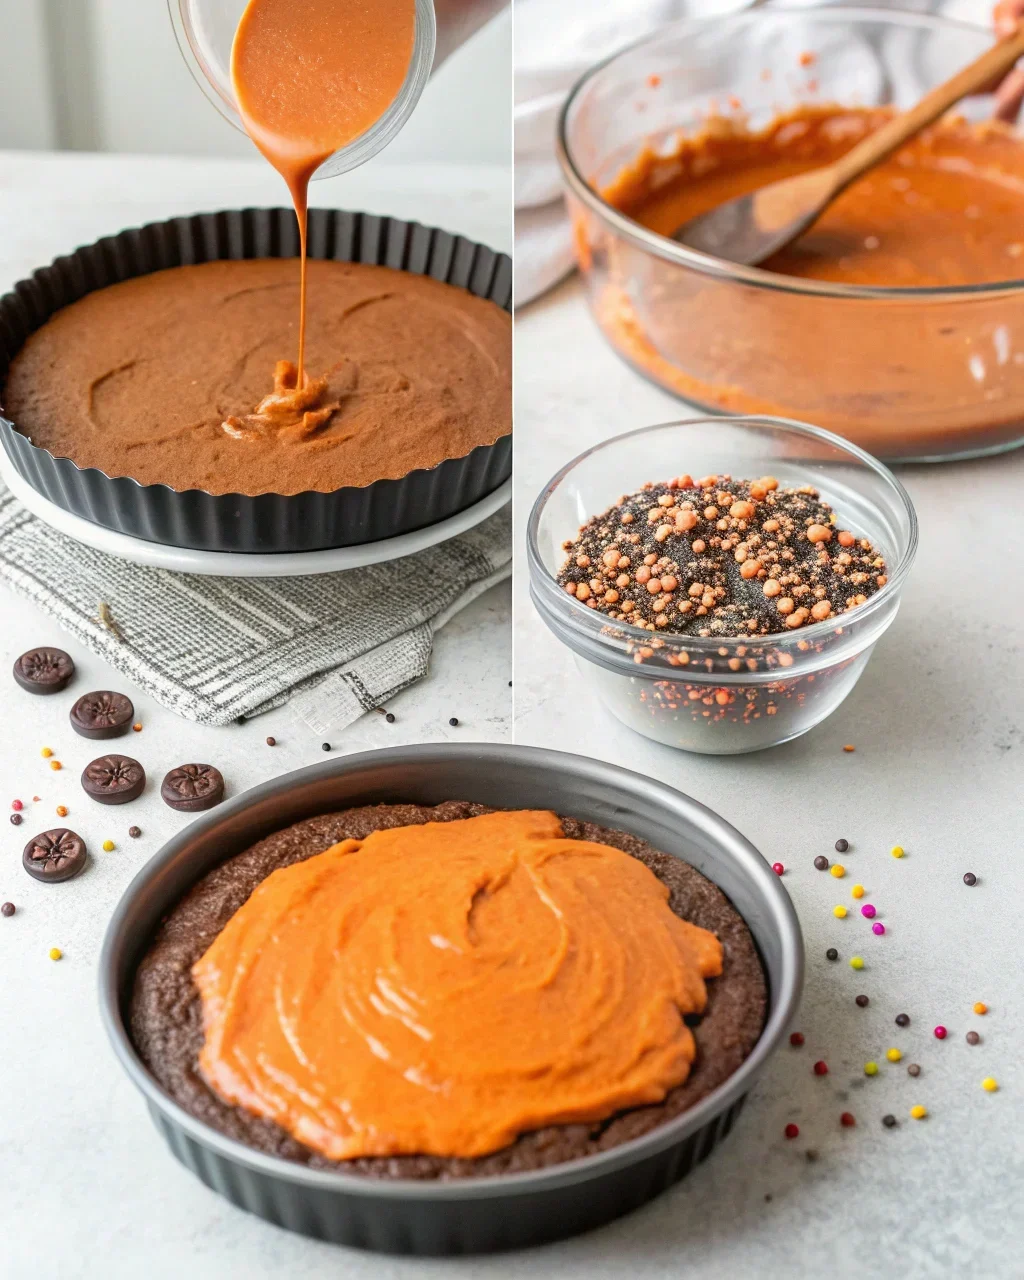
Step-by-Step Instructions
Step 1: Get Your Pans Ready
- First, preheat your oven to 350°F (175°C).
- Grease and flour two 9-inch round cake pans, or line them with parchment paper to make removing the cake easier.
Make sure your pans are evenly greased so the cake layers come out smooth. You can also use silicone pans for easy release.
Step 2: Mix the Dry Ingredients
- In a big bowl, sift together the flour, cocoa powder, baking powder, baking soda, and salt. Sifting helps remove lumps and mixes everything evenly.
- Whisk the dry ingredients together after sifting to ensure they’re fully combined.
Step 3: Mix the Wet Ingredients
- In another large bowl, whisk together the sugar, eggs, milk, oil, and vanilla extract until smooth.
- Slowly add the dry ingredients to the wet mixture. Stir gently so you don’t overmix.
A silicone spatula is great for this step. Mix until just combined to keep the batter light and fluffy.
Step 4: Add the Boiling Water
- Carefully pour the boiling water into the batter while mixing. The batter will look thin, but that’s okay—it makes the cake super moist.
- Stir until the water is fully incorporated. Take care not to spill as you pour.
Step 5: Bake the Cake
- Pour the batter evenly into the two cake pans.
- Bake for 30-35 minutes, or until a toothpick poked in the middle comes out clean.
- Let the cakes cool in the pans for 10 minutes, then move them to a wire rack to cool completely.
If you’re baking cupcakes, reduce the time to about 18-22 minutes. Always check with a toothpick to avoid overbaking.
Step 6: Make the White Chocolate Ganache
- Heat the heavy cream in a small pot until it just starts to simmer.
- Pour the hot cream over the chopped white chocolate in a bowl. Let it sit for 2-3 minutes.
- Stir the mixture until it’s smooth and creamy.
- If you’re using orange food coloring, add it now and stir well.
- Let the ganache cool for a few minutes so it thickens and is easier to spread.
Step 7: Put the Cake Together
- Place one cake layer on a plate and spread a thick layer of ganache on top.
- Add the second cake layer and cover the whole cake with the rest of the ganache.
- Decorate with Halloween sprinkles, candy eyes, or any spooky decorations you like!
You can also pipe the ganache for more precise decorations or drip it down the sides for a dramatic look.
Tips for Making the Best Cake
- Use Room Temperature Ingredients: Room temperature eggs and milk mix better and make the cake fluffier.
- Sift the Dry Ingredients: Sifting helps remove any lumps and makes the cake lighter.
- Don’t Overmix: Mix the batter just until the ingredients come together. Overmixing can make the cake dense.
- Cool the Cake Completely: If the cake is warm, the ganache will melt. Be patient and let it cool fully.
- Adjust the Ganache: If the ganache is too runny, let it sit for a few more minutes. If it’s too thick, warm it up a little in the microwave.
- Decorating Tips: Plan your decorations before adding them to the cake. Test out your design on a small piece of parchment paper first.
Fun Variations
- Gluten-Free Option: Swap the flour for a gluten-free baking mix. Make sure the cocoa powder and other ingredients are also gluten-free.
- Dairy-Free Cake: Use almond, coconut, or oat milk, and pick a dairy-free white chocolate for the ganache.
- Vegan Cake: Use a vegan milk substitute, flax eggs, and vegan white chocolate.
- Add a Filling: Spread some jam, like orange or raspberry, between the layers for extra flavor.
- Cool Decorations: Drizzle melted dark chocolate on top to make a spiderweb design or add plastic spiders for Halloween fun.
- Flavor Enhancements: Add a teaspoon of espresso powder to the batter to deepen the chocolate flavor or a dash of cinnamon for warmth.
Storing the Cake
- At Room Temperature: Keep the cake in a sealed container for up to 2 days.
- In the Fridge: Store the cake in an airtight container for up to 5 days. Let it sit out for 30 minutes before serving so it softens up.
- Freezing: Wrap the cooled cake layers in plastic wrap and aluminum foil. Freeze for up to 3 months. Thaw the layers in the fridge overnight before frosting them.
If you have leftover ganache, it can also be frozen. Thaw it in the fridge and reheat gently before using.
Serving Ideas
- Party Centerpiece: Put the cake on a fancy plate or stand to show it off at your Halloween party.
- Serve with Drinks: Pair the cake with pumpkin spice lattes, hot chocolate, or a spooky Halloween punch.
- Mini Treats: Cut the cake into small squares, decorate each one, and serve them as bite-sized treats.
- Halloween Dessert Table: Add this cake to a table with cookies, brownies, or candy apples for an awesome dessert spread.
- Themed Presentation: Serve the cake on a black or orange platter with Halloween-themed napkins for extra flair.
FAQs
1. Can I make the cake ahead of time?
Yes! You can bake the layers up to 2 days early. Just keep them in a sealed container until you’re ready to frost them.
2. What if I don’t have food coloring?
No problem! The ganache will taste great without it. You could also use natural options like carrot juice for a little color.
3. How can I keep the cake from sticking?
Grease the pans well and dust them with flour, or use parchment paper for easy removal.
4. Can I double the recipe?
Definitely! This recipe works great if you need to make a bigger cake. Just adjust the baking time.
5. What if my cake turns out dry?
Brush the layers with a little simple syrup before adding the ganache. This will make it moist and flavorful.
6. How can I make this recipe nut-free?
Make sure all your ingredients, like chocolate and decorations, are nut-free and produced in a nut-free facility.
Conclusion
This Easy Halloween Chocolate Cake Recipe from Scratch is a fun and delicious way to celebrate Halloween. It’s chocolaty, creamy, and perfect for spooky decorations. Plus, with so many ways to customize it, this recipe is one you’ll want to make again and again. Whether you prefer simple sprinkles or detailed candy designs, this cake lets you get creative and have fun in the kitchen.
Grab your ingredients and prepare for an enjoyable baking experience—even beginners will find this recipe approachable. As you frost and decorate your cake, take your time and let your imagination run wild. Maybe you’ll create a creepy spiderweb design or a cake full of candy eyeballs—either way, it will be a hit! Additionally, this cake pairs wonderfully with Halloween-themed drinks or can be a centerpiece for your dessert table.
Don’t forget to share your pictures and let us know how it turned out—we can’t wait to see your spooky masterpiece! This is more than just a recipe; it’s a chance to make a fun Halloween memory with your friends and family.
PrintEasy Halloween Chocolate Cake Recipe from Scratch
A chocolaty and moist cake topped with creamy white chocolate ganache, perfect for Halloween celebrations.
- Prep Time: 15 minutes
- Cook Time: 35 minutes
- Total Time: 50 minutes
- Yield: 8 servings 1x
- Category: Dessert
- Method: Baking
- Cuisine: American
- Diet: Vegetarian
Ingredients
- 1 3/4 cups (220g) all-purpose flour
- 3/4 cup (75g) unsweetened cocoa powder
- 1 1/2 teaspoons baking powder
- 1 1/2 teaspoons baking soda
- 1 teaspoon salt
- 2 cups (400g) granulated sugar
- 2 large eggs
- 1 cup (240ml) whole milk
- 1/2 cup (120ml) vegetable oil
- 2 teaspoons vanilla extract
- 1 cup (240ml) boiling water
- 8 ounces (225g) white chocolate
- 1/2 cup (120ml) heavy cream
- Orange food coloring (optional)
- Halloween sprinkles, candy eyes, or chocolate pieces for decorations
Instructions
- Preheat your oven to 350°F (175°C) and grease two 9-inch round cake pans.
- Sift together flour, cocoa powder, baking powder, baking soda, and salt in a bowl.
- In another bowl, whisk together sugar, eggs, milk, oil, and vanilla extract until smooth.
- Gradually add the dry ingredients to the wet ingredients, stirring until just combined.
- Carefully stir in the boiling water until fully incorporated.
- Pour the batter evenly into the prepared cake pans and bake for 30-35 minutes.
- While the cakes cool, heat heavy cream and pour over chopped white chocolate, stirring until smooth.
- Let the ganache cool slightly before spreading between layers and over the cake.
- Decorate with Halloween sprinkles and other spooky decorations as desired.
Notes
Use room temperature ingredients for the best results and cool the cake completely before frosting.
Nutrition
- Serving Size: 1 slice
- Calories: 350
- Sugar: 28g
- Sodium: 400mg
- Fat: 12g
- Saturated Fat: 7g
- Unsaturated Fat: 5g
- Trans Fat: 0g
- Carbohydrates: 45g
- Fiber: 3g
- Protein: 6g
- Cholesterol: 30mg
Keywords: Halloween, chocolate cake, dessert, baking, festive cake, ganache
