Peanut Butter Cup Icebox Cake is my answer for “What on earth do I bring to the family party where Julie will no doubt judge my store-bought cookies again?” Oh, you know that feeling. You need something impressive. You want something easy. Preferably, no oven involved because — let’s face it — it’s summer and my tiny apartment feels like a sauna by 3 p.m. This dreamy dessert hits both notes. If you’ve ever tried my banana berry buttermilk popsicles, you know I’m all about keeping things foolproof yet absolutely irresistible.

Why You’ll Love This Recipe
I’ll get right to it. This Peanut Butter Cup Icebox Cake is so simple, yet everyone thinks it came from a five-star bakery (yes, I’m exaggerating, but you get me). No baking, just a bit of layering, and you’re golden. Kids gravitate to it like bees to honey, but so do grumpy uncles, so you know it’s a crowd-pleaser.
There’s that perfect balance: the creamy chocolate, the punchy peanut butter, the crunch from cookies, and then—you dig in and wow, it’s like nostalgia hit you right in the face but with a flavor upgrade. It sets in the fridge, so you can make it ahead and stroll into your gathering looking suspiciously relaxed.
And if you’re dealing with folks who “don’t like peanut butter” (do those exist?), they’ll swipe seconds before even asking what’s inside. Trust me.

Essential Ingredients for Success
I know some recipes hit you with a mile-long list. Not here. You’re looking at just a handful of basics. Let’s break it down: you’ll need chocolate sandwich cookies, peanut butter (I love creamy for this, but hey, do you), cream cheese, heavy cream, powdered sugar, and of course, mini peanut butter cups for that showstopper topping.
Honestly, anything with “icebox” in the title sort of promises simple, chill-out ingredients. If you wanna swap in homemade whipped cream, I won’t stop you. Just don’t skimp on the peanut butter cups — they take it from “that’s good” to “where did you get this recipe and WHEN can you make it again?”
Each layer really matters here, and the cookies soften to that brownie-cake texture after a night in the fridge. Every spoonful comes together, no gritty bits, just pure joy.
Step-by-Step Instructions
Okay, don’t blink—you might miss how easy this is. First, beat your cream cheese with powdered sugar and peanut butter till smooth. If your mixer overheats, give it a breather. Fold in whipped cream (homemade or store-bought…no judgment).
Take your cookies and dunk them in milk, one by one. Make a layer at the bottom of a dish—rectangular, round, whatever you’ve got. Spread on that fluffy peanut butter mixture, scatter chopped peanut butter cups, then repeat. You’re basically making edible art.
Three layers usually works well. Finish with extra cream, more peanut butter cups, maybe a sprinkle of crushed cookies if you’re feeling wild. Then—here’s the hard part—cover and refrigerate at least six hours, overnight is best for that “melty magic” texture.
You’re free to serve it at this point, but if you want a pretty slice, patience pays off. Also, refrigerate your knife before you cut—that little secret changed my life.
Creative Variations
Look, if you’re itching to put your own spin on this Peanut Butter Cup Icebox Cake, let yourself go a little wild. Swap out chocolate cookies for graham crackers (seriously, it tastes like summer camp). Layer in sliced bananas if you need fruit to quiet your conscience. Use white chocolate peanut butter cups if the regular ones seem too basic.
I tried adding a drizzle of caramel once—completely over the top, but people loved it. Crunched pretzels between the layers? Genius if you want some saltiness. For a holiday vibe, I tossed in red and green M&Ms. It’s a blank canvas.
Just make sure you keep the creamy peanut butter combo front and center. Honestly, people expect it.
Pro Tips for Perfect Results
A couple tricks make everything smoother. If your cream cheese isn’t at room temp, you’ll get lumps (and no one likes that). Always chop your peanut butter cups and cookies up a bit to help every bite have some crunch and chocolate.
If guests are arriving soon, you can freeze the cake for an hour to speed things up. Oh, and don’t forget: covering with plastic wrap keeps weird fridge odors from sneaking in. Here’s a quick cheat sheet:
| Tip | Benefit | Works Best With | Level of Laziness (0-10) |
|---|---|---|---|
| Chill knife before slicing | Cleaner slices | All layered cakes | 2 |
| Line pan with parchment | Easy removal | Any icebox cake | 4 |
| Add extra cream on top | Prettier finish | Celebrations | 1 |
“Not gonna lie, I brought this to a potluck and got asked for the recipe four times before dessert even finished. Total winner.”
“I’d never made an icebox cake before, but Alex’s tips made it foolproof. SO good and super easy. Thanks for making me look like a pro!” — Mandy P.
Storage and Meal Prep Benefits
If you’re the type who likes to prep ahead or just hates last-minute chaos, this cake’s your hero. It tastes even better after a night in the fridge. You can assemble the whole thing up to 48 hours before you need it.
Slice leftovers (if you have any) and store ‘em in an airtight container. They’ll last 3-4 days, easy. If you need dessert for lunchboxes or sneaky midnight snacking, just cut single portions and wrap them up. Done.
If freezer space isn’t packed, you can freeze slices, too. Thaw in the fridge, not the counter. Cake stays creamier this way.
Bonus: No wrestling with a sticky pan, since the cookies keep the whole deal nice and neat.
Nutritional Benefits
Now, is Peanut Butter Cup Icebox Cake a “health food”? Not so much. Still, there are a few perks in here. Peanut butter packs protein and healthy fats (so, not all empty calories, phew).
Cream cheese and heavy cream are indulgent, yes, but go for the lighter versions if you need to. Swap out sugar-free cookies, or use dark chocolate peanut butter cups for less added sugar (if that’s your thing).
A slice will satisfy almost any sweet tooth fast, so you usually don’t need a huge hunk. (Or maybe you do. No judgment.)
Common Questions
Can I use crunchy peanut butter instead of creamy?
Absolutely. Crunchy adds some fun texture. Just know it won’t be quite as smooth.
How far in advance can I make this?
Best results if made 24 hours in advance. It stays delicious for up to 3 days in the fridge, though.
What if I don’t have mini peanut butter cups?
Chop up regular-size ones, or toss in chocolate chips. It’ll still be dreamy.
Can it be made gluten-free?
Just pick gluten-free cookies. Everything else plays nice.
Do I have to dunk the cookies?
If you’re in a real rush, it’s optional, but the cookies might stay hard. Dunking gives you that soft, cake-like bite everyone loves.
Go Make It – You’ll Thank Yourself!
There you have it: the easiest, most show-stealing Peanut Butter Cup Icebox Cake. It’s unfussy, stress-busting, and honestly just fun to make (and eat). Don’t be surprised if friends ask for your secret, or if you find yourself browsing delicious twists like the ones at No-Bake Peanut Butter Cup Icebox Cake. If you love this, you might wanna check out other easy treats on my blog, like Easter egg cheesecake or even a cool drink with a quirky twist—go wild! No need for a pastry degree or a day of slaving over the oven. Just a sweet tooth, and maybe a little extra peanut butter for “taste-testing.”

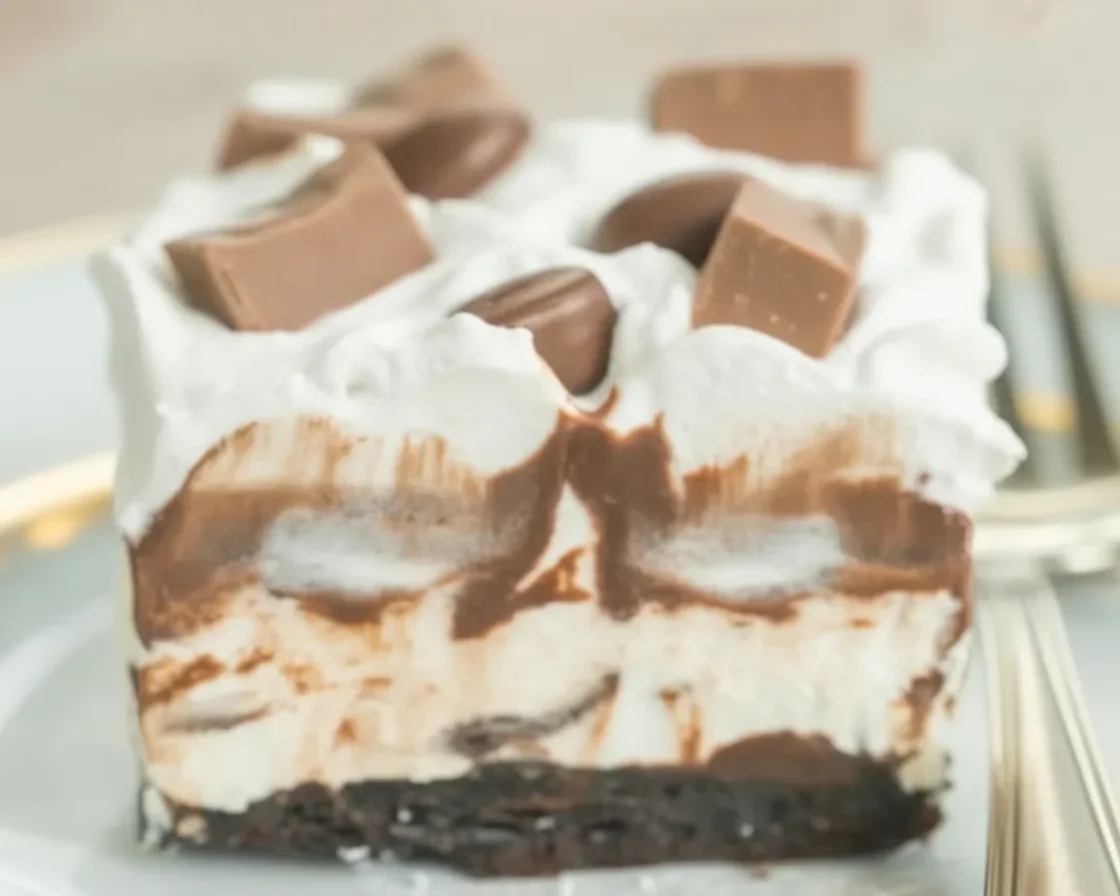
Peanut Butter Cup Icebox Cake
An easy and impressive no-bake dessert featuring layers of peanut butter, cream cheese, and chocolate sandwich cookies, perfect for summer gatherings.
- Prep Time: 15 minutes
- Cook Time: 0 minutes
- Total Time: 360 minutes
- Yield: 8 servings 1x
- Category: Dessert
- Method: No-Bake
- Cuisine: American
- Diet: Vegetarian
Ingredients
- 2 cups chocolate sandwich cookies
- 1 cup creamy peanut butter
- 8 oz cream cheese, softened
- 1 cup heavy cream
- 1/2 cup powdered sugar
- 1 cup mini peanut butter cups, chopped
- Milk for dipping cookies
Instructions
- Beat cream cheese, powdered sugar, and peanut butter together until smooth.
- Fold in whipped cream until combined.
- Dunk cookies in milk and layer them in a dish.
- Spread half of the peanut butter mixture over cookies, then sprinkle with chopped peanut butter cups.
- Repeat layers, finishing with the peanut butter mixture on top.
- Cover and refrigerate for at least 6 hours, preferably overnight.
- Slice and serve, optionally refrigerating knife for cleaner cuts.
Notes
Experiment with different types of cookies or add sliced bananas for a twist. Best made a day in advance for optimal flavor.
Nutrition
- Serving Size: 1 slice
- Calories: 400
- Sugar: 25g
- Sodium: 200mg
- Fat: 25g
- Saturated Fat: 10g
- Unsaturated Fat: 12g
- Trans Fat: 0g
- Carbohydrates: 30g
- Fiber: 2g
- Protein: 8g
- Cholesterol: 30mg
Keywords: icebox cake, peanut butter, no-bake dessert, summer dessert, party food