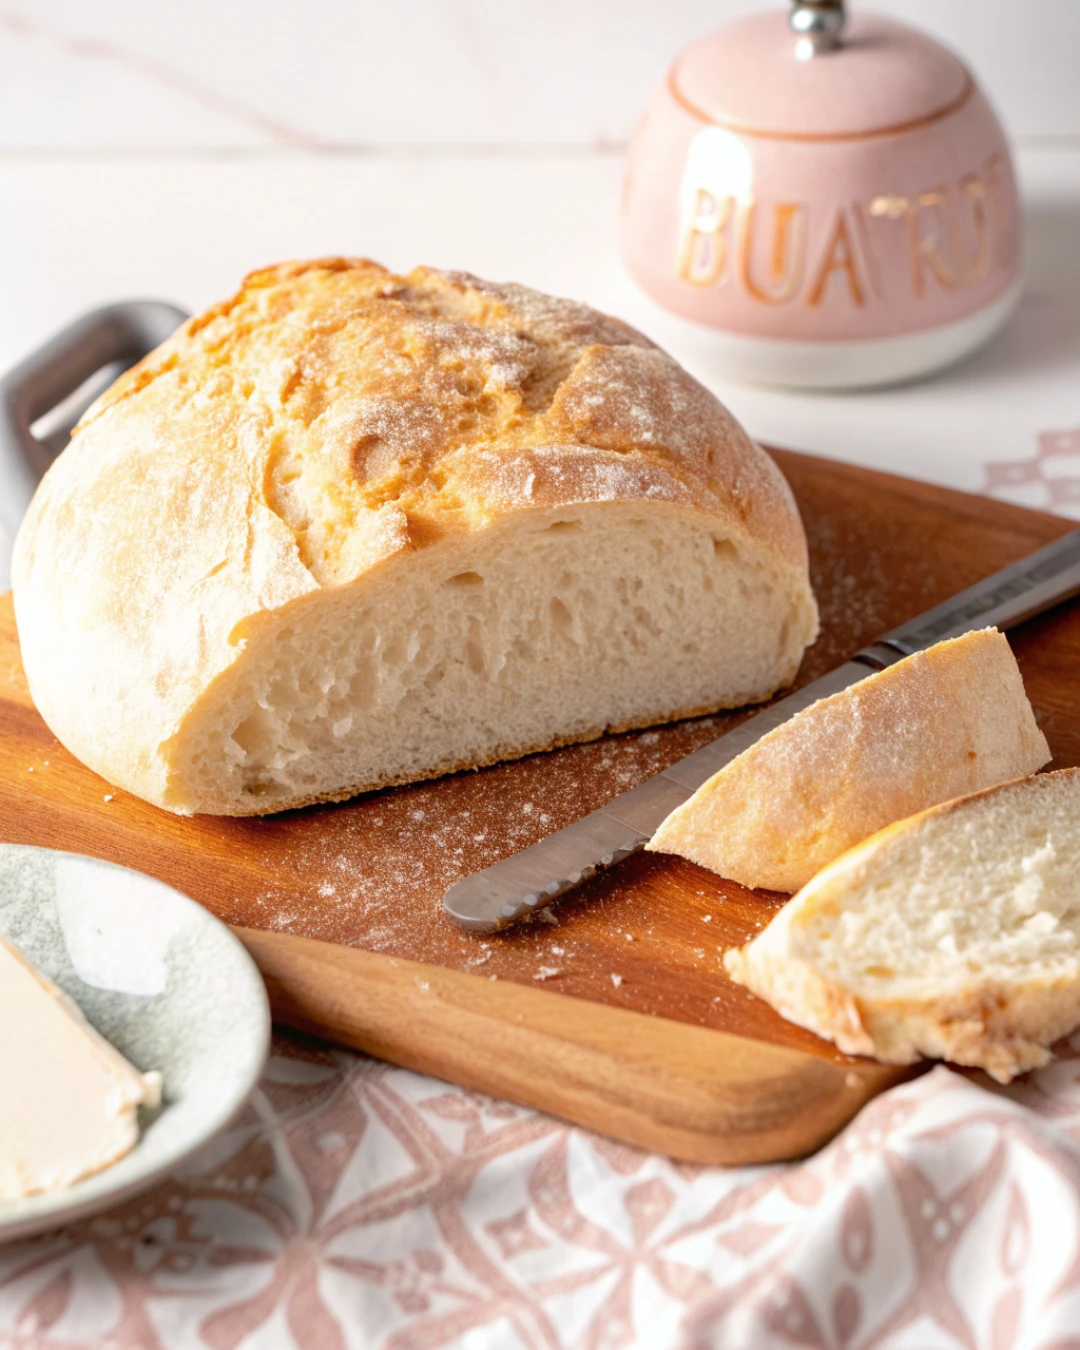
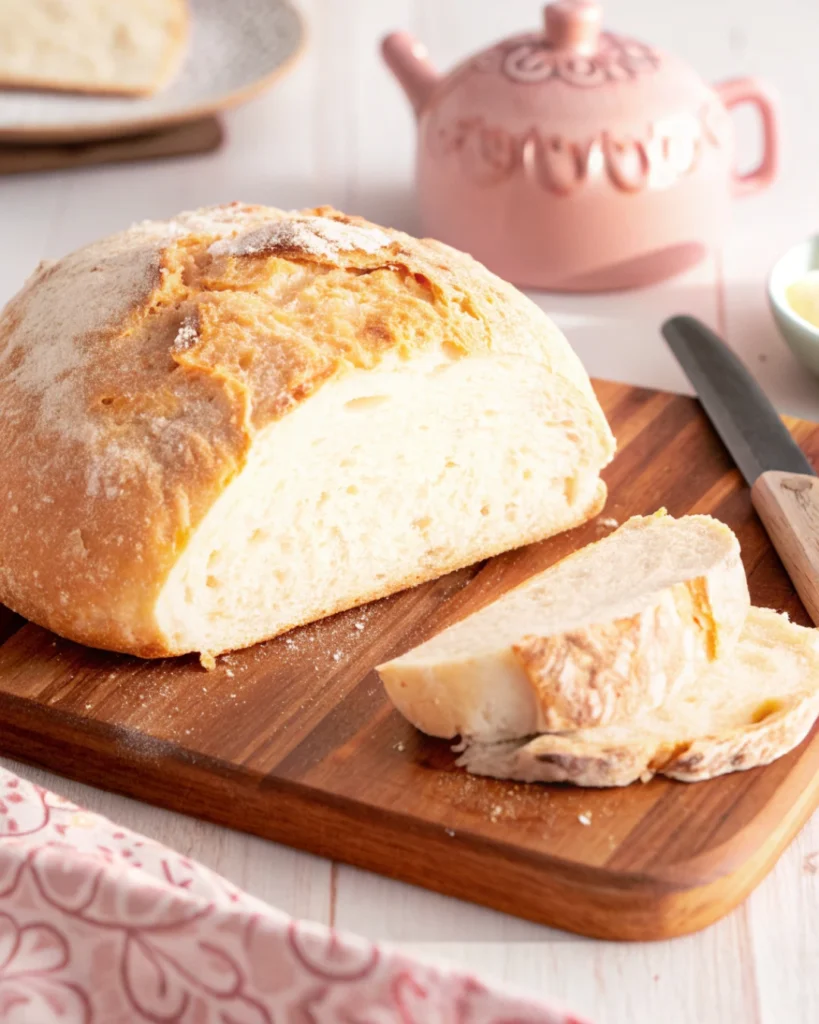
For those navigating a gluten-free lifestyle, the quest for decent bread can feel like a never-ending, disappointing journey. Supermarket shelves are lined with options that are often dry, crumbly, and packed with stabilizers, costing a small fortune for a loaf that usually requires toasting to be palatable. But what if you could create a gluten-free bread at home that is soft, sturdy, and delicious all on its own? A bread with a crisp crust and a tender, airy crumb that doesn’t require a chemistry degree or a stand mixer to make?
This Gluten-Free No-Knead Bread is that miracle loaf. It shatters every negative stereotype about gluten-free baking. Using just five simple ingredients and a revolutionary flour, this recipe delivers an artisan-style bread that is shockingly easy to make. It requires no kneading, no complicated steps, and from start to finish, you’ll be slicing into a warm, fresh-baked loaf in about three hours. Get ready to fall in love with bread again.
Why You’ll Love This Recipe
This recipe from Olivia’s Kitchen is a game-changer for the gluten-free community, and for good reason. It solves the most common problems associated with gluten-free bread baking.
- Finally, Bread You Can Eat Untoasted: This is the holy grail. The texture is soft, bouncy, and squishy—not crumbly or dense. You can confidently slather butter on a fresh slice without fear of it disintegrating in your hands.
- Unbelievably Simple: With only 5 ingredients and 5 minutes of hands-on prep, this recipe is incredibly approachable. There’s no kneading required, and you don’t even need a loaf pan.
- No Mysterious Blends: Forget hunting down six different specialty flours and gums. This recipe uses one single, magical flour that does all the work for you.
- Freezer-Friendly & Versatile: The loaf freezes beautifully, allowing you to always have great bread on hand. It’s perfect for sandwiches, toast, or simply enjoyed on its own.
- Naturally Dairy-Free & Vegan-Friendly: The base recipe is naturally dairy-free, and by using sugar instead of honey, it easily becomes vegan.
Ingredients You’ll Need
The simplicity of this bread is one of its greatest strengths. The magic lies in one specific ingredient.
- Warm Water:
1 ¾ cups (410g). Water around110°Fis the perfect temperature to activate the yeast without killing it. - Instant Yeast:
2 ¼ teaspoons (8g). This is the engine that makes the bread rise. - Honey or Granulated Sugar:
1 teaspoon (7g). This small amount of sugar feeds the yeast, helping it become active and foamy. Use sugar to keep the recipe vegan. - Caputo Fioreglut Gluten-Free Flour:
3 cups (475g). This is the non-negotiable star of the show. This specific flour, which contains de-glutenized wheat starch, is what gives the bread its incredible elasticity and wheat-like texture. It is certified safe for celiacs. - Fine Sea Salt:
2 ½ teaspoons (10g). Salt is crucial for flavor and also helps regulate the yeast’s activity.
The Critical Flour Note
The success of this bread hinges entirely on using Mulino Caputo Fioreglut Gluten-Free Flour. This is not a standard 1:1 baking blend. It contains gluten-free wheat starch, which provides the structure and chew that other gluten-free flours lack. It mimics the behavior of gluten, allowing the dough to be handled and to rise in a way that is unique in the gluten-free world.
- Where to Find It: While it can be found on Amazon, the price is often high. Your best bet is to check local Italian grocery stores, where it is typically much more affordable.
- No Substitutions: The developer has not successfully replicated this recipe with any other flour blend. Bob’s Red Mill 1:1, Cup4Cup, or homemade blends will not yield the same results.
Step-by-Step Instructions
The process is wonderfully straightforward and requires more patience than skill.
Prep Time: 1 hour 45 mins | Cook Time: 40 mins | Total Time: 2 hours 25 mins | Servings: 10 slices
- Activate the Yeast: In a large bowl, whisk together the warm water, instant yeast, and honey (or sugar). Let this mixture sit for about 10 minutes. It should become foamy on the surface, indicating the yeast is alive and active.
- Mix the Dough: Add half of the Caputo Fioreglut flour and all of the salt to the yeast mixture. Stir with a fork or wooden spoon—it will be very sticky. Gradually add the remaining flour until the dough pulls away from the sides of the bowl and becomes less sticky.
- First Rise: Cover the bowl with plastic wrap or a clean kitchen towel. Place it in a warm, draft-free spot and let the dough rise for
1 ½ hours. In a cooler environment, this may take closer to 2 hours. The dough should roughly double in size. - Preheat the Dutch Oven: About 30 minutes before the dough is ready, place your empty Dutch oven (with its lid on) into your oven and preheat to
450°F. - Shape and Bake: Once the dough has risen, use a dough scraper or a spoon to gently scrape it onto a large square of parchment paper. It will be loose and sticky—this is normal. Carefully remove the scorching hot Dutch oven from the oven. Using the parchment paper as a sling, lower the dough into the pot. Cover with the lid and bake for
30 minutes. - Crisp the Crust: After 30 minutes, remove the lid and continue baking for another
10-15 minutes, until the crust is a deep, golden brown. - Cool Completely: This is the hardest but most important step. Use the parchment paper to lift the bread out of the Dutch oven and onto a wire rack. Let it cool for at least 30 minutes, but ideally for 2 hours, before slicing. This allows the interior crumb to set properly and prevents a gummy texture.
Pro Tips for Success
- Weigh Your Ingredients: For absolute precision and consistent results, use a kitchen scale to measure the flour and water. Gluten-free baking is less forgiving than traditional baking, and weight is always more accurate than volume.
- Ensure a Warm Rise: If your kitchen is cool, create a warm proving spot by heating your oven to its lowest setting for a few minutes, turning it off, and then placing the covered bowl inside.
- Don’t Skip the Parchment Paper: The parchment paper sling is a crucial tool for safely transferring the sticky dough into the blazing hot Dutch oven.
- Cooling is Non-Negotiable: Resist the urge to slice into the bread while it’s warm! Cutting too early releases steam and results in a gummy, dense texture. Let it cool completely for the best crumb structure.
Frequently Asked Questions
Can I use active dry yeast instead of instant yeast?
Yes, you can. The process is the same—activate it in the warm water with sugar. However, the rise time might be slightly longer.
I don’t have a Dutch oven. What can I use?
A Dutch oven is ideal because it traps steam, which creates a beautiful crust. If you don’t have one, you can use any heavy, oven-safe pot with a tight-fitting lid. A ceramic baking dish covered with a sheet pan might work in a pinch, though the crust may be different.
My bread is gummy inside. What went wrong?
The most common causes are under-baking or slicing the bread before it has cooled completely. Ensure your oven is fully preheated and use an internal thermometer to check that the bread has reached 205-210°F in the center. Then, let it cool for the full 2 hours.
How do I store the bread?
Keep the unsliced loaf in an airtight container at room temperature for up to 2 days. For longer storage, slice it, place the slices in a freezer bag, and freeze for up to 3 months. Toast frozen slices directly from the freezer.
Serving Suggestions and Pairings
This versatile bread is a true all-rounder.
- The Simple Joy: Enjoy a thick slice slathered with good butter or dipped in high-quality olive oil and balsamic vinegar.
- The Best Toast: Its sturdy structure makes it perfect for toast. Top with avocado, jam, or your favorite nut butter.
- Sandwich Worthy: Finally, a gluten-free bread that can hold up to sandwich fillings without falling apart. Use it for everything from turkey clubs to grilled cheese.
- Soup’s Best Friend: Dunk it into a warm bowl of gluten-free minestrone, tomato soup, or dairy-free broccoli cheddar soup.
- Transform Leftovers: Turn stale bread into homemade croutons or gluten-free breadcrumbs.
Embrace the Joy of Gluten-Free Bread Again
This Gluten-Free No-Knead Bread is more than just a recipe; it’s a revelation. It gives back the simple pleasure of eating a slice of fresh, soft bread—a pleasure that many on a gluten-free diet thought was lost forever.
While the specific flour requires a bit of a hunt, the effort is infinitesimal compared to the payoff. The process is meditative and satisfying, and the result is nothing short of magical. So, track down that bag of Caputo Fioreglut, clear your schedule for an afternoon, and get ready to fill your kitchen with the unforgettable aroma of baking bread. Your taste buds (and your sandwiches) will thank you.
PrintGluten-Free No-Knead Bread
This Gluten-Free No-Knead Bread is crusty on the outside, soft and chewy inside, and shockingly easy to make. No kneading, no mixer, and just five ingredients—finally, a gluten-free bread you can enjoy fresh and untoasted!
- Prep Time: 1 hour 45 minutes
- Cook Time: 40 minutes
- Total Time: 2 hours 25 minutes
- Yield: 10 slices 1x
- Category: Bread
- Method: Baking
- Cuisine: American
Ingredients
- 1 ¾ cups (410g) warm water (around 110°F)
- 2 ¼ tsp (8g) instant yeast
- 1 tsp (7g) honey or granulated sugar
- 3 cups (475g) Caputo Fioreglut Gluten-Free Flour
- 2 ½ tsp (10g) fine sea salt
Instructions
- In a large bowl, whisk warm water, yeast, and honey (or sugar). Let sit 10 minutes until foamy.
- Add half the flour and all of the salt. Stir well. Gradually add remaining flour until dough forms and pulls away from sides of bowl. It will be sticky.
- Cover bowl with plastic wrap or a towel. Let rise in a warm place for 1 ½ hours until doubled in size.
- Meanwhile, place a Dutch oven with lid into oven and preheat to 450°F about 30 minutes before baking.
- Scrape risen dough onto a sheet of parchment paper. Do not shape—it will be loose. Use parchment as a sling to transfer into hot Dutch oven.
- Cover and bake for 30 minutes. Remove lid and bake 10–15 minutes more until crust is deep golden.
- Lift bread out using parchment. Cool on wire rack at least 30 minutes, ideally 2 hours, before slicing.
Notes
Only use Caputo Fioreglut flour—no substitutes. Measure ingredients by weight for best results. Let bread cool completely to avoid a gummy crumb. Freezes well sliced in a freezer bag for up to 3 months.
Nutrition
- Serving Size: 1 slice
- Calories: 165
- Sugar: 1g
- Sodium: 410mg
- Fat: 1g
- Saturated Fat: 0g
- Unsaturated Fat: 0.5g
- Trans Fat: 0g
- Carbohydrates: 34g
- Fiber: 2g
- Protein: 3g
- Cholesterol: 0mg
Keywords: gluten-free bread, no-knead bread, caputo fioreglut, artisan bread, easy bread recipe


