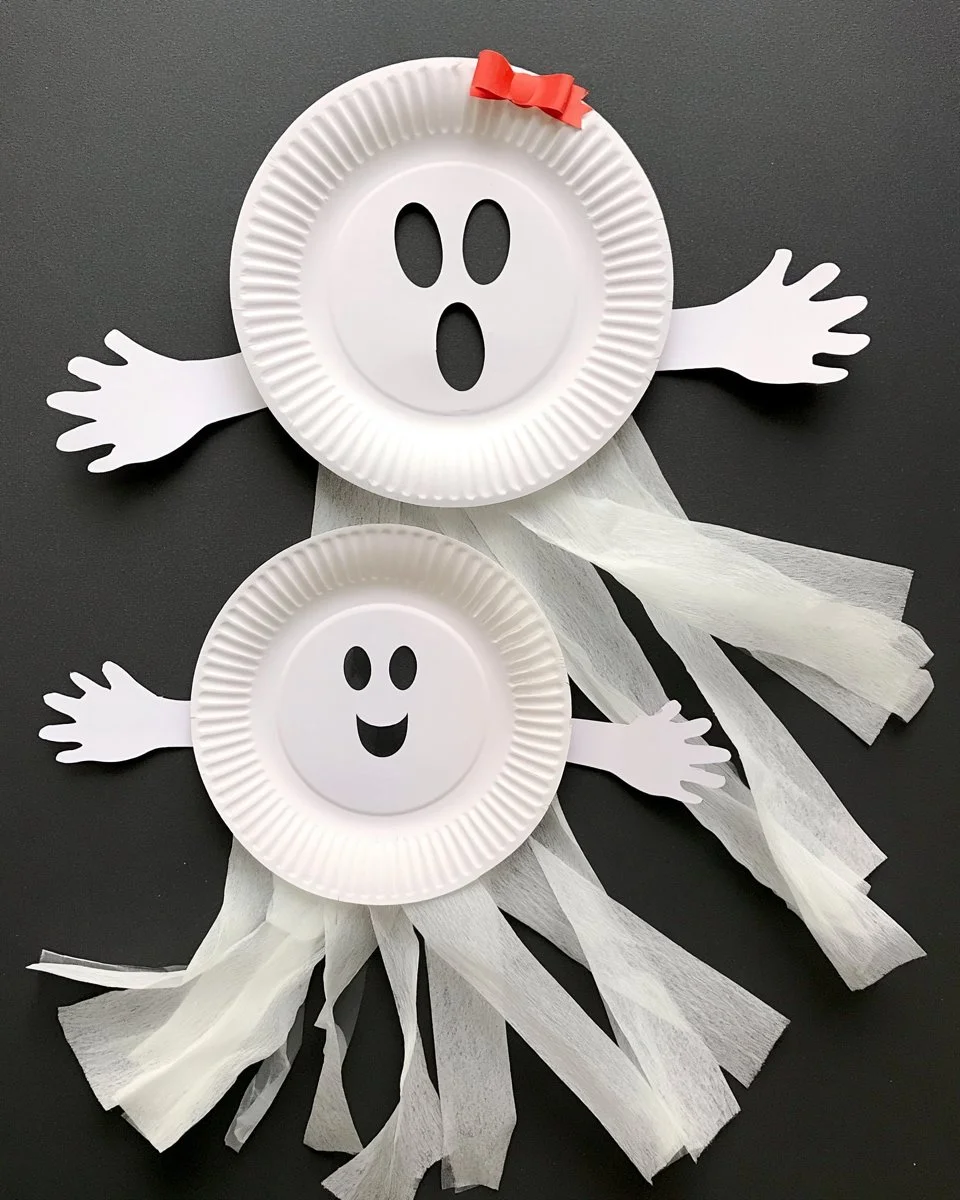
If you’re looking for a fun and easy craft project, making a Paper Plate Ghost is a delightful choice. This simple craft requires minimal materials and is perfect for beginners, making it a great option for seasonal decorating and holiday crafts. With just a few easy steps, you can create charming decorations for Halloween or any spooky celebration.
WHY YOU WILL LOVE THIS Paper Plate Ghost
Creating this Paper Plate Ghost is an enjoyable experience that offers multiple benefits for DIY enthusiasts:
- Easy for Beginners: This project is straightforward, making it perfect for those new to crafting.
- Uses Simple Materials: You only need common items found around the home.
- Budget-Friendly: This craft is inexpensive to make, allowing you to create multiple ghosts without breaking the bank.
- Quick to Make: You can complete this craft in under an hour, perfect for last-minute decorations.
- Great for Home Decor: Use these ghosts to add a spooky flair to your home for Halloween.
- Easy to Customize: Your creativity can make each ghost unique!
PROJECT DETAILS
Skill Level
Beginner – This project is perfect for those new to crafting.
Estimated Time
30–45 minutes – Depending on drying time and detail work.
Approximate Cost
$5 or less – Most materials are low-cost or can be found at home.
Best For
Ideal for children and family craft time, Halloween parties, or classroom activities.
Project Type
Seasonal craft – This Paper Plate Ghost is perfect for Halloween or any spooky theme.
TOOLS AND EQUIPMENT NEEDED
Scissors
Used for cutting the paper plates into ghost shapes or any additional decorations.
Paintbrush
A small paintbrush is helpful for applying paint or glue smoothly.
Glue
Used for attaching parts of the ghost together and for any embellishments.
MATERIALS
Paper Plates
These are the main component for crafting the ghost’s body. Use white plates for the classic ghost look.
Black Marker or Paint
Use this for drawing the ghost’s eyes and mouth.
Cotton Balls (optional)
Cotton balls can be added for texture or to represent ghostly wisps.
Googly Eyes (optional)
For a playful touch, try gluing on some googly eyes instead of drawing them.
String or Ribbon (optional)
Use this if you plan to hang your ghosts for decoration.
White Balloon (optional)
A large white balloon can be used to create a larger ghost.

HOW TO MAKE Paper Plate Ghost
Creating your Paper Plate Ghost is a fun and easy DIY project. Follow these simple steps:
Step 1: Gather Your Materials
Collect all your materials in a clean and organized space to make the crafting process smoother.
Step 2: Shape Your Ghost
Take a paper plate and turn it upside down. Trim the edges to give your ghost a wavy bottom, resembling the ghost’s flow. This creates a more authentic ghost shape.
Step 3: Paint the Ghost (optional)
If using, paint the top of the plate white (if not already white) using a paintbrush. Allow it to dry completely.
Step 4: Add Eyes and Mouth
With a black marker or paint, draw a spooky expression on your ghost’s face. Make it as simple or detailed as you like.
Step 5: Add Texture
If you want to make your ghost more whimsical, glue on a few cotton balls for texture. You can create a floating effect by gluing them at the top of the ghost.
Step 6: Customize
Personalize your ghost with googly eyes or additional features, like a witch’s hat made from black construction paper.
Step 7: Allow to Dry
If you used any glue or paint, let the project dry before moving or hanging it.
Step 8: Display Your Ghost
Find a spot to hang or display your Paper Plate Ghost. Attach a length of string or ribbon at the top if you want to hang your ghost.
TIPS AND TRICKS
- Choosing Materials: Look around your home for materials you can recycle or repurpose, making this craft even more budget-friendly.
- Cutting and Gluing: Use scissors carefully and be patient while gluing pieces together for a better finish.
- Avoiding Common Mistakes: Allow plenty of drying time for glue and paint to prevent smudging.
- Customization: Don’t be afraid to experiment with different expressions and decorations.
- Making the Craft Last Longer: Use a clear sealant spray over completed ghosts to protect them from dust if you plan to keep them.
VARIATIONS AND CUSTOMIZATION IDEAS
There are countless ways to make your Paper Plate Ghost unique:
- Different Sizes: Use smaller or larger plates to create ghosts of varying sizes.
- Different Materials: Try using black paper plates or colored tissue paper for a different look.
- Seasonal Versions: Make the ghosts holiday-themed by adding hats or accessories representing different holidays (e.g., a Santa hat for Christmas or a witch hat for Halloween).
- Different Patterns: Create a family of ghosts with various expressions or accessories.
- Lighting: Consider cutting holes in the ghosts and placing LED tealights behind them for a glowing effect.
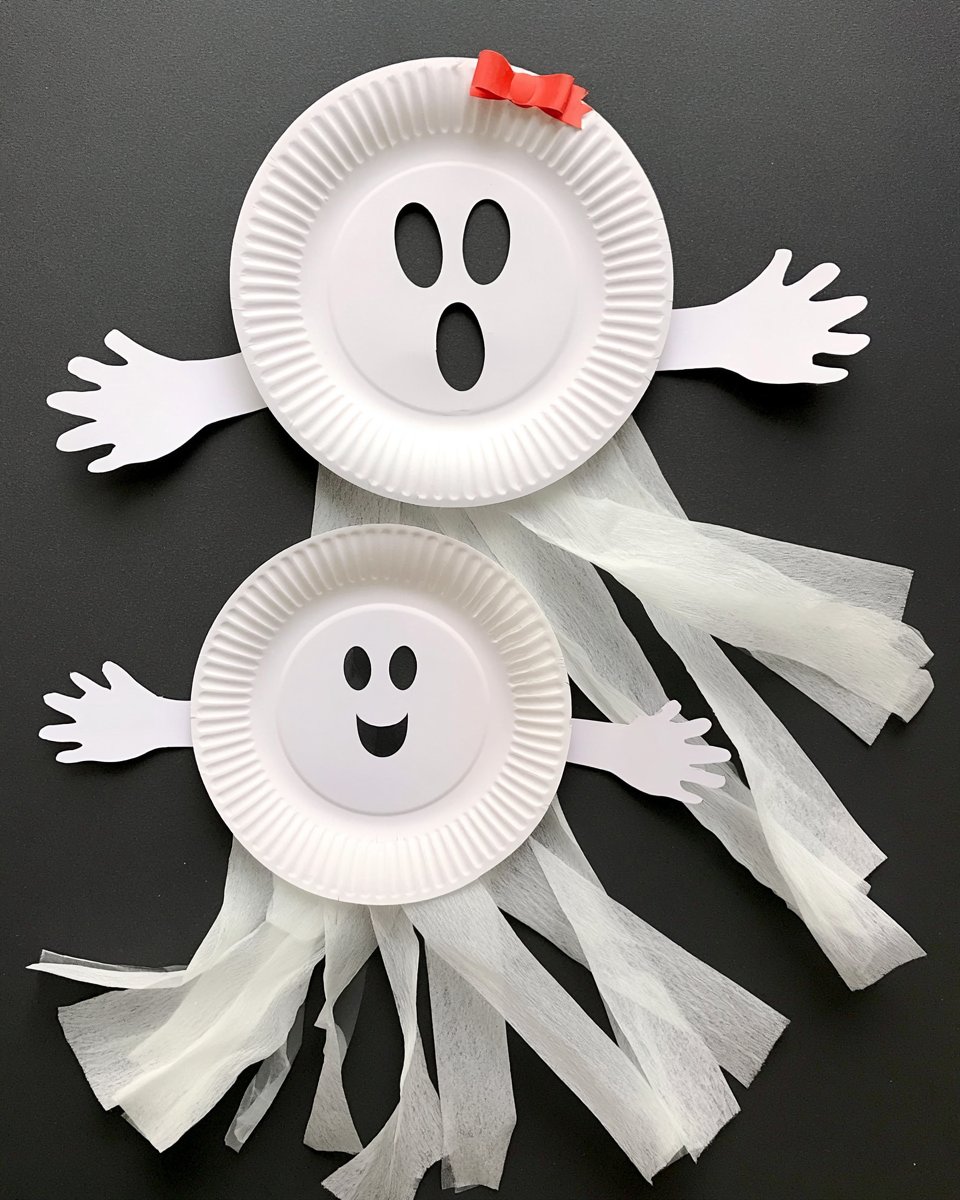
Paper Plate Ghost FAQ
Q1: How difficult is this craft?
This Paper Plate Ghost is very easy and perfect for beginners, as it requires only basic supplies and minimal skills.
Q2: What materials do I need?
You will need paper plates, a black marker or paint, scissors, glue, and optional items like cotton balls, googly eyes, and string.
Q3: How should I store my Paper Plate Ghosts?
Store them in a dry place out of direct sunlight to maintain their shape and color. If using glue, allow sufficient time for everything to dry before storage.
Q4: Can I customize my ghost?
Absolutely! You can change the colors, expressions, and materials to create personalized versions that suit your style.
Q5: How long does this craft take to make?
You can complete this project in about 30 to 45 minutes, depending on drying times and the details you add.
CONCLUSION
In summary, creating a Paper Plate Ghost is an easy DIY project that combines fun and creativity. This beginner-friendly craft is budget-friendly, allowing you to create unique decorations for Halloween or any seasonal event. With simple materials and quick steps, this craft is perfect for anyone looking to add a handmade touch to their home decor.
We encourage you to try this fun craft and share your creations. Whether you customize your ghost or use it as a festive decoration, your Paper Plate Ghost is sure to bring joy to your home. Happy crafting!
PrintPaper Plate Ghost
A fun and easy craft project for creating charming Paper Plate Ghost decorations for Halloween.
- Prep Time: 10 minutes
- Cook Time: 0 minutes
- Total Time: 30 minutes
- Yield: Multiple ghosts
- Category: Craft
- Method: Crafting
- Cuisine: N/A
- Diet: N/A
Ingredients
- Paper Plates
- Black Marker or Paint
- Scissors
- Glue
- Cotton Balls (optional)
- Googly Eyes (optional)
- String or Ribbon (optional)
- White Balloon (optional)
Instructions
- Gather Your Materials
- Shape Your Ghost
- Paint the Ghost (optional)
- Add Eyes and Mouth
- Add Texture
- Customize
- Allow to Dry
- Display Your Ghost
Notes
Use recycled materials to keep costs low and customize your ghost for unique decorations.
Nutrition
- Serving Size: N/A
- Calories: 0
- Sugar: 0g
- Sodium: 0mg
- Fat: 0g
- Saturated Fat: 0g
- Unsaturated Fat: 0g
- Trans Fat: 0g
- Carbohydrates: 0g
- Fiber: 0g
- Protein: 0g
- Cholesterol: 0mg
Keywords: DIY, Halloween, crafts, Paper Plate Ghost, kids craft