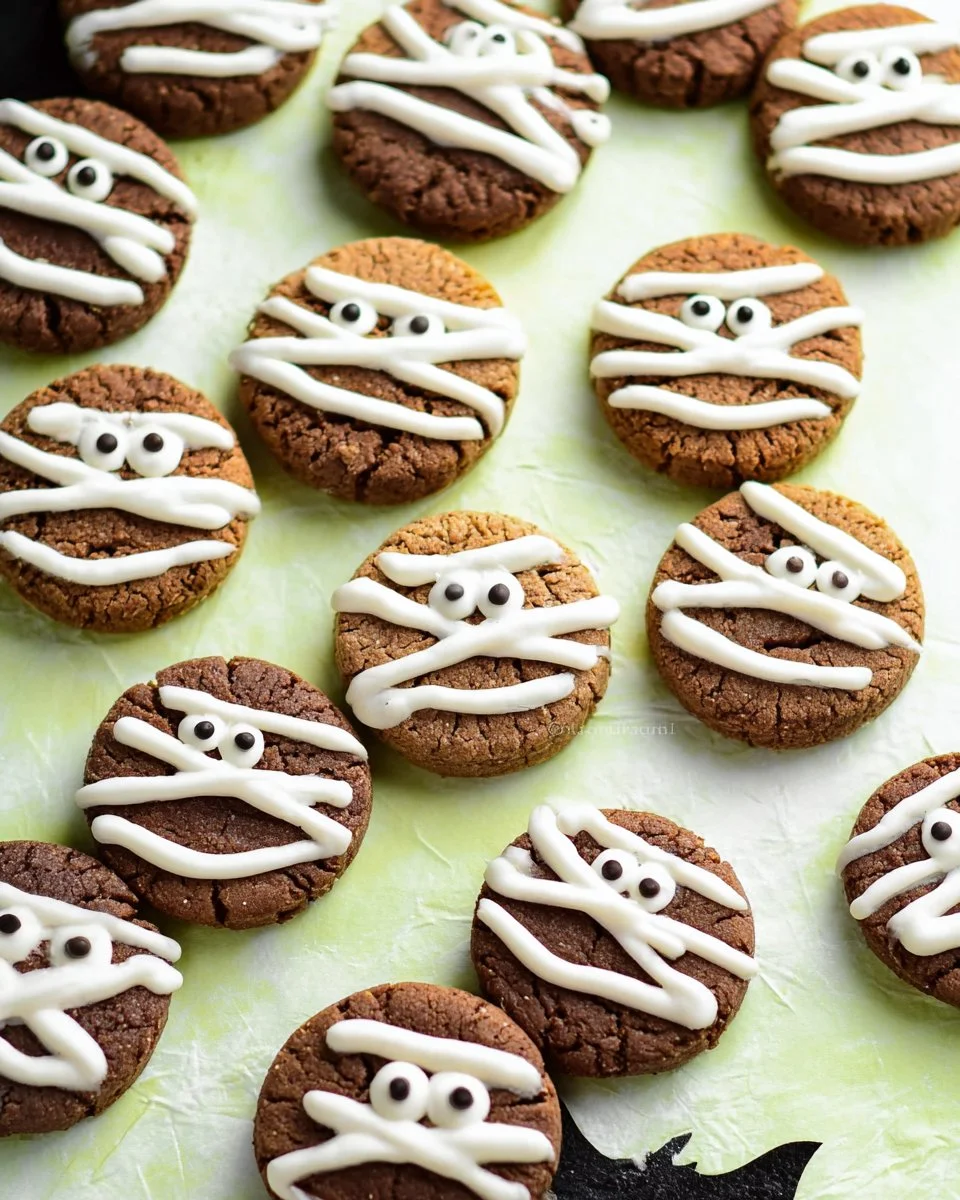
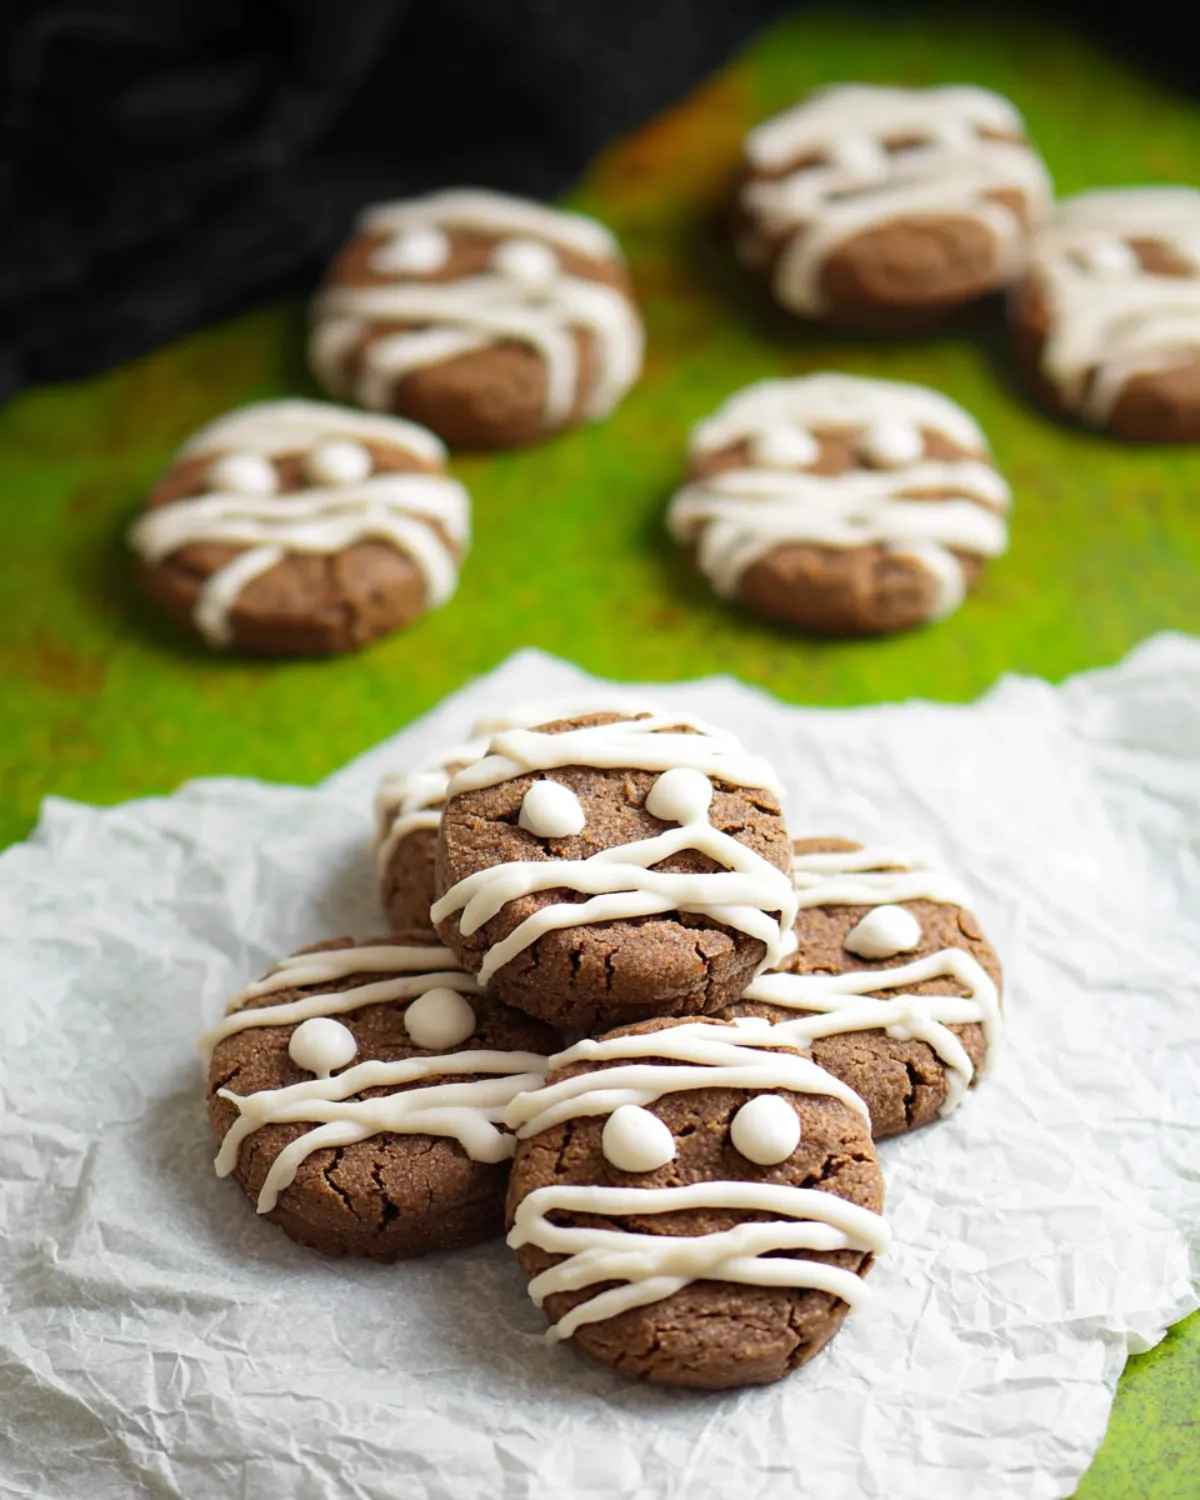
If you’re looking for a fun and festive dessert that’s perfect for Halloween or just a spooky-themed party, Mummy Cookies are a great choice! Not only do these cookies look adorable and playful, but they are also delicious and easy to make. Kids and adults alike will love the chocolate flavor with the sweet, fluffy frosting. Plus, decorating them is a delightful activity that everyone in the family can participate in. The creative aspect of turning simple cookies into little mummies is sure to spark joy and excitement in your kitchen!
HOW TO MAKE Mummy Cookies
Making Mummy Cookies is a straightforward process that yields scrumptious results. With a handful of ingredients and step-by-step directions, you’ll have delicious cookies ready to impress your friends and family in no time.
Ingredients
To prepare these Mummy Cookies, you will need the following ingredients:
- 2 cups all-purpose flour
- 2 tablespoons corn starch
- 1/2 teaspoon salt
- 3/4 cup unsweetened cocoa powder
- 1 cup granulated sugar
- 1 cup butter, room temperature
- 1 large egg
- 2 teaspoons pure vanilla extract
- 1/2 cup butter, room temperature (for frosting)
- 2 cups confectioners sugar
- 1 1/2 tablespoons heavy cream
- 1/2 teaspoon pure vanilla extract (for frosting)
- Candy eyes
DIRECTIONS
Follow these easy steps to make your Mummy Cookies:
- In a medium bowl, whisk together the all-purpose flour, corn starch, cocoa powder, and salt. This dry mixture provides a nice structure to the cookies, so make sure they are well combined. Set this aside for now.
- In a mixing bowl, use a stand mixer or a handheld mixer to beat the room temperature butter and granulated sugar together until the mixture is light and fluffy. This process usually takes about 3-5 minutes. Incorporating air into the butter and sugar is key to achieving a light texture.
- Once the butter-sugar mixture is fluffy, add in the egg and the pure vanilla extract. Continue to mix until everything is well blended. The vanilla adds a lovely flavor that complements the chocolate beautifully.
- Gradually mix in the flour mixture you set aside earlier. Add it in small batches, mixing well after each addition. This method ensures that the flour is well incorporated without creating a mess.
- After everything is combined, roll the dough into a log with a diameter of about 1 1/2 inches. Wrap it tightly with parchment or wax paper. Place the wrapped dough in the refrigerator and chill it for at least 1 hour. Chilling the dough helps the cookies retain their shape while baking.
- Preheat your oven to 350 degrees Fahrenheit (175 degrees Celsius). While the oven is heating, line your baking sheets with parchment paper or silicone liners to prevent the cookies from sticking.
- Once your dough has chilled, carefully slice it into 1/4- to 1/2-inch slices. Place these slices on your prepared baking sheet, making sure to leave some space between each cookie to allow for spreading during baking.
- Bake the cookies in the preheated oven for 8-12 minutes, or until they are set. They should look firm but not hard. After baking, let them rest on the baking sheet for 2-3 minutes before transferring them to a cooling rack. Once cooled completely, you can start decorating!
- To prepare the frosting, beat the 1/2 cup of room temperature butter in a large bowl until it is light and fluffy. Then, slowly mix in the confectioners’ sugar, about 1/2 cup at a time, to avoid a sugar cloud in your kitchen.
- Add the heavy cream and the pure vanilla extract to the frosting mixture and continue mixing until everything is well combined. This thick, sweet frosting will be perfect for decorating your cookies.
- Using a piping bag, pipe the frosting in strips across each cookie to create the ‘mummy wrappings’. Be as creative as you like! Lastly, secure the candy eyes onto the frosting with a small dot of frosting on the back.
HOW TO SERVE Mummy Cookies
Mummy Cookies are perfect for serving at parties, Halloween gatherings, or even for a fun family dessert night. Place them on a festive platter for display, and watch as everyone enjoys the spooky treat. You can serve these cookies with milk, hot cocoa, or even coffee. The combination of the soft chocolate cookie and the creamy frosting pairs wonderfully with these drinks. They also make great gifts if you’re looking to share the Halloween spirit with friends and neighbors.
HOW TO STORE Mummy Cookies
To keep your Mummy Cookies fresh, store them in an airtight container at room temperature. They will stay tasty for about 3-5 days. If you want to keep them for an extended period, consider freezing them. To freeze, wrap each cookie individually in plastic wrap and place them in a freezer-safe bag or container. They can be stored in the freezer for up to 3 months. When you’re ready to enjoy them, simply thaw at room temperature.
TIPS TO MAKE Mummy Cookies
- Chill Your Dough: Make sure to chill the dough as directed. This step is essential to ensuring your cookies hold their shape while baking.
- Don’t Overbake: Keep an eye on your cookies while they are in the oven. Overbaking can lead to dry cookies. They should be set but still soft.
- Piping Fun: If you don’t have a piping bag, a plastic zipper bag with a corner snipped off can work just as well for decorating.
- Experiment with Decor: Feel free to put your own spin on these cookies. Different colors of frosting, or edible decorations, can add even more fun to your Mummy Cookies.
VARIATIONS
There are many ways you can customize your Mummy Cookies. Here are a few ideas:
- Different Flavors: Instead of chocolate cookies, try using a vanilla or pumpkin cookie base for a different flavor profile.
- Add Spices: Incorporate spices like cinnamon or nutmeg into the dough for a warm, cozy flavor that pairs well with autumn themes.
- Alternative Toppings: Use mini chocolate chips or colored sprinkles instead of candy eyes for a different look and flavor.
- Gluten-free Option: Substitute all-purpose flour with a 1:1 gluten-free baking blend for a gluten-free version of these cookies.
FAQs
Can I make the dough ahead of time?
Yes, you can make the dough ahead of time and freeze it before baking. Just wrap it tightly and store it in the freezer for up to 3 months. When you’re ready to bake, let it thaw in the refrigerator before slicing and baking.
Can I use different types of frosting?
Absolutely! While the buttercream frosting is traditional, you can use royal icing or even store-bought frosting to save time.
How can I make these cookies less sweet?
To reduce sweetness, you can cut back on the amount of powdered sugar in the frosting or use a cream cheese frosting, which has a slight tang that balances the sweetness.
Creating Mummy Cookies is an enjoyable journey filled with creativity and deliciousness. So gather your loved ones and enjoy making these fun treats together! Happy baking!
PrintMummy Cookies
Fun and festive Mummy Cookies with chocolate flavor and sweet frosting, perfect for Halloween or any spooky-themed party.
- Prep Time: 60 minutes
- Cook Time: 12 minutes
- Total Time: 72 minutes
- Yield: 24 cookies 1x
- Category: Dessert
- Method: Baking
- Cuisine: American
- Diet: Vegetarian
Ingredients
- 2 cups all-purpose flour
- 2 tablespoons corn starch
- 1/2 teaspoon salt
- 3/4 cup unsweetened cocoa powder
- 1 cup granulated sugar
- 1 cup butter, room temperature
- 1 large egg
- 2 teaspoons pure vanilla extract
- 1/2 cup butter, room temperature (for frosting)
- 2 cups confectioners sugar
- 1 1/2 tablespoons heavy cream
- 1/2 teaspoon pure vanilla extract (for frosting)
- Candy eyes
Instructions
- In a medium bowl, whisk together the all-purpose flour, corn starch, cocoa powder, and salt. Set aside.
- In a mixing bowl, beat the room temperature butter and granulated sugar until light and fluffy, about 3-5 minutes.
- Add the egg and pure vanilla extract and mix until well blended.
- Gradually mix in the flour mixture in small batches.
- Roll the dough into a log with a diameter of about 1.5 inches, wrap it tightly, and chill in the refrigerator for at least 1 hour.
- Preheat your oven to 350°F (175°C) and prepare baking sheets.
- Slice the chilled dough into 1/4- to 1/2-inch slices and place them on the prepared baking sheet.
- Bake for 8-12 minutes until set, then let cool.
- To prepare frosting, beat the room temperature butter until light and fluffy, then mix in confectioners’ sugar, heavy cream, and vanilla extract.
- Using a piping bag, pipe the frosting onto each cookie to create ‘mummy wrappings’ and add candy eyes.
Notes
Chill the dough to ensure cookies hold shape while baking. Don’t overbake; cookies should be soft but set.
Nutrition
- Serving Size: 1 cookie
- Calories: 180
- Sugar: 12g
- Sodium: 100mg
- Fat: 8g
- Saturated Fat: 5g
- Unsaturated Fat: 3g
- Trans Fat: 0g
- Carbohydrates: 25g
- Fiber: 1g
- Protein: 2g
- Cholesterol: 20mg
Keywords: Halloween, cookies, dessert, festive treats, baking, chocolate


