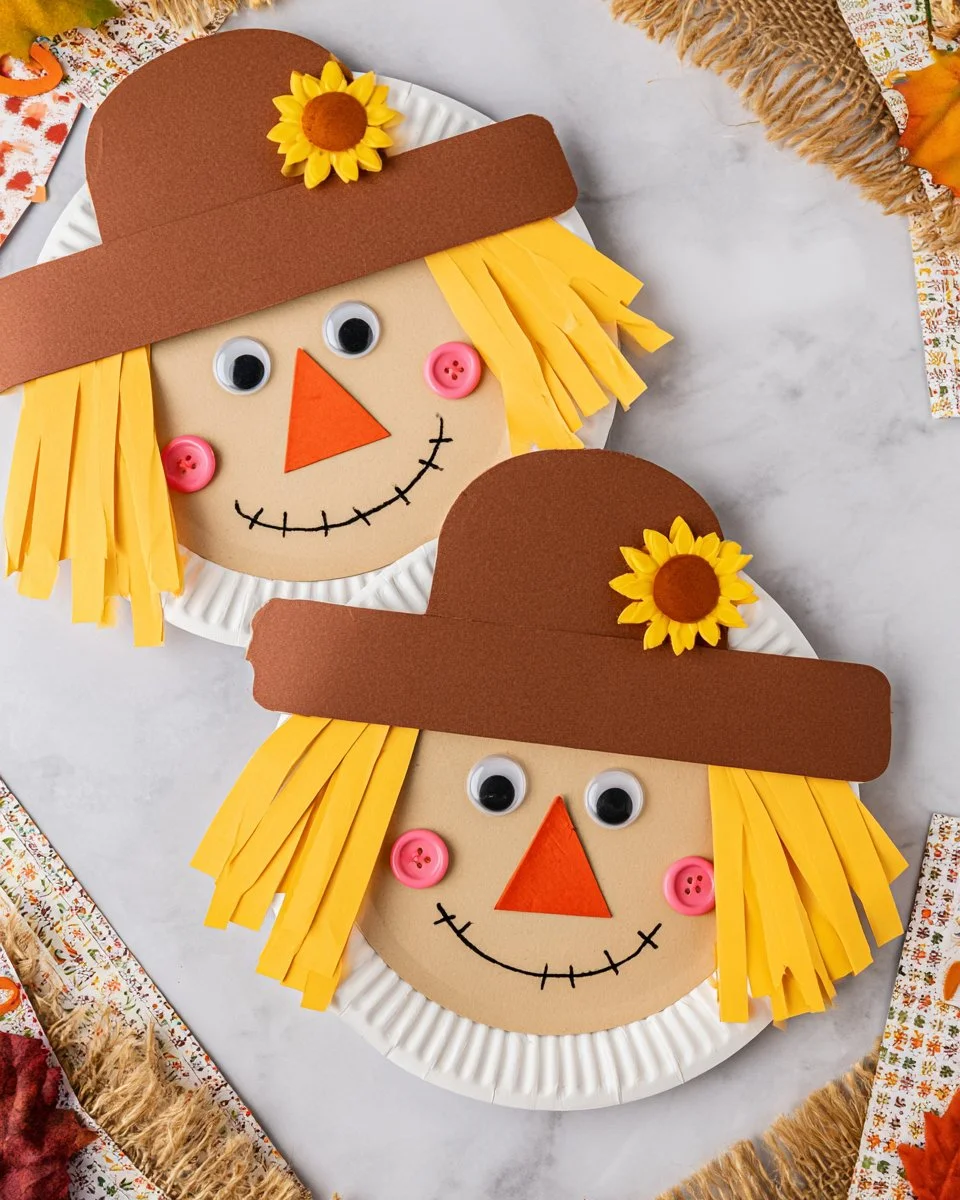
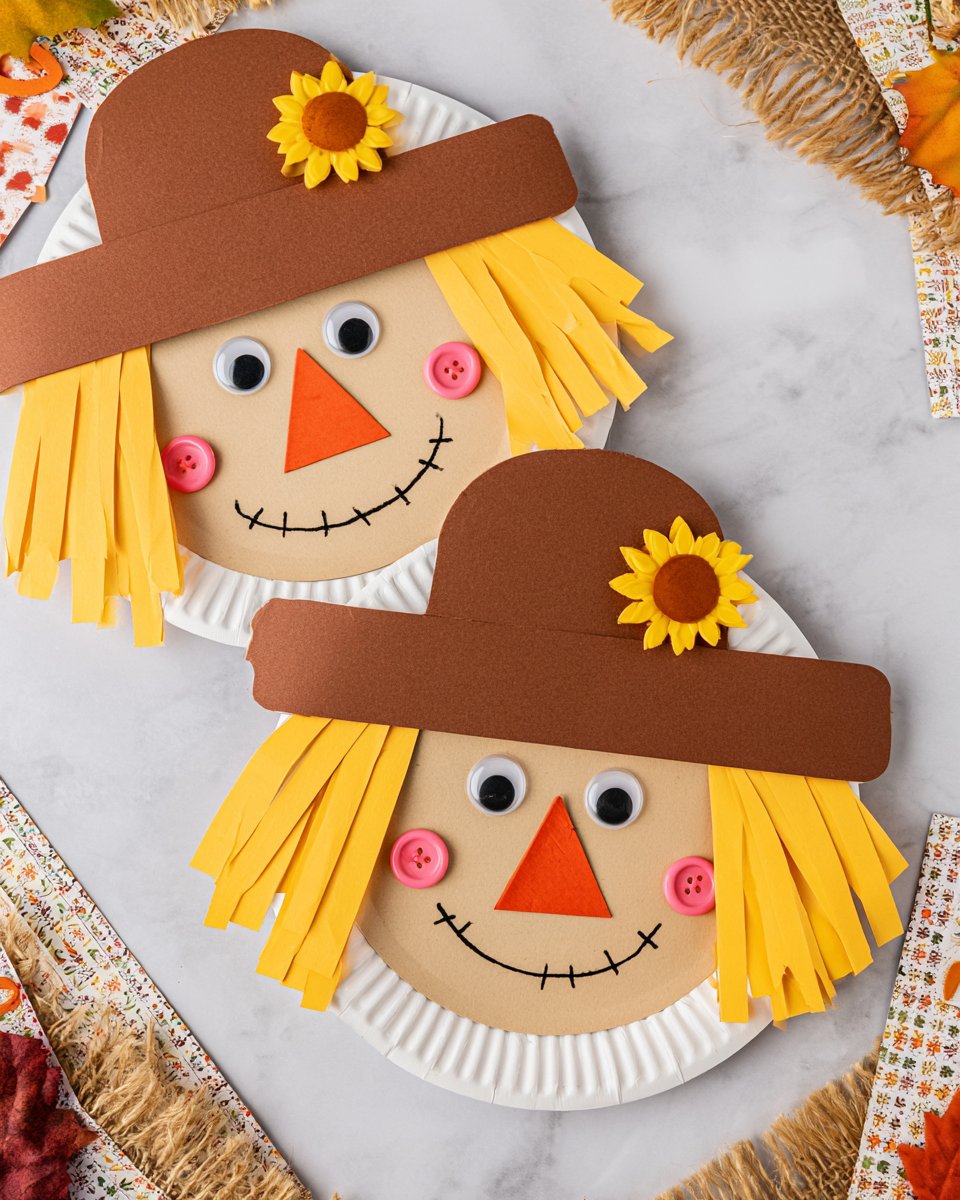
The Paper Plate Scarecrow is an easy craft that’s perfect for beginners and anyone looking to add some seasonal charm to their home decor. Using simple materials, this DIY project is budget-friendly and can be crafted in no time. With just a few supplies, you can create a fun and festive decoration that embodies the spirit of fall. Whether you are setting up for Halloween or simply want to embrace autumn, this easy craft idea is a must-try!
WHY YOU WILL LOVE THIS Paper Plate Scarecrow
Making a Paper Plate Scarecrow is enjoyable for many reasons:
- Easy for Beginners: This craft requires no advanced skills, making it perfect for those who are new to DIY projects.
- Uses Simple Materials: You don’t need a lot of supplies—just paper plates and some craft items.
- Budget-Friendly: Most materials are inexpensive and easy to find at home or local craft stores.
- Quick to Make: You can create this scarecrow in under an hour, making it a perfect activity for busy crafters.
- Great for Home Decor: This cheerful decoration can brighten up your living space during the autumn season.
- Easy to Customize: You can modify colors, expressions, and features according to your preferences.
PROJECT DETAILS
Skill Level
Beginner
This project is simple and ideal for crafters of all ages. No advanced techniques are required.
Estimated Time
30 to 60 minutes
Depending on your experience and how much customization you want, this craft can be completed in about half an hour.
Approximate Cost
$10 or less
Most materials can be found at home, but if you need to purchase them, the total cost will likely be quite low.
Best For
Home decor, gifts, or seasonal celebrations
This paper plate scarecrow can serve as a charming addition to your autumn decoration or a thoughtful handmade gift.
Project Type
Easy DIY project
This is a simple craft suitable for a variety of craft enthusiasts, from kids to adults.
TOOLS AND EQUIPMENT NEEDED
Scissors
Use scissors to cut out various shapes from cardstock and craft foam. Sharp, good-quality scissors will help you achieve cleaner cuts.
Paintbrush
A paintbrush is needed for applying the light tan paint to the paper plate. Opt for a small size for better control.
Pencil
A pencil can be helpful for marking where you want to cut or draw features on the scarecrow’s face.
MATERIALS
Dessert size paper plate
The base of your scarecrow. Use a paper plate to create a round face that will be decorated with various facial features.
Light tan paint
This paint will be used to color the paper plate, giving the scarecrow a warm, friendly look.
Yellow cardstock paper
Use the yellow cardstock to create hair for your scarecrow. The vibrant color will bring life to your craft.
Brown cardstock paper
Brown will be used for accents like the scarecrow’s hat. It contrasts well with the other colors.
Orange craft foam
This material will be used to cut out a triangle nose for your scarecrow, adding a playful touch to its face.
Light pink buttons
These buttons can be used to create cheeks or any other fun facial features for your scarecrow.
Sunflower sticker or faux flower
Add a cheerful touch atop your scarecrow’s hat. This little detail enhances the overall look and adds a decorative element.
Black sharpie or paint pen
Use this to draw details such as the scarecrow’s mouth and stitching, helping to define its character.
Eyeball template
This template helps create fun, cartoon-style eyes for your scarecrow, giving it personality.
Scarecrow Hat Template
Use this template to cut out a hat shape that will sit atop your scarecrow’s head.
HOW TO MAKE Paper Plate Scarecrow
This easy craft project is broken down into simple steps. Follow the instructions below to create your own Paper Plate Scarecrow!
Step 1: Paint the Paper Plate
Start by painting the front of your paper plate with light tan paint. Spread the paint evenly with a paintbrush. Let it dry completely before moving on to the next steps. This forms the face of your scarecrow and sets the foundation for your design.
Step 2: Cut Out the Hat
While the plate is drying, use the scarecrow hat template to cut out a hat shape from the brown cardstock paper. This will add personality to your scarecrow. Make sure to get the shape right, as it’s a key feature of your design.
Step 3: Create the Hair
Cut strips of yellow cardstock paper into various lengths to represent hair. Longer pieces can be used for a girl scarecrow and shorter ones for a boy. You can use any design you want for the hair, making it a fun part of the craft.
Step 4: Add Facial Features
Once your plate is dry, it’s time to add the face! Cut out two circles from the white cardstock for eyes or use the eyeball template. Use black sharpie to create pupils in the eyes. Then, cut a triangle from the orange craft foam for the nose. You can draw or paint a big smile and add dashed lines to give it a stitched look.
Step 5: Glue on the Hair and Face Parts
Using liquid glue, start attaching the yellow hair pieces to the top of the plate. Next, glue on the eyes, triangle nose, and pink buttons for rosy cheeks. Position them to create a friendly, cheerful face.
Step 6: Attach the Scarecrow Hat
Secure the hat onto the top of the scarecrow’s head using glue. Make sure it sits snugly and looks proportionate to the scarecrow’s face you have created.
Step 7: Add the Sunflower
Finally, take your sunflower sticker or faux flower and place it on the side of the hat. This adds a fun and whimsical touch to your scarecrow, bringing it to life.

TIPS AND TRICKS
Here are some practical tips to ensure your Paper Plate Scarecrow turns out beautifully:
- Choose Good Quality Materials: Use a sturdy paper plate and quality cardstock for the best results. This will enhance the durability of your craft.
- Cut Carefully: When cutting, take your time, especially on small pieces for facial features. Precise cuts lead to a cleaner finish.
- Use Templates Wisely: Always use templates when drawing or cutting shapes. This ensures consistency and better proportions.
- Experiment with Details: Feel free to add more features, such as eyelashes or different expressions. This adds a personal touch and makes your scarecrow unique.
- Work in a Clean Space: Set up a tidy workspace to avoid mess while painting and gluing. This helps maintain focus and efficiency.
VARIATIONS AND CUSTOMIZATION IDEAS
Here are some fun ideas to customize your Paper Plate Scarecrow:
- Different Colors: Use different paint colors for a multi-colored scarecrow, or explore pastel shades for a unique look.
- Seasonal Versions: Change the facial features for different holidays, like a spooky face for Halloween.
- Different Sizes: Experiment with larger or smaller paper plates to create scarecrows of varying sizes, perfect for different displays.
- Christmas Version: You can adapt this craft for Christmas by adding Santa features or a holiday hat!
- Personalized Versions: Allow kids to write their names on the scarecrow or add unique designs on the hat.
Paper Plate Scarecrow FAQ
1. How difficult is it to make a Paper Plate Scarecrow?
This craft is a beginner-friendly project and is very easy to complete, making it perfect for crafters of all ages.
2. What materials do I need to create this scarecrow?
You will need a dessert-size paper plate, light tan paint, yellow and brown cardstock, orange craft foam, buttons, a sunflower sticker, a black sharpie, and templates for the eyes and hat.
3. How long does it take to complete the scarecrow?
It generally takes about 30 to 60 minutes to make the Paper Plate Scarecrow, depending on your pace and customization choices.
4. How can I store my scarecrow after I’m done?
Place your finished scarecrow in a dry and cool spot. Avoid direct sunlight to keep the colors vibrant. If you need to store it in a box, wrap it in tissue paper to prevent any damage.
5. Can this scarecrow be a gift?
Absolutely! This handmade gift is a delightful and thoughtful present, especially around the fall season or holidays.
CONCLUSION
The Paper Plate Scarecrow is a perfect example of an easy craft that anyone can enjoy. With simple materials and a beginner-friendly approach, this DIY project allows you to create a festive decoration for your home while unleashing your creativity. Plus, it’s a budget-friendly option that will brighten any space.
We encourage you to try this fun craft! Once you finish, share your experience or any customizations you made. Let’s celebrate the spirit of autumn together!
PrintPaper Plate Scarecrow
An easy and budget-friendly DIY craft for creating a charming Paper Plate Scarecrow, perfect for autumn decorations.
- Prep Time: 30 minutes
- Cook Time: 0 minutes
- Total Time: 30 minutes
- Yield: 1 scarecrow
- Category: Craft
- Method: Crafting
- Cuisine: N/A
- Diet: N/A
Ingredients
- Dessert size paper plate
- Light tan paint
- Yellow cardstock paper
- Brown cardstock paper
- Orange craft foam
- Light pink buttons
- Sunflower sticker or faux flower
- Black sharpie or paint pen
- Eyeball template
- Scarecrow Hat Template
Instructions
- Paint the Paper Plate with light tan paint and let it dry.
- Cut out the hat shape from brown cardstock using the scarecrow hat template.
- Create hair by cutting strips of yellow cardstock into various lengths.
- Add facial features with two circles for eyes, a triangle for the nose, and a smile using black sharpie.
- Glue the hair pieces and facial parts onto the plate.
- Attach the scarecrow hat using glue.
- Add the sunflower sticker or faux flower to the side of the hat.
Notes
Feel free to customize with different colors or features for a unique look!
Nutrition
- Serving Size: 1 scarecrow
- Calories: 0
- Sugar: 0g
- Sodium: 0mg
- Fat: 0g
- Saturated Fat: 0g
- Unsaturated Fat: 0g
- Trans Fat: 0g
- Carbohydrates: 0g
- Fiber: 0g
- Protein: 0g
- Cholesterol: 0mg
Keywords: paper plate craft, scarecrow decoration, autumn craft, DIY home decor, beginner craft