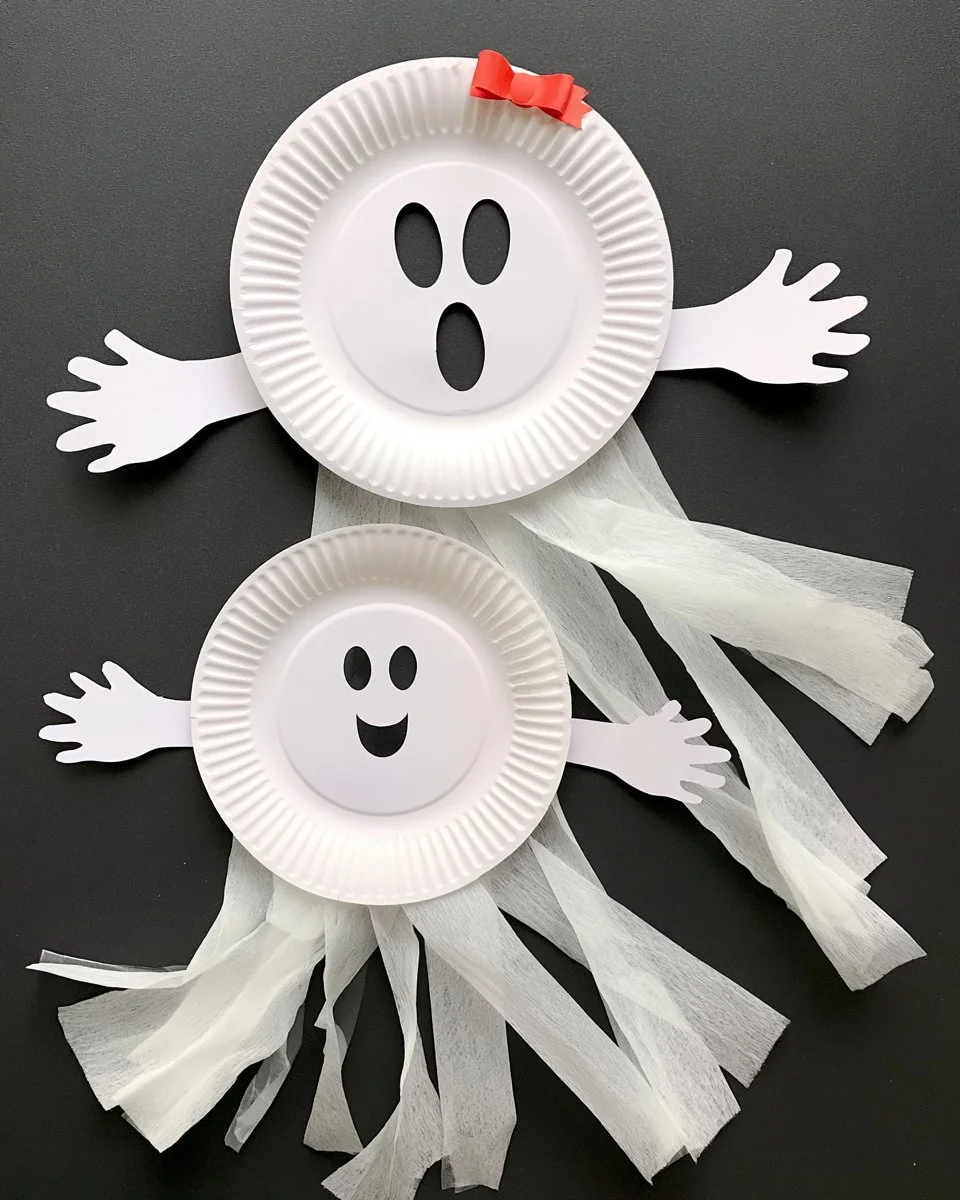
This easy DIY project is a fun way to celebrate the Halloween season with your family! The Paper Plate Ghost is a charming craft that’s perfect for kids and adults alike. It’s a beginner-friendly craft that uses simple materials and takes minimal time to complete. This creative DIY idea provides an outstanding opportunity for family bonding and decorating your home for Halloween, making it a delightful addition to your seasonal crafts collection.
WHY YOU WILL LOVE THIS Paper Plate Ghost
Making a Paper Plate Ghost is a fantastic way to enjoy the Halloween season. This simple craft offers several benefits:
- Easy for beginners: It requires no prior crafting experience, making it suitable for all skill levels.
- Uses simple materials: Most of the supplies can be found around your home or are inexpensive to purchase.
- Budget-friendly: It’s a cost-effective DIY project, perfect for those on a tight budget.
- Quick to make: You can create these charming ghosts in about 30 minutes, ideal for busy schedules.
- Great for home decor: These ghostly figures make wonderful additions to your Halloween decorations.
- Perfect for parties or seasonal decorating: Whether for a Halloween party or just some fun at home, these ghost crafts will add a festive touch!
- Easy to customize: You can personalize these ghosts in various ways, making them unique to your style.
PROJECT DETAILS
To give you a quick overview of what to expect, here are the project details:
Skill Level
This is a beginner-friendly craft that anyone can do with little effort.
Estimated Time
Set aside around 30 minutes to complete this project from start to finish.
Approximate Cost
This craft typically costs around $5 or less, depending on the materials you already have at home.
Best For
This craft is perfect for children and families, great for schools, community centers, or holiday events.
Project Type
This is a seasonal craft ideal for Halloween decorations.
TOOLS AND EQUIPMENT NEEDED
Here is a list of essential tools and equipment for making your Paper Plate Ghost:
Scissors
Used for cutting the paper plates and other materials to shape your ghost.
Glue Stick
Ideal for adhering the different parts of your ghost together. A glue stick is less messy than liquid glue.
Paintbrush
Used to apply paint evenly on the surface of the ghost if you’re opting for paint decoration.
MATERIALS
These are the materials you’ll need for this project:
Paper Plates
These form the base of the ghost. You will need one for each ghost you intend to make.
White Paint
Used to color the paper plates to create the ghostly appearance.
Black Marker
To draw the eyes and mouth on your ghost, giving it personality.
Yarn or Black String
Optional, but can be used to hang your ghost if you want to display it.
Black Construction Paper
Used to create spooky shapes or additional decorations for your ghost.
Tape
Helpful for securing yarn or any additional decorative elements.
HOW TO MAKE Paper Plate Ghost
Follow these simple steps to create your cute Paper Plate Ghost:
Step 1: Paint the Plate White
Start by painting the front side of the paper plate with white paint. Ensure the paint is evenly spread and covers the plate completely. Allow it to dry for a few minutes.
Step 2: Create the Face
Once the white paint has dried, use a black marker to draw two oval eyes and a spooky mouth on your ghost. Get creative with the expressions to make your ghost look friendly or frightful!
Step 3: Add a Hanging Feature (Optional)
If you want to hang your ghost, take a piece of yarn or string. Cut a length of about 12 inches. Use a small piece of tape to attach one end of the yarn to the top of the plate. This will allow you to hang your ghost up in a window or from the ceiling.
Step 4: Finishing Touches
Feel free to add any additional decorations using black construction paper or other craft materials if you wish. You may create a witch hat or a pumpkin shape as a fun accent!

TIPS AND TRICKS
Here are some helpful tips for making your Paper Plate Ghost:
- Choosing materials: Use leftover craft materials you have at home. Upcycled crafts can add personality to your project!
- Cutting: Ensure your scissors are sharp for clean cuts.
- Avoiding common mistakes: When painting, try not to over-saturate the plate. Thin layers dry easier and faster.
- Making the project easier: If you’re crafting with children, consider pre-painting the plates and letting them focus on drawing the faces.
- Getting a better finish: Apply two layers of paint if the initial coat is too thin to achieve a solid color.
- Making the craft last longer: To keep your ghost for next year, consider sealing it with a clear craft spray after it dries.
- Working safely: Keep scissors and other sharp objects out of reach for younger children, and supervise crafting sessions.
VARIATIONS AND CUSTOMIZATION IDEAS
You can personalize your Paper Plate Ghost in several fun ways:
- Different colors: Instead of white, try pastel hues or even glow-in-the-dark paint for a unique twist.
- Different sizes: Use smaller plates for mini ghosts or larger plates for bigger decorations.
- Seasonal versions: Use the same technique to create ghosts for other seasons or themes – add leaves for fall or flowers for spring.
- Different patterns: Incorporate polka dots, stripes, or other designs to make your ghost stand out.
- Personalized versions: Encourage children to add their names to their ghosts for a more personal touch.
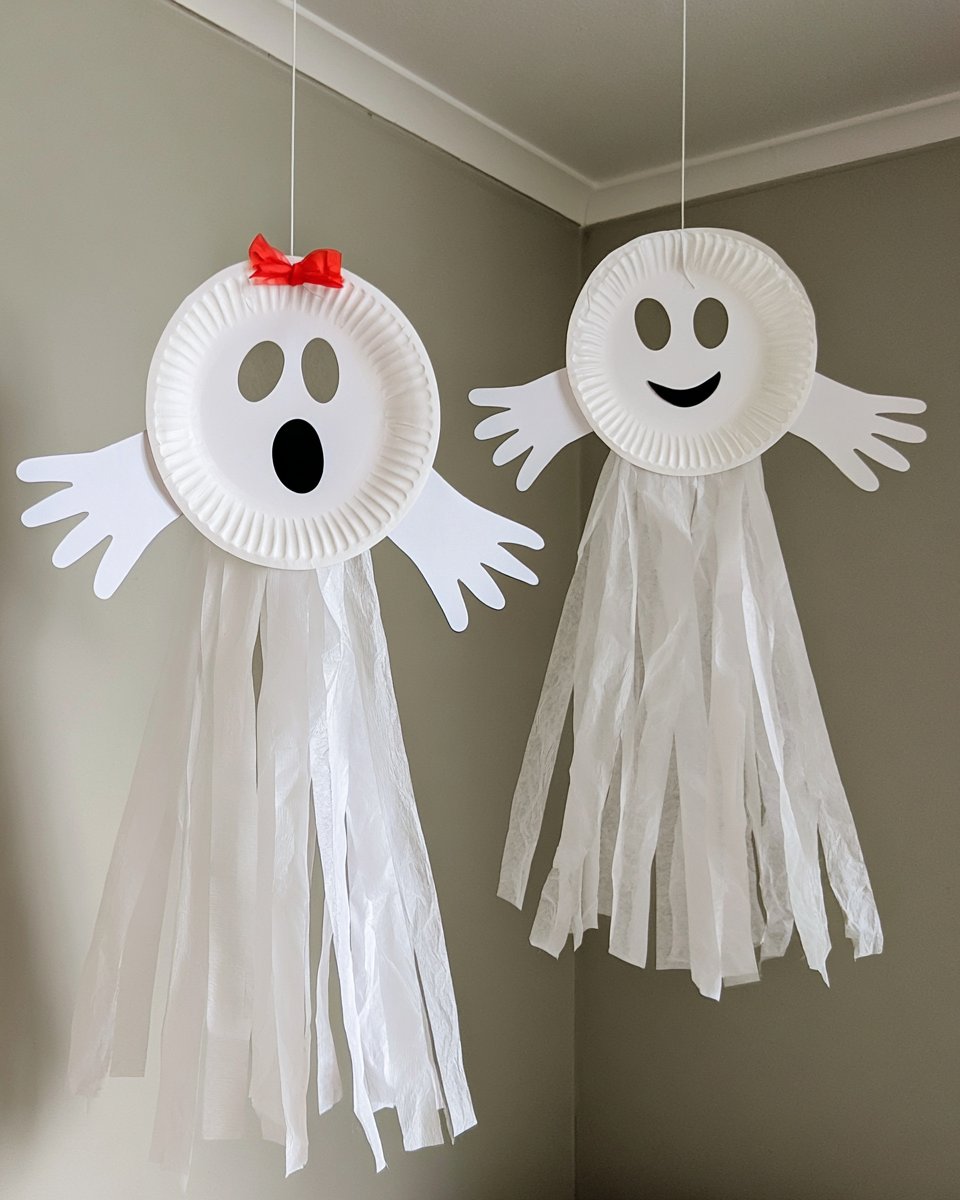
- Group designs: Create a ghost family with each family member designing their own ghost, hang them together for a festive display.
Paper Plate Ghost FAQ
How difficult is this craft?
This Paper Plate Ghost craft is very easy, making it suitable for beginners. Children can join in the fun too!
What materials do I need for this craft?
You will need paper plates, white paint, a black marker, yarn or string, black construction paper, and tape.
How long will it take to make these ghosts?
The entire process takes about 30 minutes, including painting and drying time.
Can I store these ghosts for next year?
Yes! To keep your ghost in good condition, store it in a cool, dry place. Avoid exposure to moisture, which can damage the paper.
Can I clean the ghosts if they get dirty?
While you can gently wipe off dust with a dry cloth, any moisture may damage the paper. It’s best to keep your ghosts in a safe spot.
CONCLUSION
The Paper Plate Ghost craft is an easy DIY project that makes for adorable and festive decor just in time for Halloween. This straightforward craft is perfect for beginners, requiring only common materials that are typically found at home. Not only is it budget-friendly, but it also provides opportunities for customization, allowing you to tailor your ghosts to reflect your personal style.
So gather your materials and family, and enjoy creating your very own Paper Plate Ghosts. Don’t forget to share your experience and finished projects! Happy crafting!
PrintPaper Plate Ghost
A charming and easy DIY project to create spooky Paper Plate Ghosts, perfect for Halloween decorations.
- Prep Time: 5 minutes
- Cook Time: 25 minutes
- Total Time: 30 minutes
- Yield: 1 ghost
- Category: Craft
- Method: Crafting
- Cuisine: N/A
- Diet: N/A
Ingredients
- Paper Plates
- White Paint
- Black Marker
- Yarn or Black String (optional)
- Black Construction Paper
- Tape
Instructions
- Paint the front side of the paper plate with white paint and let it dry.
- Create the face using a black marker to draw eyes and a mouth.
- Add a piece of yarn or string to hang the ghost if desired.
- Finish with any additional decorations as desired.
Notes
Use leftover materials, and let children focus on decorating the ghosts.
Nutrition
- Serving Size: 1 ghost
- Calories: 0
- Sugar: 0g
- Sodium: 0mg
- Fat: 0g
- Saturated Fat: 0g
- Unsaturated Fat: 0g
- Trans Fat: 0g
- Carbohydrates: 0g
- Fiber: 0g
- Protein: 0g
- Cholesterol: 0mg
Keywords: Halloween, DIY, kids craft, seasonal decor