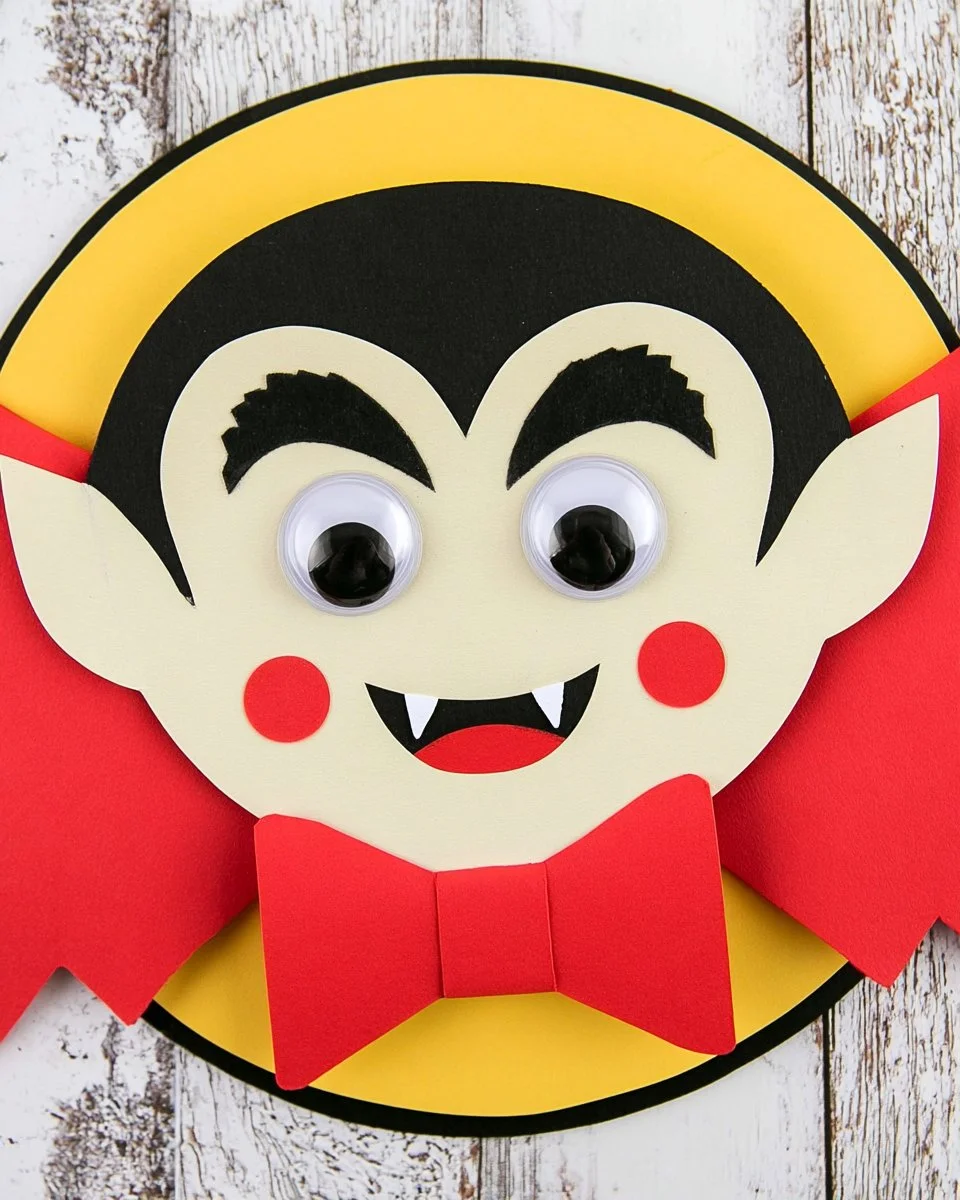
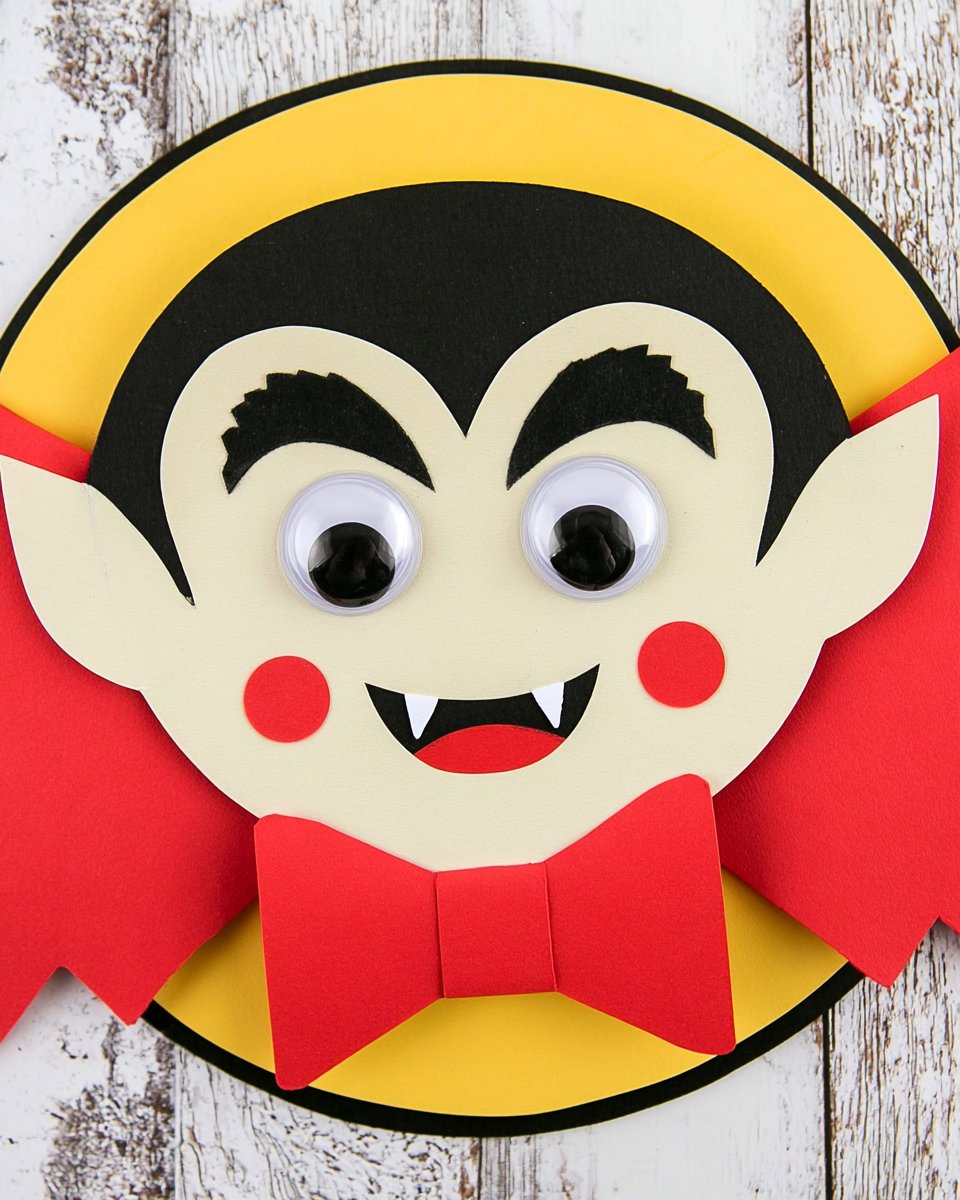
The Darling Paper Plate Vampire Craft is an easy DIY project that combines fun with creativity, making it the perfect choice for anyone wanting to add a touch of spooky charm to their home decor. This beginner-friendly craft requires simple materials and is budget-friendly, making it accessible for all ages. Whether you are organizing a Halloween party or simply looking for a creative DIY idea to enjoy with kids, this seasonal craft is an excellent choice. Let’s dive into how you can create your own adorable paper plate vampire!
WHY YOU WILL LOVE THIS Darling Paper Plate Vampire Craft
Creating this Darling Paper Plate Vampire Craft is a delightful way to celebrate the spooky season. Here are some reasons why you will enjoy making this craft:
- Easy for Beginners: This project is straightforward enough for anyone, from children to adults, making it an ideal choice for beginners.
- Uses Simple Materials: The materials needed are easy to find and inexpensive, which keeps the project affordable.
- Budget-Friendly: Each item can be sourced at a low cost, ensuring you can enjoy crafting without breaking the bank.
- Quick to Make: You can complete this craft in a short amount of time, making it perfect for those with busy schedules.
- Great for Home Decor: Display your finished vampire as a fun addition to your Halloween decorations.
- Perfect for Gifts: A handmade vampire can be a charming gift for friends and family during Halloween.
- Easy to Customize: Feel free to let your creativity flow by personalizing your vampire with different colors or accessories.
PROJECT DETAILS
Skill Level
Beginner
This craft is perfect for beginners, making it an easy DIY project that anyone can tackle.
Estimated Time
1 hour
Expect to spend about an hour on this project, including drying time for paint.
Approximate Cost
$10
The total cost of materials is minimal, making this a budget-friendly craft.
Best For
Home Decor and Seasonal Gifts
The finished craft is great for decorating your home for Halloween or making as a gift.
Project Type
DIY Craft
This is a fun and creative DIY craft that can be enjoyed by people of all ages.
TOOLS AND EQUIPMENT NEEDED
Scissors
You will need scissors to cut the paper plates and other materials for your vampire.
Glue Stick/Pen
A glue stick or a glue pen is essential for adhering the materials together securely.
Paintbrush
Use a paintbrush to apply the flesh-colored and red paints on the different paper plate pieces.
MATERIALS
Paper Plates
You will need 3 paper plates:
- One for the vampire’s face, one for the cape, and one for additional elements like the shirt and teeth.
Black Construction Paper
This material is used for the vampire’s hair and shirt details.
White Construction Paper
Optional for creating additional features like eyes or teeth.
Red Construction Paper
This is used for creating the vampire’s cape and mouth.
Flesh Colored Paint
You will need flesh-colored paint to create the vampire’s face.
Red Paint
Red paint is used for the vampire’s cape and mouth to give them a vibrant look.
Red Bow
A red bow can add a festive touch to your vampire’s outfit.
2 Large Googly Eyes
These are used for the eyes of the vampire, adding to its character.
Paintbrush
A paintbrush will help you apply paint smoothly.
Scissors
Used to cut out the necessary pieces of paper and construction paper.
Glue Stick/Pen
Adhesive is essential for putting all the parts of your vampire together.

HOW TO MAKE Darling Paper Plate Vampire Craft
Creating your Darling Paper Plate Vampire is straightforward. Just follow these steps to bring your spooky creation to life!
Step 1: Paint the Face
Take one of the paper plates and paint it with flesh-colored paint. Set it aside to dry. This will form the base of your vampire’s face.
Step 2: Prepare the Cape
Cut another paper plate in half. Paint both halves red. Set them aside to dry. These will be the vampire’s cape.
Step 3: Create the Shirt
Take the third paper plate and cut it in half. Set one half aside for later as the vampire’s shirt. From the remaining half, cut out two pointy ears and paint them flesh-colored. Set them aside for later use.
Step 4: Make the Hair
Cut out a piece of hair from black construction paper by tracing along the diameter of a paper plate for a perfect fit.
Step 5: Attach the Hair
Glue the black paper hair piece onto the top of the dried flesh-colored paper plate, forming the vampire’s hair.
Step 6: Add the Eyes
Apply glue to the back of the googly eyes and adhere them to the face.
Step 7: Create Brows
Cut out two long, skinny eyebrows from black paper and glue them above the googly eyes.
Step 8: Create the Mouth
Cut out a large mouth shape from the red paper and glue it onto the face.
Step 9: Make Fangs
From the half paper plate where you cut out the ears, cut out two teeth. Make a triangle cut to turn them into fangs, and glue them on the red mouth.
Step 10: Attach Ears
Glue an ear on both sides of the face, placing them about halfway down the plate.
Step 11: Make the Shirt Details
Cut out two half circles from black paper for the vampire’s shirt, gluing one half on each end of the shirt plate.
Step 12: Assemble the Cape
Apply glue to the top ends of the shirt plate and place the painted red cape pieces on top. Press firmly for about 15 seconds.
Step 13: Attach the Head
Generously apply glue to the top of the shirt plate. Position the vampire’s head at the top, pressing firmly for 15 minutes.
Step 14: Add the Bow
Finally, apply glue to the back of the red bow and place it in the middle of the shirt plate. Allow everything to dry for an additional 15 minutes.
TIPS AND TRICKS
Here are some practical tips for creating the Darling Paper Plate Vampire Craft:
- Choosing Materials: Use vibrant colors to make your vampire stand out. Don’t hesitate to experiment with other materials you have on hand, such as fabric scraps or glitter.
- Cutting Tips: Make smooth cuts when cutting your paper plates and construction paper for a cleaner finish.
- Gluing Techniques: Be generous with glue for better adhesion, especially when gluing lighter paper on top of heavier ones.
- Painting: Apply two coats of paint for vivid colors, allowing drying time between applications.
- Avoiding Common Mistakes: Double-check that the face and features are securely glued before moving on to the next steps to avoid them falling off.
- Saving Money: Use leftover supplies from past crafts to reduce costs. You can also involve friends to split costs and make it a fun group activity.
- Making it Last: This craft is best kept in a dry place and is not intended for outdoor display in rainy conditions.
- Working Safely: Always be cautious with scissors and glue, especially when crafting with children.
VARIATIONS AND CUSTOMIZATION IDEAS
Here are some inspired ideas to customize your vampire craft project:
- Different Colors: Use different colors of construction paper, such as blue for the cape or a brighter flesh tone for a unique look.
- Size Adjustments: Create smaller or larger versions of your vampire by adjusting the size of your paper plates.
- Seasonal Versions: Consider making a vampire suitable for other seasons by adding accessories like pumpkins for fall or candy canes for Christmas.
- Add Patterns: Use patterned paper for the cape or shirt to make your vampire more visually interesting.
- Accessories: Personalize your vampire by adding wigs made from yarn or crafting a small prop, like a cardboard bat.
Darling Paper Plate Vampire Craft FAQ
1. Is this craft difficult to make?
No, the Darling Paper Plate Vampire Craft is designed to be a simple craft suitable for beginners.
2. What materials do I need for this project?
You will need paper plates, construction paper, paint, googly eyes, scissors, a glue stick, and a paintbrush.
3. How long does it take to complete the craft?
The project takes about an hour to complete, including drying time for paint.
4. How should I store my finished vampire?
Store your vampire in a cool, dry place to prevent damage. Avoid exposing it to moisture.
5. Are there ways to customize the craft?
Absolutely! You can change colors, add patterns, or even give your vampire fun accessories to personalize it further.
CONCLUSION
The Darling Paper Plate Vampire Craft is a creative, easy, and budget-friendly project that will add a touch of fun to your seasonal decor. It’s perfect for beginners and a great way to spend time with friends or family while expressing your creativity. Plus, this project allows for endless customization, so you can make each vampire unique to your style. We encourage you to try this simple craft and share your experience or finished project with others! Happy crafting!
PrintDarling Paper Plate Vampire Craft

An easy and budget-friendly DIY project to create an adorable paper plate vampire, perfect for Halloween decorations.
- Prep Time: 5 minutes
- Cook Time: 30 minutes
- Total Time: 60 minutes
- Yield: 1 vampire craft 1x
- Category: DIY Craft
- Method: Crafting
- Cuisine: None
- Diet: None
Ingredients
- 3 Paper Plates
- Black Construction Paper
- White Construction Paper
- Red Construction Paper
- Flesh Colored Paint
- Red Paint
- 1 Red Bow
- 2 Large Googly Eyes
- Scissors
- Glue Stick/Pen
- Paintbrush
Instructions
- Paint the face with flesh-colored paint and allow it to dry.
- Prepare the cape by cutting another plate in half and painting both halves red, then let them dry.
- Create the shirt by cutting the third plate in half; set one half aside for the shirt and cut pointy ears from the other half.
- Make the hair from black construction paper by tracing a plate.
- Attach the hair to the top of the dried face plate with glue.
- Add googly eyes to the face using glue.
- Create eyebrows from black paper and glue them above the eyes.
- Cut the mouth from the red paper and glue it on the face.
- Make fangs by cutting teeth shapes from the ear plate and glue them onto the mouth.
- Attach ears to both sides of the face.
- Create shirt details with half circles of black paper.
- Assemble the cape by gluing the painted red halves to the top of the shirt plate.
- Attach the head by gluing it on top of the shirt plate and pressing for 15 minutes.
- Add the red bow to the shirt plate with glue, and let everything dry for an additional 15 minutes.
Notes
Use vibrant colors for a standout vampire, and feel free to customize with accessories. Ensure the craft is stored in a dry place.
Nutrition
- Serving Size: 1 craft
- Calories: N/A
- Sugar: N/A
- Sodium: N/A
- Fat: N/A
- Saturated Fat: N/A
- Unsaturated Fat: N/A
- Trans Fat: N/A
- Carbohydrates: N/A
- Fiber: N/A
- Protein: N/A
- Cholesterol: N/A
Keywords: Halloween craft, DIY, paper plate vampire, easy crafts, kids crafts