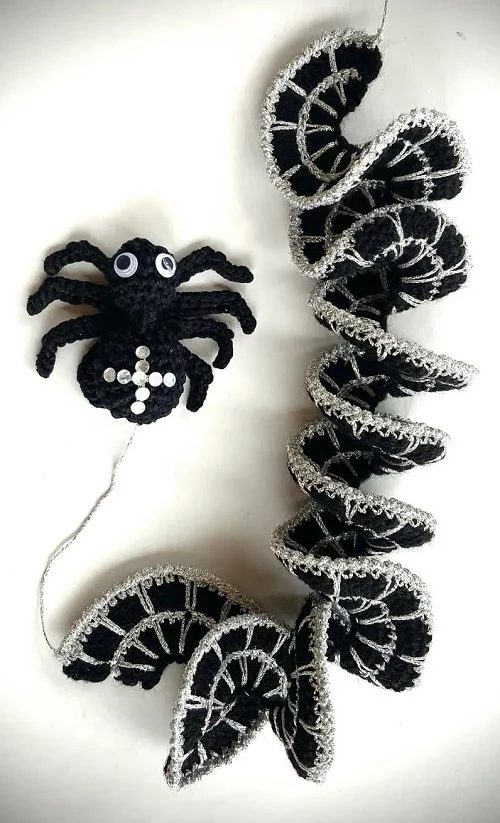
A curly black spiral, a glittering silver web, and a little spider dangling underneath: this crochet wind spinner is wonderfully silly in the best possible way. The silver stitches stretch across the black fabric like web strands, while the whole spiral turns in the breeze. Our spider certainly has a job that involves plenty of spinning!
The shape comes from simple increases. We build extra stitches along a narrow foundation, let the strip curl, and then add the web details and a neatly rounded edge. Finally, we arrange the curls into an even spiral.
Table of Contents
- Step 1: Gather Your Yarn, Hooks, and Spider Details
- Step 2: Make the 80-Chain Foundation
- Step 3: Add the Half Double Crochet Increases
- Step 4: Crochet the First Silver Web Row
- Step 5: Work a Black Double Crochet Row
- Step 6: Add the Second Silver Web Row
- Step 7: Finish the Outer Edge with Crab Stitch
- Step 8: Add the Inner Slip-Stitch Line and Shape the Spiral
- Step 9: Attach the Spider and Hang Your Wind Spinner
Step 1: Gather Your Yarn, Hooks, and Spider Details
I use ordinary black sock yarn held double for the body of the wind spinner. Take one strand from the center of the ball and one from the outside, and crochet with both together.
- Black sock yarn, held double: for the foundation and the two black stitch rows.
- A small amount of thin silver Lurex yarn: for the web strands, edging, and finishing details.
- 3.5 mm crochet hook: for the doubled black yarn.
- 3 mm crochet hook: for the finer silver yarn.
- Scissors: for fastening off between rows.
- Two craft eyes: for the separate crochet spider.
- Optional sparkling stones: to decorate the spider’s back.
You do not have to use sock yarn and Lurex. Black cotton with a finer white cotton, such as filet crochet thread, is another option. The important feature is the contrast: the pale web needs to stand out against the dark background.
All stitch names below use US crochet terminology. You will use chains, single crochet, half double crochet, double crochet, slip stitches, and crab stitch. Crab stitch is simply single crochet worked backward.
One little practical tip before we start: put a sheet of white paper underneath your work when you need to find stitches in the black yarn. Black stitches are, of course, wonderfully easy to see. By which I mean, not at all! A light background makes the holes much clearer.
Step 2: Make the 80-Chain Foundation
- With the 3.5 mm hook and doubled black yarn, make 80 chains.
- Starting in the second chain from the hook, work one single crochet into each chain.
- You will have 79 single crochet stitches.
- Cut the yarn and pull the tail through the final loop.
- Draw the tail through a stitch toward the back so it can be secured neatly.
The 80-chain starting length is the version used here. You can also begin with 70 chains for a shorter version, keeping the same stitch repeats in the following rows.
Do not simply turn and crochet the next row back. For most of this project, fasten off at the end of the row, return to its beginning, and work across with the same front side facing you.
This keeps the stitch fronts consistently on one side. The back will look attractive too, but the direction of the rows affects how the strip curves. The crab-stitch edging will be the exception to this rule.
Step 3: Add the Half Double Crochet Increases
Return to the beginning of the single crochet row. Join the doubled black yarn with the 3.5 mm hook, and lay the starting tail along the row so you can crochet over it.
- Make two starting chains.
- Work two half double crochets into that same first stitch. The starting chains take the place of the first stitch in this opening group.
- Work three half double crochets into every remaining single crochet.
- Continue to the far end, then cut the yarn and fasten off.
- Draw the finishing tail through the nearby fabric, securing it before you move on.
The strip will start twisting almost immediately. That is exactly what we want. All those extra stitches have more width than the foundation can accommodate, so the fabric curls.
By the end, it should be thoroughly curled up. Hopefully from laughing, although the increases probably have more to do with it.

Step 4: Crochet the First Silver Web Row
Give the black yarn a little rest. Switch to the 3 mm hook and silver yarn, and return to the beginning of the work.
Join at the top of the initial two-chain rise. Secure the starting tail as you work, either by carrying it through the opening stitches or crocheting over it.
- Make the first silver single crochet at the starting-chain section.
- Work one single crochet into each of the next two black half double crochets. This completes the opening group of three silver stitches.
- Insert the hook down into the corresponding foundation chain below.
- Catch the silver yarn and pull up a long loop to the height of the current row.
- Complete a single crochet. This is an extra long single crochet, not a replacement for one of the stitches along the top.
Continue with this repeat:
One single crochet into each of the next three black half double crochets, then one extra long single crochet anchored in the next foundation chain below.
Those long silver stitches make the first web spokes. Keep the drawn-up loops relaxed enough to reach the top comfortably. Tight loops will pull the fabric together instead of lying neatly across it.
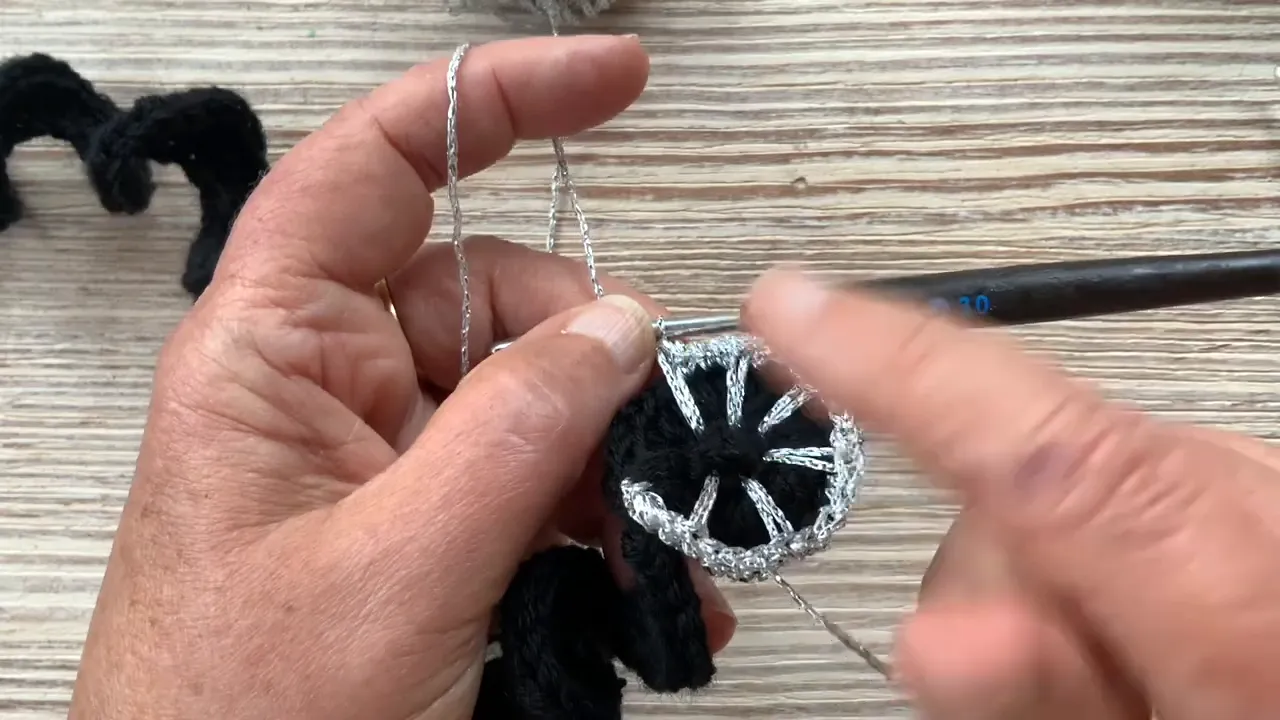
Work the repeat all the way to the end. Cut the silver yarn, pull it through the final loop, and secure the tail through the edge in two or three places.
The work may look rather crumpled now. Leave the final shaping for later. At this stage, the web strands and stitch rhythm matter more than a perfectly arranged spiral.
Step 5: Work a Black Double Crochet Row
Return to the beginning again and switch back to the 3.5 mm hook and doubled black yarn.
- Join close to the starting edge. If the join sits more securely in the adjacent black section, begin there.
- Make three starting chains, securing the starting tail as you begin.
- Work one double crochet into each silver stitch across the row.
- Include each long silver single crochet in the stitches you work into.
- At the end, cut the black yarn, fasten off, and secure the tail.
This is a pleasantly straightforward row. Each group of three half double crochets gained an extra stitch in the silver row, so you now have four double crochet positions per repeat.
Do not overlook the top of a long silver stitch. It is a real stitch in the row, and skipping it would interrupt the pattern.
Keep the same front side facing you, just as before. Both sides look quite similar, but keeping the row direction consistent helps the curls sit properly.
Step 6: Add the Second Silver Web Row
With the 3 mm hook and silver yarn, join again at the beginning of the strip. Crochet over the starting tail as you work.
This row repeats the same web-making idea, but the groups are now wider:
Work one single crochet into each of four black double crochets, then add one long single crochet anchored below.
For the long stitch, reach down to the lower web row, lining it up with the earlier silver spoke. Pull the loop back up to the height of the current row before completing the single crochet.
Check the alignment as you establish the opening repeat. The long stitches should extend the web pattern outward, rather than drift sideways between the earlier spokes.
- Four ordinary single crochets follow the tops of the black double crochets.
- One additional long single crochet extends the silver web detail.
- Each repeat therefore turns four stitch positions into five.
Continue to the far end. Do not cut the silver yarn this time. We will use it immediately for the return edging.
Step 7: Finish the Outer Edge with Crab Stitch
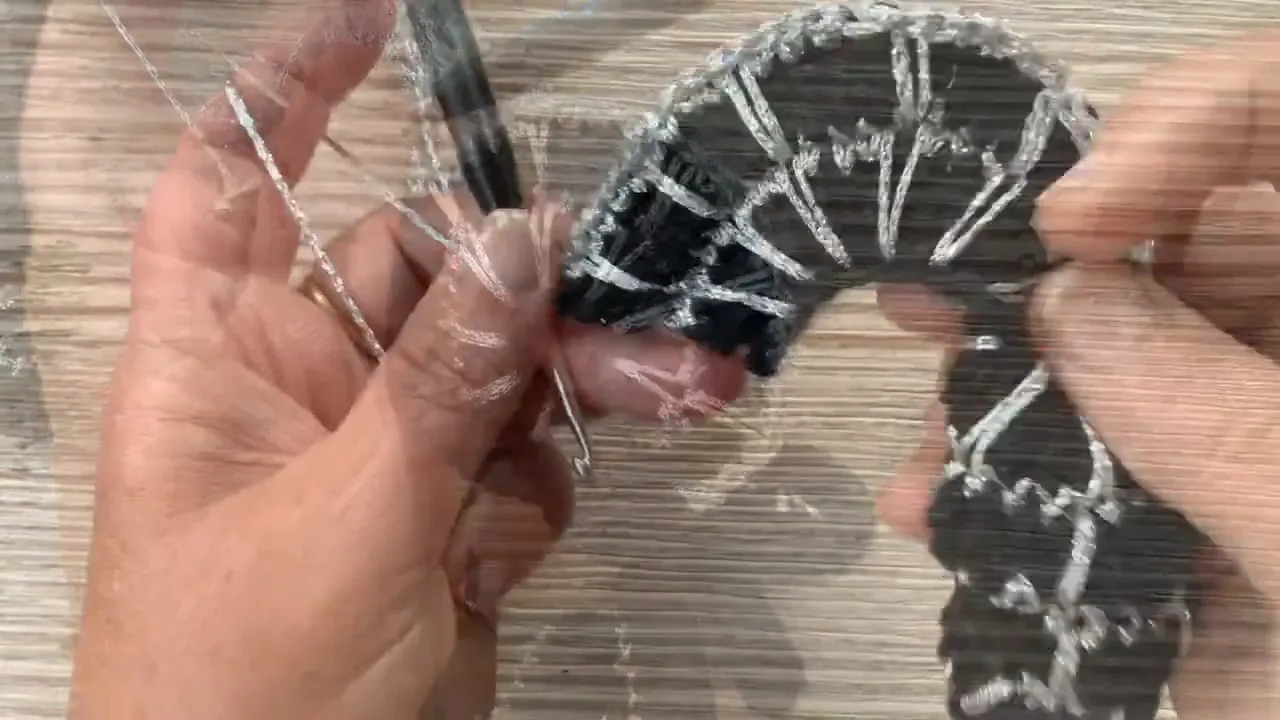
Now we really do work back along the row, but with crab stitch. This creates a fuller, rounded silver border instead of another ordinary flat row.
Work one crab stitch into every single crochet of the second silver row, including the tops of the long stitches.
- Keep the work facing the same way.
- Insert the hook into the next stitch in the backward direction. For right-handed crochet, this usually means moving to the right rather than the left.
- Catch the yarn and pull up a loop.
- Yarn over and draw through both loops.
- Repeat along the entire edge.
If crab stitch feels awkward at first, give it a little practice. The more evenly you work it, the prettier the border becomes. There is plenty of practice built into this wind spinner!
The finished edge has a slightly wavy, cord-like appearance and looks lovely from both sides. It also gives the border more fullness than forward single crochet.
Leave a long silver tail at the end of the edging for hanging the wind spinner. There is no need to trim away a useful hanging thread and then add another one.
Step 8: Add the Inner Slip-Stitch Line and Shape the Spiral
Arrange the curls into a tidy stack and gently press them together. It looks rather like a giant layered sandwich, or perhaps a small accordion.
Before the final shaping, add a silver slip-stitch line along the inner foundation row, from one end of the strip to the other.
- Bring the silver working yarn from behind the fabric.
- Insert the hook through the next stitch along the inner row.
- Pull the yarn through the fabric and through the loop on the hook to make a slip stitch.
- Continue with one slip stitch over each stitch along the full length.
- Secure the starting and finishing ends neatly.
I hold the starting tail together with the working yarn for the first few slip stitches to secure it straight away. It makes the beginning slightly thicker, but saves leaving another loose end for later.
This little finishing line does three useful things: it tidies the inner row, covers the exposed black line, and adds a little stability. It is enjoyable to make too, which is always a welcome bonus.
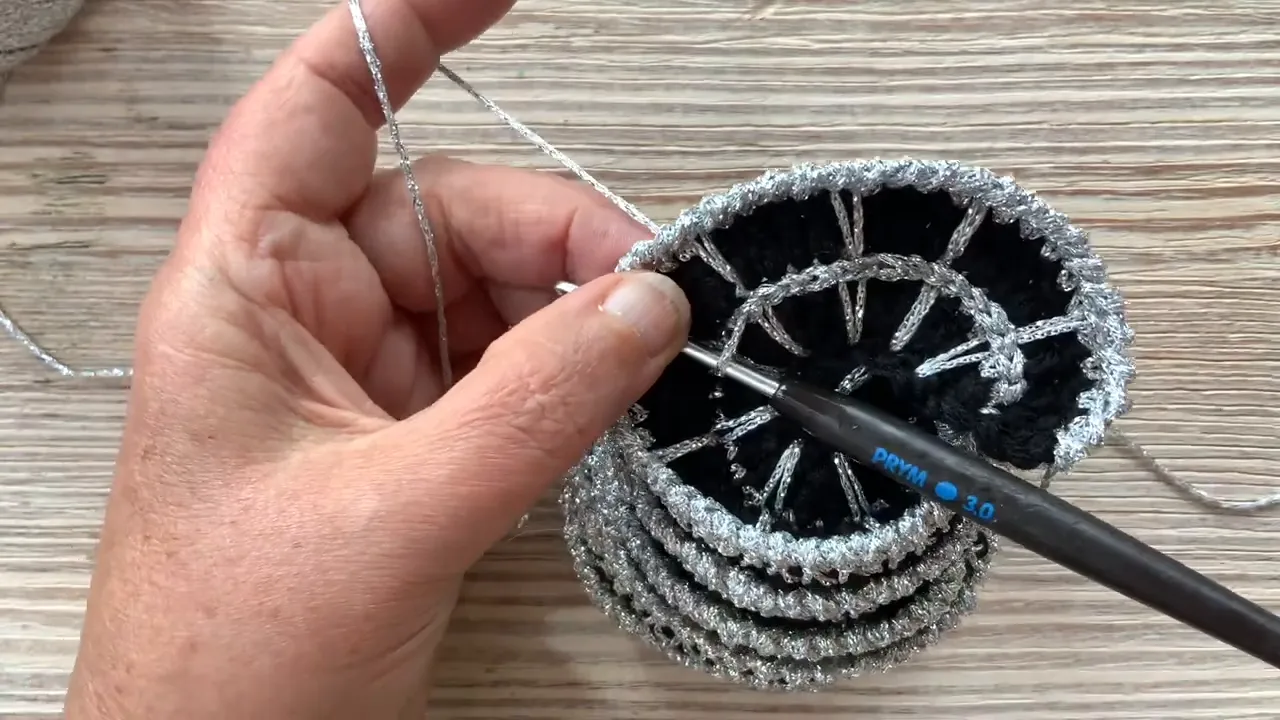
Once the stitching is complete, stack the spiral turns and press them gently so each layer lies flat. Then carefully spread the stack apart along its length to reveal the full spiral.
I also used steam to help shape mine, placing the work in a colander over boiling water before pressing the layers flat. Only use heat or steam if your yarn’s care instructions allow it, and keep your hands away from hot steam. The aim is to flatten the individual turns, not remove the spiral.
If you choose to use a stiffening product, follow the manufacturer’s instructions and all hazard warnings on the bottle.
Step 9: Attach the Spider and Hang Your Wind Spinner
The spiral is ready. Now it needs its little resident.
Make the spider separately, add the two eyes, and suspend it from the bottom of the wind spinner with a thread. The spider’s construction is a separate project, rather than part of the spiral stitch pattern.
I decorated the spider’s back with sparkling stones arranged into a little cross. That is entirely optional, but I find a glittery spider rather funny.
The silver pattern is meant to suggest a spiderweb, and the hanging spider completes the idea beautifully. Use the saved silver tail at the top to suspend the finished piece.
Choose a spot where a breeze can reach it, but where it is protected from heavy rain. Then give the spiral a little space to turn. Hopefully the spider will not get too dizzy underneath. Still, spinning does seem to come with the profession!
Your black and silver crochet spider wind spinner is finished: a neatly edged spiral, a sparkling web, and a cheerful little spider along for the ride.
|
Tutorial Made based on this video : Windspinner SPINNE