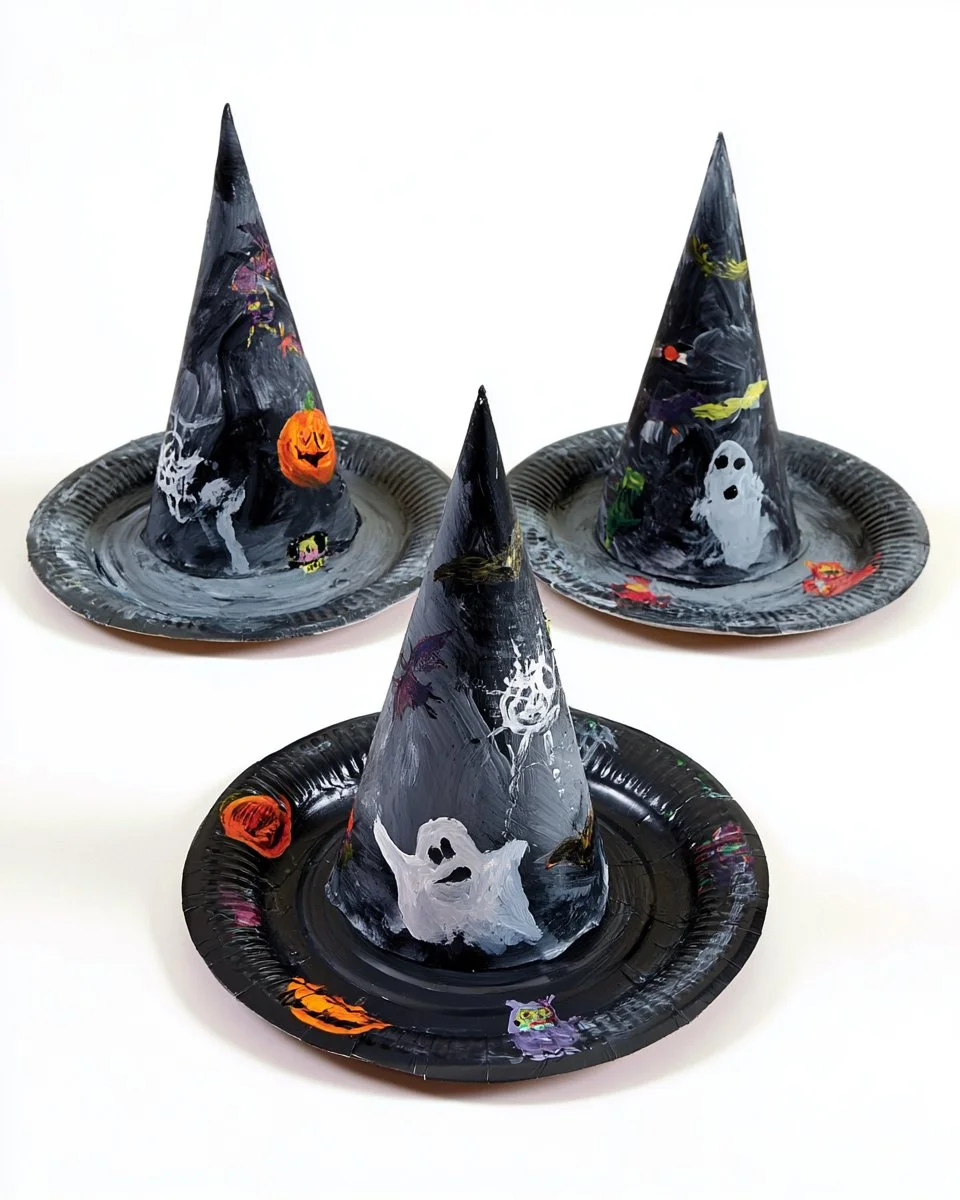
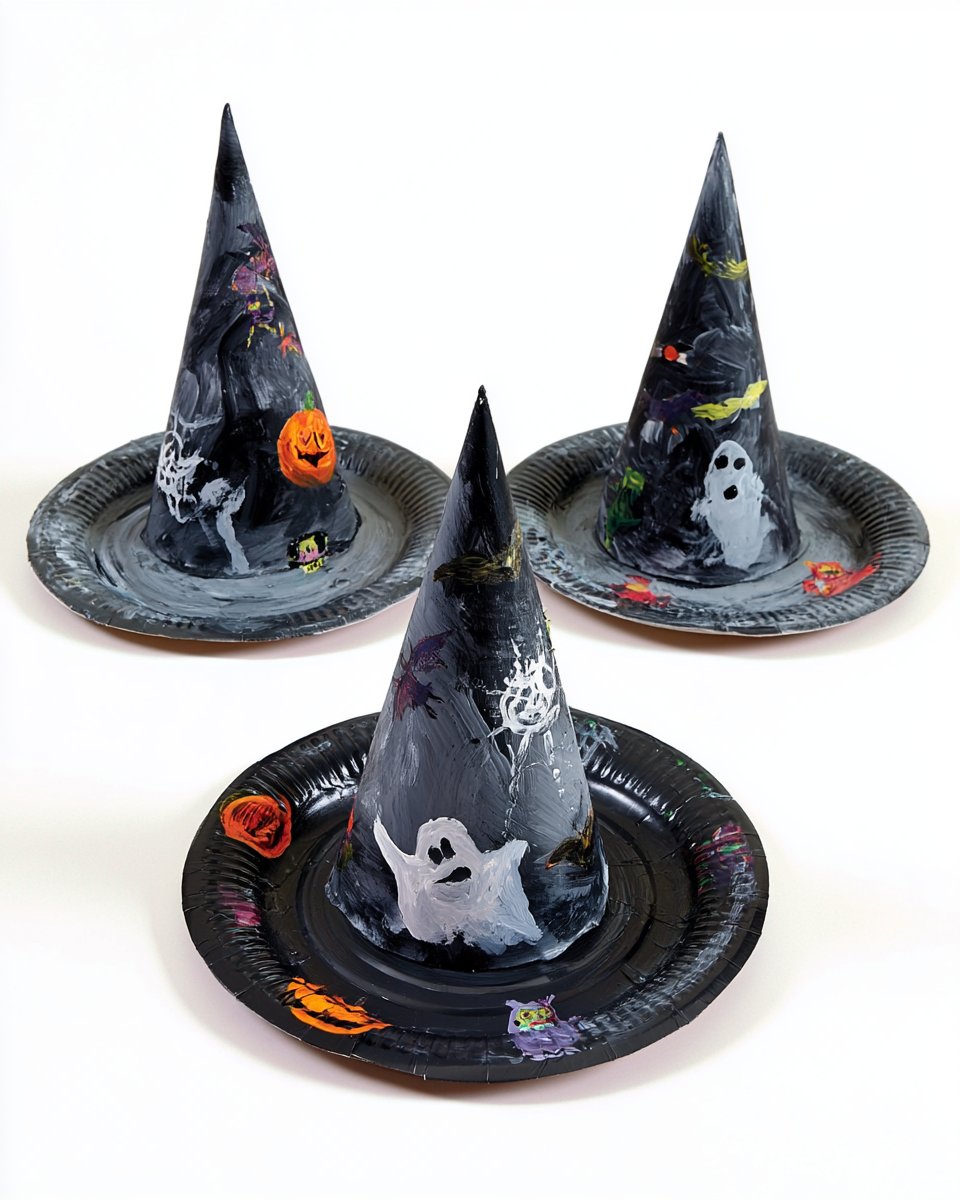
Creating a Halloween Craft for Kids – Paper Plate Witch Hat is a delightful way to celebrate the spooky season! This easy DIY project not only allows children to express their creativity, but it also serves as a fun decoration for your home or as part of a festive costume. With just a few simple materials, you can whip up this delightful craft that adds a touch of whimsy to your Halloween celebrations.
WHY YOU WILL LOVE THIS Paper Plate Witch Hat
Making this Paper Plate Witch Hat is an enjoyable and rewarding activity for kids and adults alike. The reasons you will love this craft include:
- Easy for Beginners: This craft is designed for beginners of all ages, making it a perfect project to do with children.
- Uses Simple Materials: You don’t need to search too far for the materials; most can be found at home or local stores.
- Budget-Friendly: This is a low-cost project, ensuring you don’t break the bank while creating festive decorations.
- Quick to Make: You’ll be able to complete this project in about 30 minutes, making it an ideal craft for busy families.
- Great for Home Decor: Use these adorable witch hats to decorate your home, classroom, or workspace during Halloween.
- Easy to Customize: Every child can personalize their witch hat, making each one unique and special.
PROJECT DETAILS
Skill Level
Beginner-Friendly: This craft requires minimal skills, making it perfect for kids and those new to crafting.
Estimated Time
Approximately 30 Minutes: You can enjoy quality craft time without worrying about a lengthy project.
Approximate Cost
$5 – $10: The materials are affordable and easy to find, making this craft budget-friendly.
Best For
Children and Families: This project is excellent for young kids, and it’s a fun group activity for families or classrooms.
Project Type
Seasonal Craft: This craft is perfect for Halloween celebrations and can be used as home decor or party decorations.
TOOLS AND EQUIPMENT NEEDED
Scissors
Scissors are essential for cutting the paper plate into the desired witch hat shape. Make sure to supervise young children while using scissors.
Glue Stick or Liquid Glue
This will be used to attach different elements of the witch hat together. A glue stick is often easier for kids to handle and less messy.
Ruler (Optional)
A ruler is helpful for measuring if you want a more precise hat shape, but it’s not necessary for this easy craft.
MATERIALS
Paper Plate
The main component of the craft, the paper plate will form the base of your witch hat.
Black Construction Paper
Use this to create the witch hat’s brim and any additional decorative elements.
Decorative Items (Optional)
Stickers, sequins, or other craft embellishments can add a personal touch, allowing kids to express their creativity.
Yarn or Ribbon (Optional)
These can be used as a fun way to hang the witch hat wherever you choose to display it.
Marker or Crayon
Use this to draw on the paper plate for additional designs or details on the hat.

HOW TO MAKE Paper Plate Witch Hat
Making your own Paper Plate Witch Hat is simple and fun. Follow these easy steps:
Step 1: Prepare the Paper Plate
First, take your paper plate. Flip it upside down so the smooth side is facing down. Using your scissors, cut a triangle out of the middle of the plate. This will form the top part of the witch hat.
Step 2: Create the Brim
Next, cut a larger circle from the black construction paper. The circle should be larger than the paper plate, forming a brimming hat effect. After you’ve cut out the circle, make a hole in the center that matches the size of the plate’s center hole.
Step 3: Attach the Hat
Now, place the paper plate on top of the black circle. Use your glue stick or liquid glue to secure the plate to the circle, lining up the holes. This will create a sturdy witch hat.
Step 4: Decorate the Hat
Time to get creative! Use markers or crayons to color or draw patterns on the witch hat. You can also add stickers and embellishments to make it extra special.
Step 5: Add Yarn or Ribbon
If you want to hang your witch hat, cut a piece of yarn or ribbon. Glue it to the inside of the hat so it can be displayed.
TIPS AND TRICKS
- Choosing Materials: Stick to basic crafting materials for ease. Black construction paper works best but feel free to use other colors if you want a whimsical twist.
- Cutting and Gluing: Ensure children use safety scissors; adult supervision is crucial. Apply glue evenly for a clean finish.
- Avoiding Mistakes: If kids are unsure about cutting shapes, guide them with pencil lines first.
- Making the Project Easier: Pre-cut some of the larger pieces if working with younger children to save time and reduce frustration.
VARIATIONS AND CUSTOMIZATION IDEAS
- Different Colors: Instead of using black construction paper, try purple or orange for a fun change.
- Seasonal Versions: Consider making hats for other holidays by changing colors and adding themed decorations.
- Different Sizes: Experiment with different-sized paper plates to create various witch hats.
- Personalized Versions: Encourage children to add their names to the hat for a special touch.
Paper Plate Witch Hat FAQ
How difficult is this craft?
This craft is very beginner-friendly and perfect for children and beginners. It requires minimal skills and is simple to follow.
What materials do I need to make the witch hat?
You need a paper plate, black construction paper, glue, scissors, and optional decorative items.
Can I store the finished witch hats?
Yes! You can store them flat in a box or container, away from moisture, to ensure they last for multiple Halloween seasons.
Is there a cleaning method for the witch hat?
If the hat gets dirty, gently wipe it down with a damp cloth. Be cautious not to soak the paper plate.
Can I customize the witch hat for other holidays?
Absolutely! You can change the colors and decorations to represent various holidays or themes.
CONCLUSION
Creating a Paper Plate Witch Hat is an enjoyable, easy DIY project that caters to kids and beginners. It’s a fantastic way to spice up your Halloween decor, and the best part is that it’s budget-friendly! With a few simple materials and some creativity, you can create fun and festive decorations that will liven up any space. So gather your materials, unleash your creativity, and enjoy making this delightful seasonal craft! Don’t forget to share your experiences and finished projects with others. Happy crafting!
PrintPaper Plate Witch Hat
A delightful and easy Halloween craft for kids to celebrate the spooky season by creating their own witch hats using simple materials.
- Prep Time: 10 minutes
- Cook Time: 30 minutes
- Total Time: 40 minutes
- Yield: 1 witch hat
- Category: Craft
- Method: Crafting
- Cuisine: Seasonal
- Diet: N/A
Ingredients
- Paper Plate
- Black Construction Paper
- Glue Stick or Liquid Glue
- Scissors
- Marker or Crayon
- Yarn or Ribbon (Optional)
- Decorative Items (Optional)
Instructions
- Prepare the Paper Plate by flipping it upside down and cutting a triangle out of the middle.
- Create the Brim by cutting a larger circle from the black construction paper, then making a hole in the center.
- Attach the Hat by placing the paper plate on top of the black circle and gluing them together.
- Decorate the Hat with markers, crayons, and decorative items.
- Add Yarn or Ribbon for hanging if desired.
Notes
This craft requires minimal skills, making it perfect for kids. Supervise children while using scissors and glue.
Nutrition
- Serving Size: 1 craft
- Calories: 0
- Sugar: 0g
- Sodium: 0mg
- Fat: 0g
- Saturated Fat: 0g
- Unsaturated Fat: 0g
- Trans Fat: 0g
- Carbohydrates: 0g
- Fiber: 0g
- Protein: 0g
- Cholesterol: 0mg
Keywords: Halloween craft, Paper Plate Witch Hat, kids craft, seasonal decoration, DIY project