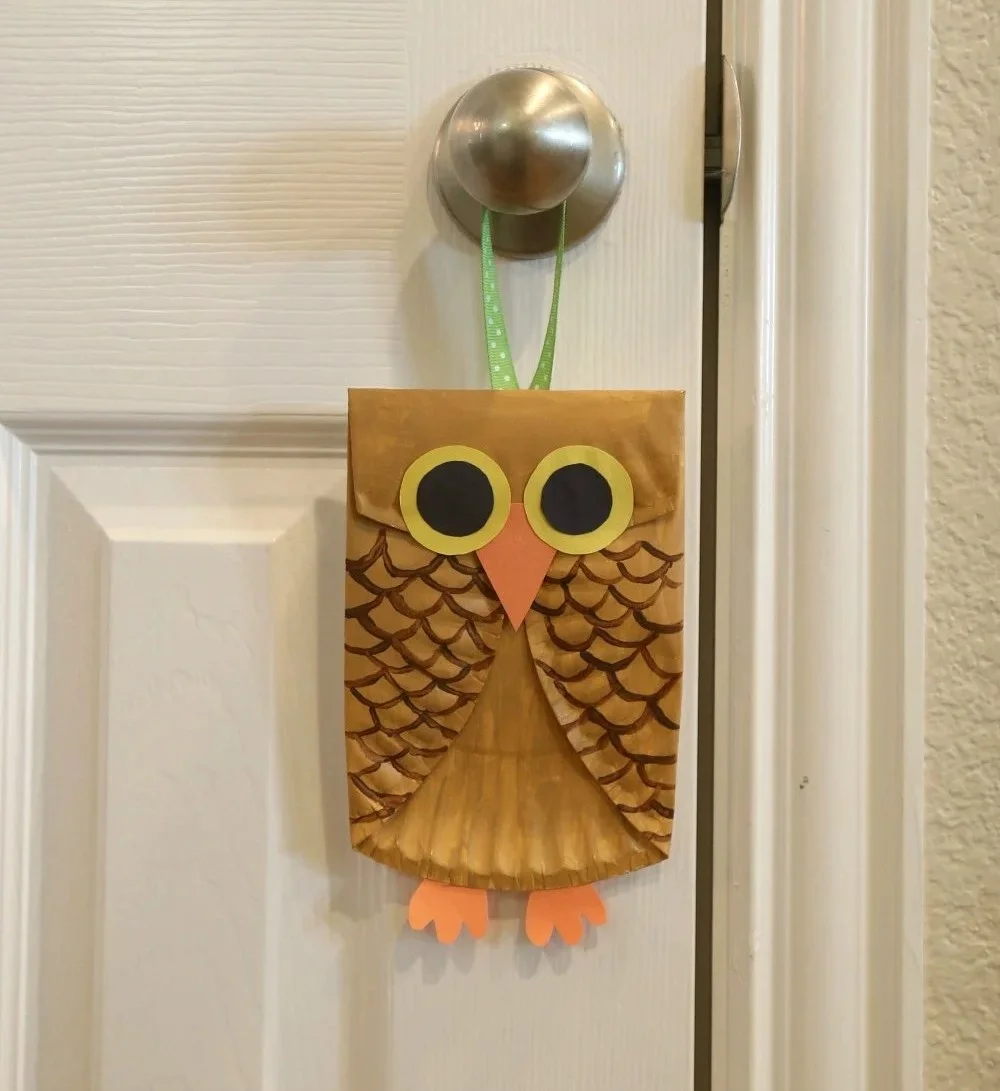
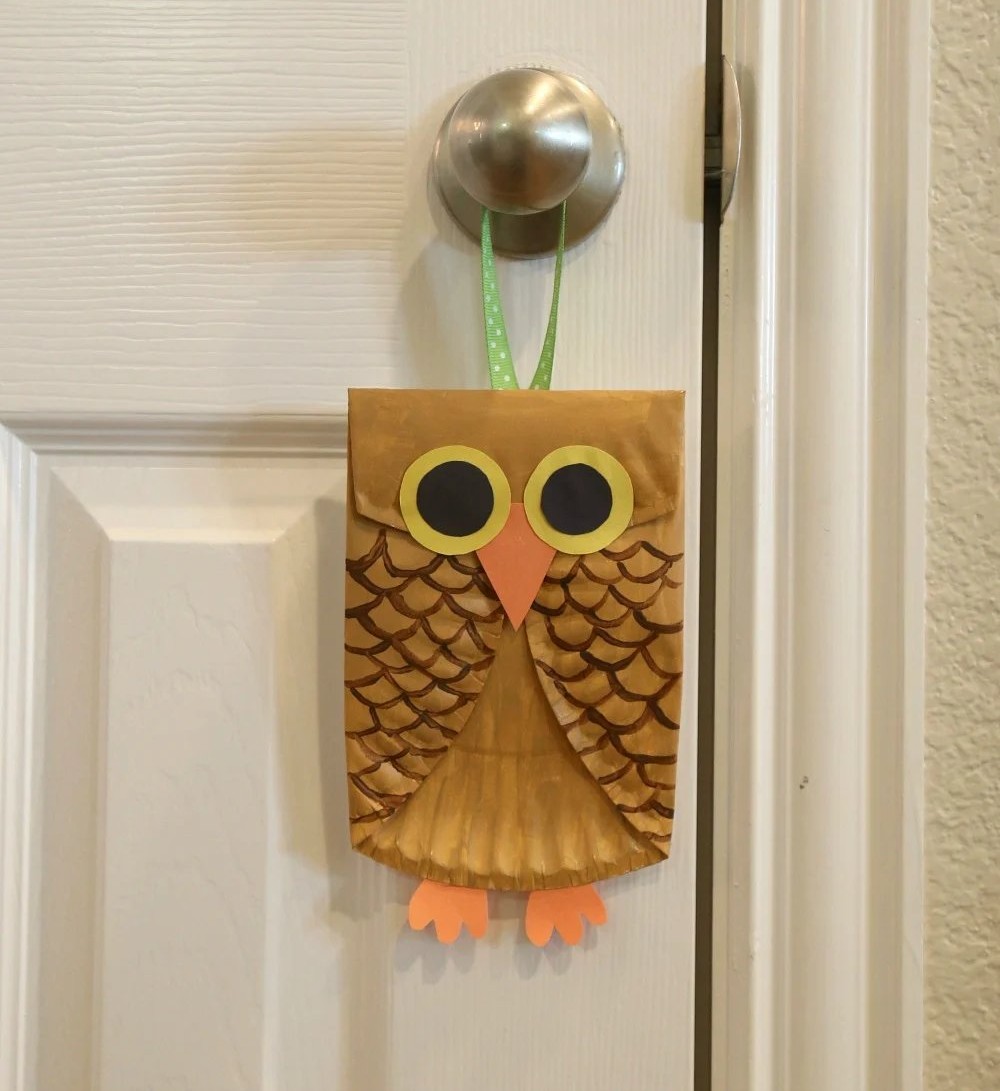
Get ready for an engaging and fun DIY craft project: the Paper Plate Owl Craft for Kids! This easy DIY project is perfect for crafting with children, allowing them to express their creativity while working with simple materials. Not only is it a budget-friendly craft, but it also serves as a charming decoration for your home or as a delightful handmade gift. Whether you’re looking for seasonal crafts, holiday crafts, or something fun to do on a rainy day, this paper plate owl craft is an excellent choice.
WHY YOU WILL LOVE THIS Paper Plate Owl Craft for Kids
The Paper Plate Owl Craft is a superb choice for both kids and adults looking for a simple craft that encourages creativity. Here are some reasons why you will enjoy making this craft:
-
Easy for beginners: This project is perfect for kids and adults without any prior crafting experience. The instructions are clear and straightforward.
-
Uses simple materials: All the materials are easy to find and often already in your home, making this an excellent choice for those seeking budget-friendly crafts.
-
Quick to make: You can complete this project in under an hour, perfect for short crafting sessions.
-
Great for home decor: Once finished, these colorful owls can brighten up any room as charming decorations.
-
Great for gifts: They make wonderful handmade gifts for friends and family, especially kids who love to share their creations.
-
Easy to customize: The crafting process allows for personal touches, making each owl unique.
PROJECT DETAILS
Skill Level
Beginner-friendly. This project requires minimal skill and is suitable for children aged 4 and up.
Estimated Time
You can expect to spend about 30-60 minutes on this fun DIY project.
Approximate Cost
This craft is budget-friendly and costs around $5-$10, depending on the supplies you may already have at home.
Best For
Kids, families, classrooms, and anyone interested in easy crafts.
Project Type
This is a seasonal craft suitable for various occasions, including holiday decorations or fun rainy-day activities.
TOOLS AND EQUIPMENT NEEDED
Scissors
Scissors are essential for cutting the paper plates and craft materials. Choose child-safe scissors to ensure safety while crafting.
Glue
You’ll need glue to attach the various pieces together, making sure that everything sticks well.
Markers or Crayons
These are used for adding color and details to your owl, making them personalized and fun.
Paintbrush (optional)
If you opt to paint your owl instead of using markers, a paintbrush will be necessary.
MATERIALS
Paper Plates
These are the base of your owl craft. You will need one for the body and one for the wings and face.
Construction Paper
Use colorful construction paper to cut out the owl’s eyes, beak, and other features.
Googly Eyes (optional)
Googly eyes can add a fun touch to your owl, giving it a quirky personality.
Feathers (optional)
Adding feathers can enhance the owl’s look, making it more vibrant and visually appealing.
Pipe Cleaners (optional)
These can be used to create the owl’s feet or to add fun antennae if desired.

HOW TO MAKE Paper Plate Owl Craft for Kids
Step 1: Prepare the Paper Plates
Start by taking a paper plate for the owl’s body. Cut the plate in half, keeping one half for the face and the other for the wings.
Step 2: Paint or Color the Body
Using markers or paints, color the half of the paper plate you will use as the body. Choose your favorite colors! Let it dry if you use paint.
Step 3: Cut Out Features from Construction Paper
From the construction paper, cut out large circles for the eyes, a triangle for the beak, and additional shapes for the wings.
Step 4: Assemble the Eyes and Beak
Glue the large circles onto your paper plate body for the eyes, and then attach the triangle-shaped beak just below the eyes. If you’re using googly eyes, glue them on top of the paper circles.
Step 5: Attach the Wings
Take the other half of the paper plate you cut earlier and color it as you like. Then, glue it onto the sides of the owl’s body to create wings.
Step 6: Add Final Touches
If you have feathers, pipe cleaners, or additional decorations you’d like to add, glue them on now to give your owl a personal touch.
TIPS AND TRICKS
-
Choosing Materials: When selecting materials, opt for colorful items that will stand out. Use a variety of textures, like feathers and textured paper, to make the owl more interesting.
-
Cutting Safely: Always supervise children when using scissors. Consider using safety scissors for younger children.
-
Personalization: Encourage creativity by allowing kids to choose colors and shapes for their owls. Every owl can look different!
-
Making It Last Longer: If using glue, make sure it’s child-safe and wash-friendly if the craft will be handled often.
-
Storage: Once the owls are complete, store them in a dry and safe place. A shoebox or a craft storage bin works well.
VARIATIONS AND CUSTOMIZATION IDEAS
-
Different Colors: Use different shades of paper and paint to create an entire family of owls in various colors.
-
Seasonal Versions: For winter, make snowy white owls, or for Halloween, design spooky owls with darker colors.
-
Sizes: Experiment with different sizes of paper plates for owls of varying sizes.
-
Patterns: Use patterned paper or decorate the body with stamps to add unique designs.
-
Personalized Versions: Allow kids to write their names on the base of the owl or include personalized messages.
Paper Plate Owl Craft FAQ
1. Is this craft suitable for all ages?
Yes! This beginner-friendly craft is great for kids aged 4 and older with adult supervision.
2. How long does it take to complete the owl craft?
You can complete this easy DIY project in about 30 to 60 minutes, making it perfect for a quick activity.
3. What materials do I need?
You need paper plates, construction paper, scissors, glue, and optional items like feathers and googly eyes.
4. How should I store the finished owl crafts?
Store them in a dry place, such as a craft box or a shelf. Avoid humid areas, as moisture can damage the paper.
5. Can I customize the owls further?
Absolutely! You can change colors, sizes, and decorations to make each owl unique to your creativity.
CONCLUSION
The Paper Plate Owl Craft for Kids is an easy, budget-friendly, and creative DIY project that offers fun for everyone involved. Its simplicity makes it a perfect starting point for kids wanting to explore their artistic side. Plus, these adorable owls work wonderfully as home decor or charming handmade gifts. We encourage you to give this friendly craft a try and share your finished projects or customization ideas with us! Happy crafting!
PrintPaper Plate Owl Craft for Kids
A fun and engaging DIY paper plate owl craft perfect for kids, encouraging creativity while using simple materials.
- Prep Time: 30 minutes
- Cook Time: 0 minutes
- Total Time: 60 minutes
- Yield: Multiple crafts
- Category: Craft
- Method: DIY
- Cuisine: N/A
- Diet: N/A
Ingredients
- Paper Plates
- Construction Paper
- Scissors
- Glue
- Markers or Crayons
- Paintbrush (optional)
- Googly Eyes (optional)
- Feathers (optional)
- Pipe Cleaners (optional)
Instructions
- Prepare the Paper Plates: Cut one paper plate in half for the body, face, and wings.
- Paint or Color the Body: Use markers or paints to color the half of the plate designated for the body.
- Cut Out Features from Construction Paper: Cut large circles for eyes, a triangle for the beak, and shapes for wings.
- Assemble the Eyes and Beak: Glue the large circles onto the plate for eyes, and attach the beak just below.
- Attach the Wings: Glue the colored half of the paper plate onto the body to create wings.
- Add Final Touches: Glue additional decorations such as feathers and pipe cleaners as desired.
Notes
Encourage personalization and creativity by allowing kids to choose their colors and features.
Nutrition
- Serving Size: 1 owl
- Calories: 0
- Sugar: 0g
- Sodium: 0mg
- Fat: 0g
- Saturated Fat: 0g
- Unsaturated Fat: 0g
- Trans Fat: 0g
- Carbohydrates: 0g
- Fiber: 0g
- Protein: 0g
- Cholesterol: 0mg
Keywords: craft, kids, paper plate, owl, DIY, family activity