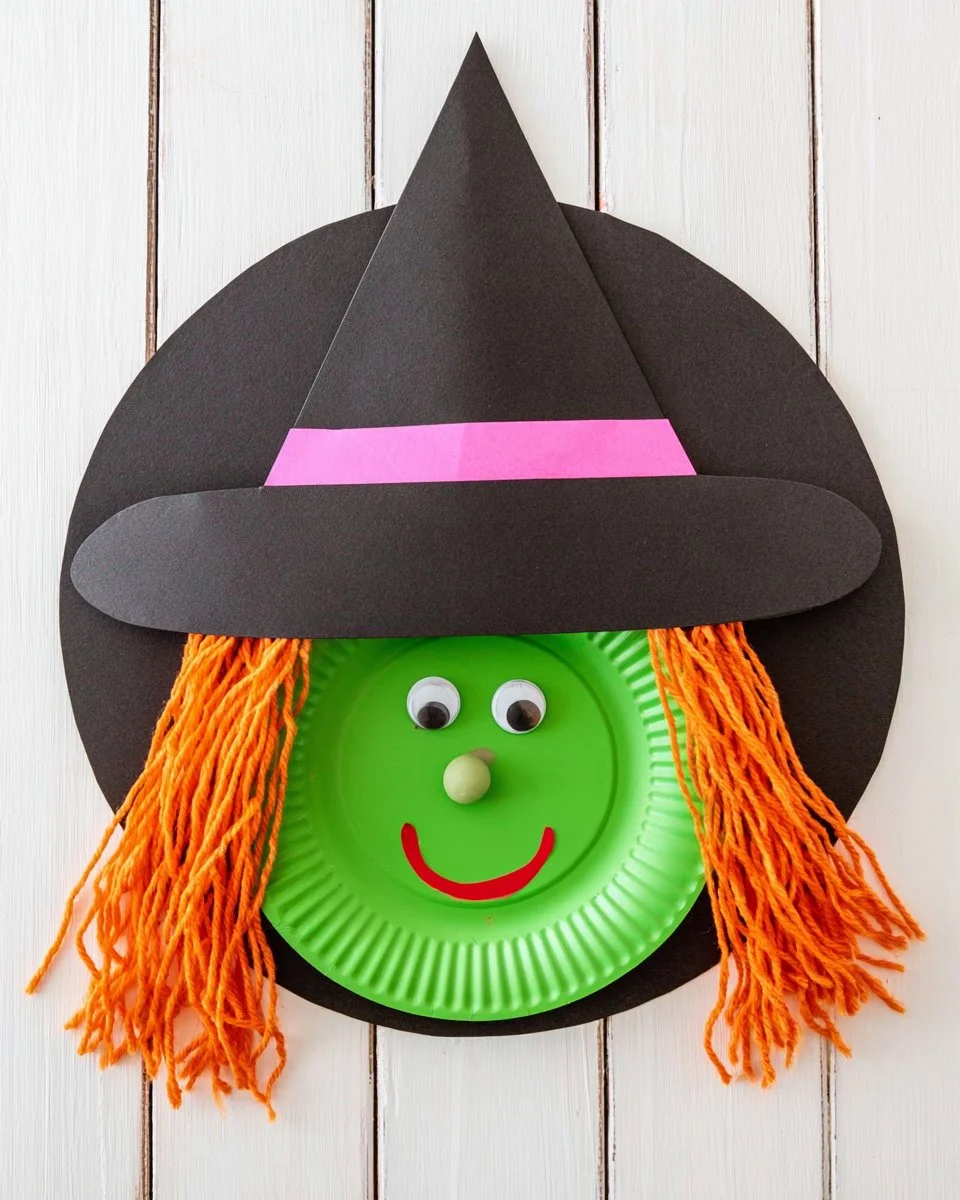
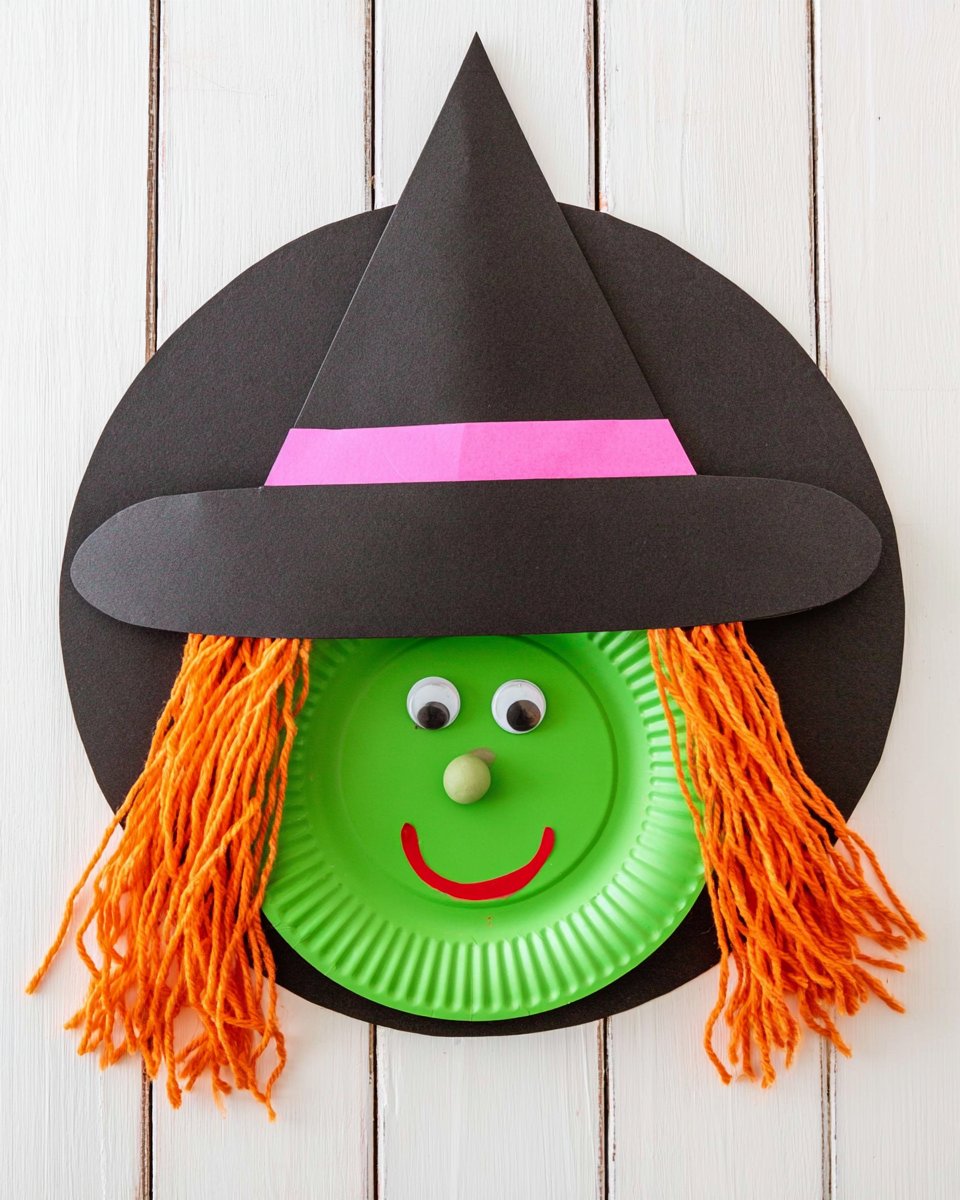
Creating festive decorations for holidays can be an enjoyable and rewarding experience, especially when the craft is easy and suitable for beginners. The Paper Plate Witch Craft for Kids is an excellent easy DIY project that brings the spirit of Halloween into your home. This fun and budget-friendly DIY allows both kids and adults to unleash their creativity. With simple materials and straightforward instructions, you will enjoy making this simple craft that doubles as an adorable decoration for your Halloween festivities.
WHY YOU WILL LOVE THIS Paper Plate Witch Craft
This Paper Plate Witch Craft is a fantastic project for several reasons. First, it is easy for beginners, making it accessible for everyone, regardless of crafting experience. The materials you will use are simple and often already found in your home, making it a budget-friendly craft. The craft is quick to make, allowing you to enjoy the process without dedicating hours to it. Furthermore, this creative DIY project makes for an excellent decoration for your home during the Halloween season, adding a whimsical touch without the need for complicated techniques.
PROJECT DETAILS
Skill Level
Beginner-friendly. This project is perfect for kids and adults with little to no crafting experience.
Estimated Time
Approximately 30-45 minutes. You can complete this easy craft quickly, making it ideal for last-minute Halloween decorating.
Approximate Cost
Very low. Most of the materials are inexpensive and may already be at home. You could complete this project for around $5 or less.
Best For
Kids and families. This craft is perfect for family bonding time or classroom activities around Halloween.
Project Type
Seasonal crafts. This is an ideal choice for Halloween decorations or themed parties.
TOOLS AND EQUIPMENT NEEDED
Scissors
Scissors are essential for cutting the paper plate and any additional materials you may use for the witch’s hat, hair, or facial features.
Glue Stick or Liquid Glue
Glue is necessary to attach different parts of the witch together, including the hair, hat, and facial features. A glue stick is often easier for kids to use.
Marker or Crayons
Use markers or crayons to add fun details and colors to your paper plate witch craft. You can use them for facial features and adding any additional designs on the hat.
Paintbrush (optional)
If you choose to use paint instead of markers, a paintbrush will help apply the paint smoothly to the plate.
MATERIALS
Paper Plate
The main component of this craft. You’ll create the witch’s face on a standard paper plate, making it an easy base for your design.
Construction Paper
Colored construction paper will be used for the witch’s hat, hair, and any additional decorations. You can choose colors like green, black, or purple to fit the Halloween theme.
Googly Eyes (optional)
Googly eyes can add a fun and silly element to the witch’s face, making your crafted witch more playful and lively.
Yarn or Tissue Paper (optional)
If you want to add textured hair, yarn or tissue paper works well. The yarn creates a dimensional look and is easy to attach.
Stickers (optional)
Halloween-themed stickers can be used to enhance your craft and make it even more fun.

HOW TO MAKE Paper Plate Witch Craft
Creating the Paper Plate Witch Craft is an easy and enjoyable process. Follow these simple steps to make your very own witch.
Step 1: Prepare Your Paper Plate
Start by flipping the paper plate upside down. This will be the face of your witch.
Step 2: Create The Witch’s Hat
Using black construction paper, cut out a triangular shape to form the witch’s hat. You can also create a wider base for the bottom of the hat. Use glue to attach the hat at the top of the paper plate.
Step 3: Add The Witch’s Face
Using a marker, draw two large circles for the witch’s eyes. You can add googly eyes over the markers or draw pupils inside the circles. Draw a nose, mouth, and any additional features you like.
Step 4: Create The Hair
Cut strands of yarn or strips of tissue paper and glue them around the top of the paper plate, underneath the witch’s hat. This will give your witch fun, colorful hair.
Step 5: Personalize Your Witch
With markers, stickers, or additional construction paper, add personalized touches. You can add stars, moons, or other decorations to the hat or face to give each witch its unique character.
Step 6: Let It Dry
If you used glue, allow your craft to dry completely before displaying or moving.
TIPS AND TRICKS
-
Choosing Materials: When selecting construction paper, consider colors that will pop against the base of the paper plate for a more vibrant look.
-
Working with Kids: For younger children, pre-cut the pieces (like the hat) to ensure they can easily assemble their witch without frustration.
-
Avoiding Common Mistakes: Use plenty of glue to ensure everything sticks well, especially with the yarn or tissue paper for the hair that can easily get pulled off.
-
Customization: Feel free to mix colors. A purple paper plate with a black hat or rainbow hair can give your creation a unique twist.
-
Storage: Store your finished crafts in a safe place, away from moisture. They can last long enough to be used in future Halloween seasons.
VARIATIONS AND CUSTOMIZATION IDEAS
-
Different Colors: Instead of traditional witch colors like green and black, try using pink or blue for a fun twist.
-
Sizes: Create mini witches using smaller plates as place settings for Halloween dinner or large witches for display at parties.
-
Materials: Experiment with fabric instead of construction paper for the hat or hair to give a different texture.
-
Personalized Versions: Write the names of your children or family members on the witch’s neck for personalized homemade gifts.
-
Seasonal Versions: Change the theme from Halloween to a joyful witch for a birthday party by using brighter colors and fun patterns.
Paper Plate Witch Craft FAQ
Is this craft really easy for beginners?
Yes! The Paper Plate Witch Craft is designed to be beginner-friendly and is perfect for kids and adults with little crafting experience.
What materials do I need for this craft?
The primary materials are a paper plate, construction paper, scissors, glue, and markers. Optional items include googly eyes, yarn, and stickers.
How long does this craft take to complete?
You can expect this easy DIY project to take around 30-45 minutes, making it suitable for various occasions.
How should I store my finished craft?
Store the finished craft in a dry place, avoiding moisture to ensure it lasts until the next Halloween.
Can I customize this craft?
Absolutely! You can use different colors, materials, and decorations to create a unique version of your paper plate witch.
CONCLUSION
The Paper Plate Witch Craft is an easy, budget-friendly DIY project that brings festive spirit into your home for Halloween. With simple materials and easy-to-follow instructions, it is perfect for both adults and children. Whether you choose to personalize your witch or stick with classic Halloween colors, this craft offers plenty of room for creativity. We encourage you to gather your materials and try making your own Paper Plate Witch. Don’t forget to share your finished project and any customization ideas with others!
PrintPaper Plate Witch Craft
An easy and fun DIY project for creating festive paper plate witches for Halloween, perfect for kids and beginners.
- Prep Time: 15 minutes
- Cook Time: 0 minutes
- Total Time: 45 minutes
- Yield: 1 craft
- Category: Seasonal Crafts
- Method: Crafting
Ingredients
- Paper Plate
- Construction Paper
- Scissors
- Glue Stick or Liquid Glue
- Marker or Crayons
- Googly Eyes (optional)
- Yarn or Tissue Paper (optional)
- Halloween-themed Stickers (optional)
Instructions
- Prepare your paper plate by flipping it upside down to use as the witch’s face.
- Create the witch’s hat by cutting a triangular shape out of black construction paper and gluing it to the top of the plate.
- Add the witch’s face using a marker to draw eyes, nose, and mouth, or attach googly eyes.
- Create hair by cutting yarn or tissue paper and gluing it underneath the witch’s hat.
- Personalize the witch with markers, stickers, or additional construction paper decorations.
- Let the glue dry completely before displaying your craft.
Notes
Pre-cut materials for younger children to make assembly easier. Store finished crafts away from moisture.
Nutrition
- Serving Size: 1 craft
- Calories: 0
- Sugar: 0g
- Sodium: 0mg
- Fat: 0g
- Saturated Fat: 0g
- Unsaturated Fat: 0g
- Trans Fat: 0g
- Carbohydrates: 0g
- Fiber: 0g
- Protein: 0g
- Cholesterol: 0mg
Keywords: Halloween crafts, kids crafts, DIY decorations, paper plate activities