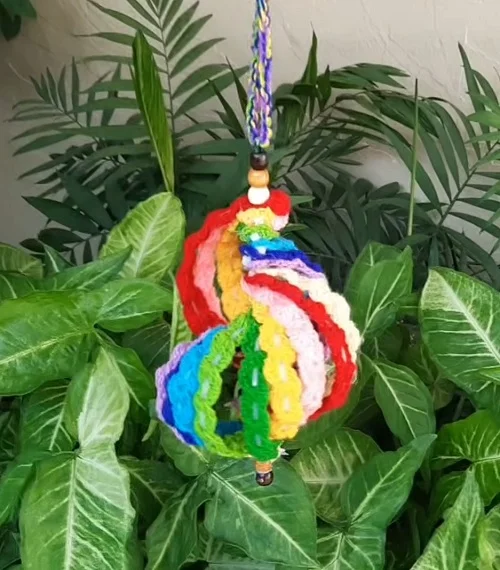
Bright crochet strips, simple cable ties, and a few beads come together to make a cheerful hanging wind spinner. The yarn gives it a soft, scalloped texture, while the cable ties give each strip enough structure to curve around the center.
The lovely part is the transformation. Separate strips begin as a colorful row, then become an open, rounded spiral as their opposite ends are gathered onto a central support. Red, pink, yellow, green, turquoise, blue, lavender, and cream all peek through as the finished decoration turns.
This is a construction guide rather than a counted crochet pattern. Exact stitch counts, yarn weight, hook size, and finished measurements are not specified, so the focus here is on the strip-making process, cable tie reinforcement, and assembly.
What You’ll Learn
- Repeated scalloped crochet strips form the colorful bands of the wind spinner.
- Cable ties threaded through the strip centers provide flexible reinforcement.
- Gathering both strip ends onto a central support creates the rounded spiral shape.
- Beads, secured ends, and a metal hanging loop complete the decoration.
Gather the Crochet and Assembly Materials
There are two parts to this project: making the crochet strips and turning those strips into a structured hanging decoration.
- Yarn in several colors
- A crochet hook suitable for the yarn
- Scissors or yarn snips
- Long plastic cable ties
- A slender metal support that can pass through the strip ends and bead holes
- Decorative beads
- A hot glue gun
- A tool for bending and trimming the metal support
- A hanging cord
The sample uses both bright and softer shades. Cream and lavender sit beside deep blue, turquoise, greens, yellow, pink, and red. Keeping the strips similar in length makes them easier to arrange together during assembly.

Make the Scalloped Crochet Strips
Begin with a starting loop and a short chain. The crochet work builds into a small rounded group of tall stitches, then continues with similar groups to form a narrow, textured strip.
These repeated groups create the scalloped edges. Between them, the strip has openings along its center. Those openings become important later because the cable tie passes through them.
Build One Strip Before Repeating the Colors
- Make the starting loop and short foundation chain.
- Work the first rounded stitch group.
- Turn or reposition the work and continue the repeated stitch groups.
- Repeat until the strip reaches the length needed for the decoration.
- Fasten off and cut the working yarn.
The first strip is worked in orange-yellow yarn. Once the repeating section is established, the same structure continues along the length. The completed piece is long and narrow, with a row of rounded sections rather than a plain, straight edge.
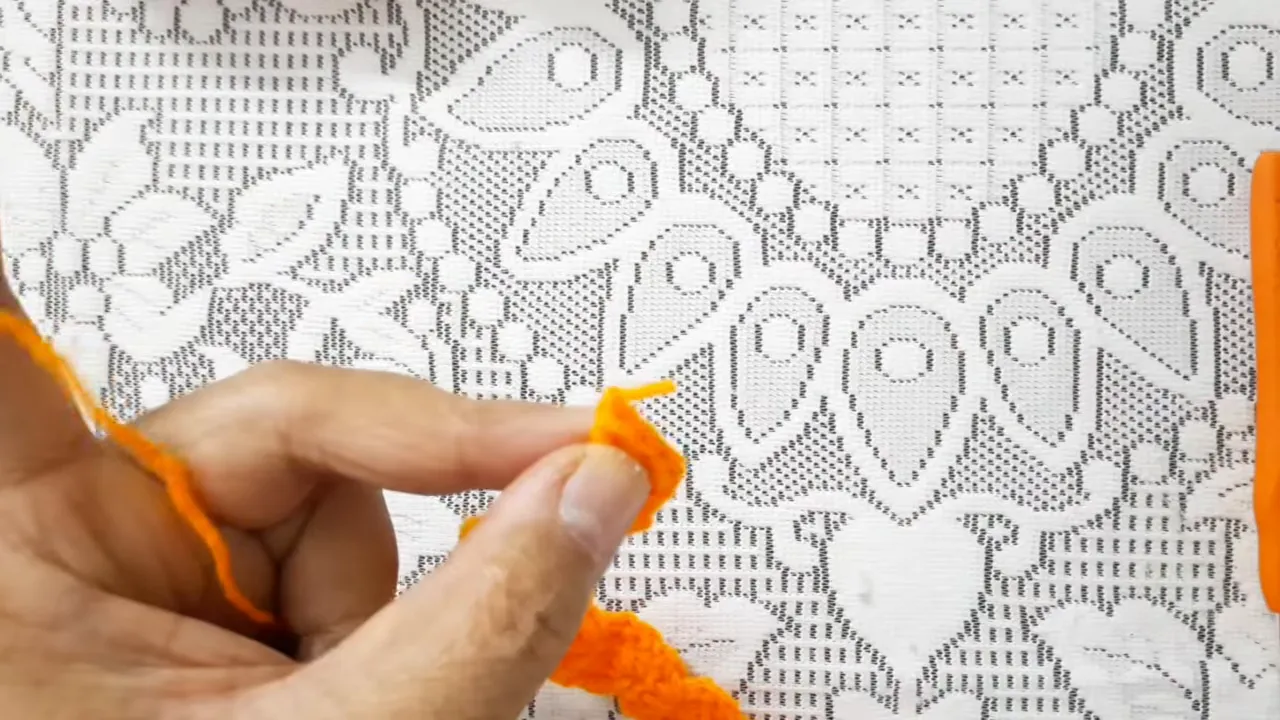
Make more strips in the remaining colors. Lay them beside one another before moving on. This makes it easier to compare their lengths and decide how the colors will repeat around the spinner.
The strip needs both texture and an open center. Its scallops provide the decorative outline, while its central openings provide a path for the reinforcement.
Thread a Cable Tie Through Each Strip
The cable ties are used as flexible supports, not tightened into loops. Each one runs lengthwise through a crochet strip, giving the soft yarn a firmer backbone.
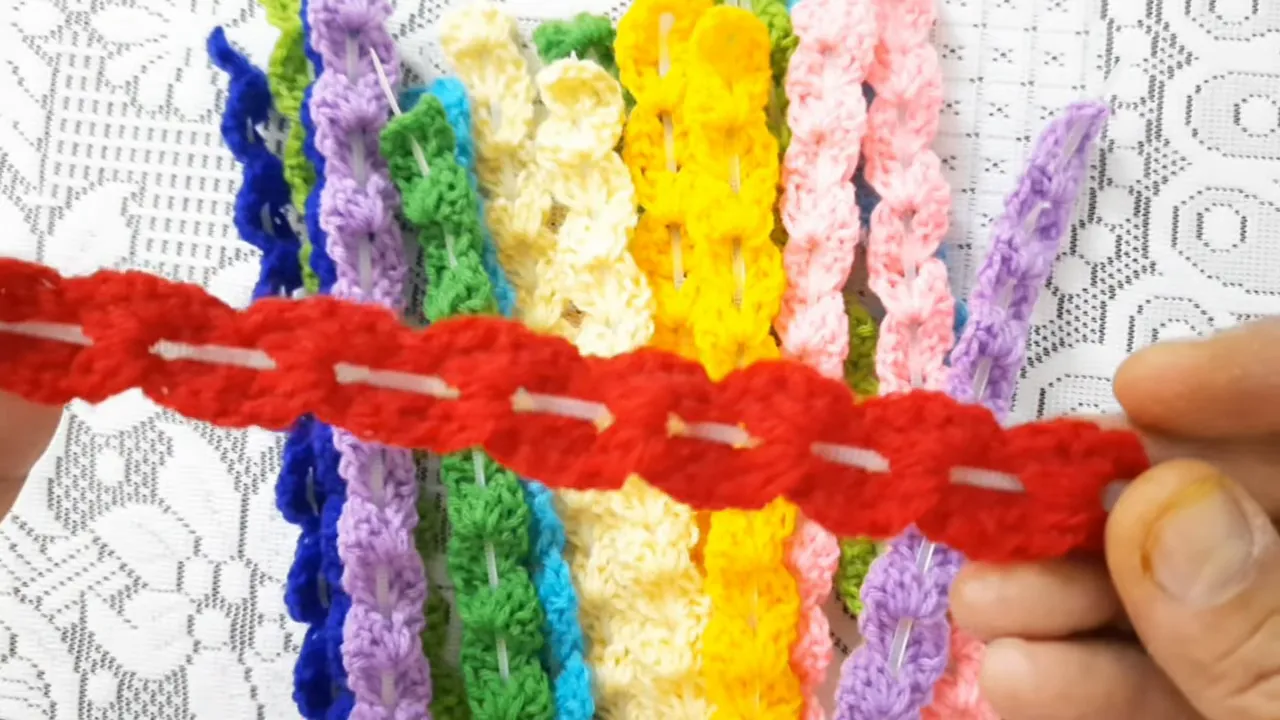
Take a strip and feed the narrow end of a cable tie through the openings along its center. Work gradually from one rounded section to the next, guiding the plastic through the crochet rather than forcing it through the yarn strands.
- Start at one end of the crochet strip.
- Pass the cable tie through the central openings in sequence.
- Ease the crochet along the tie as you work.
- Adjust the rounded sections so they sit evenly along the support.
- Repeat with every strip.
The green strip is reinforced first, followed by the other colors. As each piece is adjusted, the cable tie becomes visible through the center openings and the scallops settle along either side.
Secure the Strip Ends
Apply small amounts of hot glue at the ends to hold the crochet and cable tie together. The end sections are handled individually, with the glue placed where the yarn meets the plastic support.
This finishing step keeps the crochet positioned on its reinforcement while the strips are gathered and curved during assembly. Handle the hot glue gun carefully and allow the glued areas to cool before continuing.
Arrange the Colors on the Central Support
With the reinforced strips ready, prepare the slender metal support. A pale bead is placed near one end and secured with hot glue, creating a stop for the first group of strip ends.
Thread one end of each reinforced strip onto the metal support. The pieces are added individually, keeping the colors in a deliberate sequence.
The arrangement begins with cream, lavender, deep blue, turquoise, and greens, then continues through yellow, pink, and red. The color sequence repeats as more strips are added.
At this stage, all the strips hang from one shared end. They form a colorful curtain, with their opposite ends still loose.
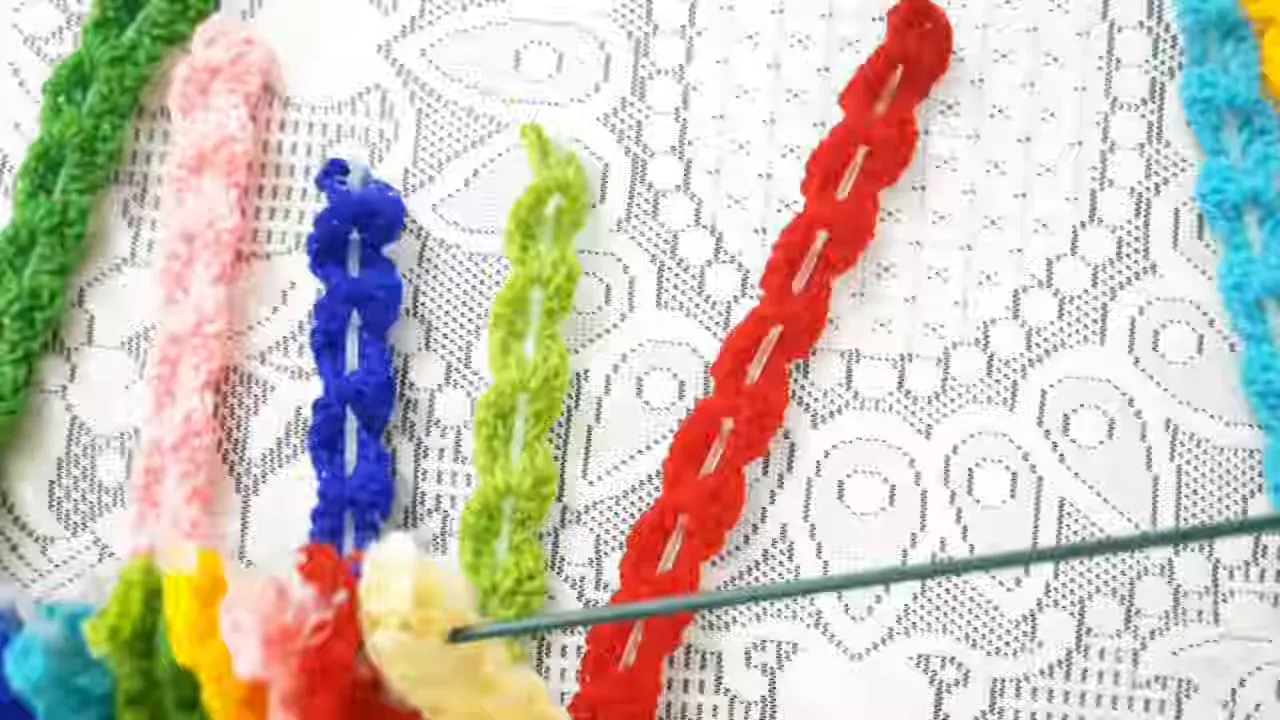
Keep the color order clear during this stage. It gives you a useful reference when you begin collecting the loose ends.
Curve the Strips Into the Wind Spinner Shape
The rounded shape develops when the loose ends are brought back onto the central support. Start with the cream strip, then continue through the neighboring colors.
As each second end is threaded on, the reinforced strip bows outward. The growing collection of curved strips creates an open cage around the center. Their changing orientation produces the spiral effect.
- Separate the first loose strip end from the group.
- Curve that strip around the center without sharply folding its cable tie.
- Thread its free end onto the metal support.
- Continue through the remaining colors in sequence.
- Adjust the curves as the shape fills out.
Work patiently here. The pieces can overlap while they are being collected, so pause to separate them and check that each strip follows a smooth curve.
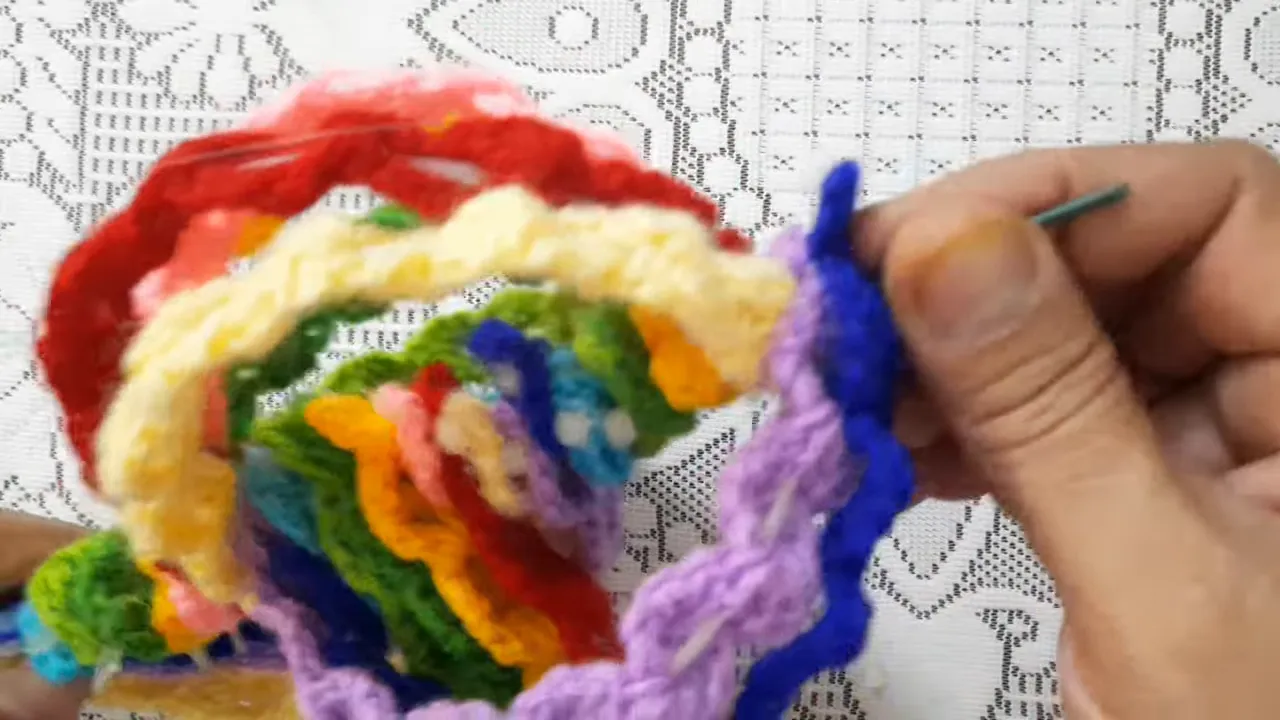
Once the remaining turquoise, green, yellow, pink, and red ends are added, the strips surround the center in a rounded, twisted arrangement. Gently spread them so the different colors and the spaces between them remain visible.
Add Beads and Finish Both Ends
The ends now need to hold the assembled strips in place and provide a neat finish.
Finish the Hanging End
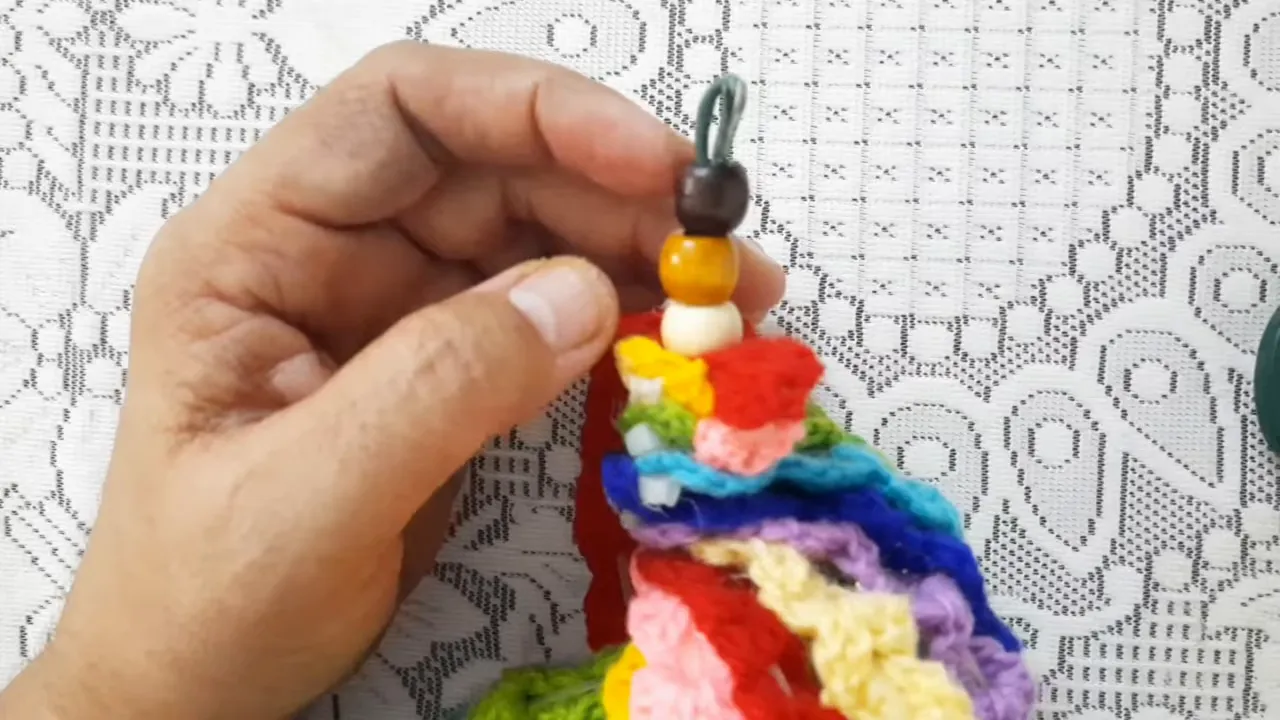
Add beads above the gathered crochet ends. The sample uses a pale bead, a golden-brown bead, and a dark bead. Bend the projecting metal into a small loop above them to create the hanging attachment.
A little hot glue is then applied around the gathered end beneath the beads to secure the assembly.
Tidy the Lower End
Turn the spinner around and check the opposite end. Trim projecting plastic and loose finishing material where needed, taking care not to cut the crochet stitches.
Secure the pale bead at this end with hot glue, then add the golden-brown bead shown in the finishing sequence. Bend the remaining metal end to retain the bead and complete the lower attachment.
Before hanging, gently separate the curved strips again. The finished form should show individual bands of color rather than a tightly compressed bundle.
Hang the Finished Crochet Wind Spinner
Attach a cord to the upper loop and suspend the decoration. The completed spinner has a rounded spiral body, scalloped crochet edges, and beaded ends.
It is shown hanging near a doorway and among green foliage, where the bright yarn stands out beautifully. As it turns, different colors move to the front and the open spaces reveal the layers behind them.
A few repeated crochet strips become something quite different once they are reinforced and gathered together. The cable ties supply the structure, the crochet supplies the texture, and the color arrangement gives this handmade home decor its cheerful finish.
Tutorial Made using this video : Crochet Cable Ties Wind Spinner